How to Hangboard and Climb on the Same Day Without Getting Injured
Hooper’s Beta Ep. 53
Intro
What happens when you decide you want to hangboard AND climb. Can you do both? Can you continue hangboard training and getting strong while you climb? Yes. This video and these show notes discuss a hangboard training program meant to be a supplement to your climbing. It introduces appropriate stretches and activities to do while you rest in between hangs in order to optimize your session. It discusses when it is appropriate to do so and what you can expect.
If you're already familiar with our other two hangboard training videos, you'll find a lot of similarities here. However, those programs were meant as climbing REPLACEMENT hangboard routines, whereas this particular program has been designed as a climbing SUPPLEMENT hangboard routine. The main differences in this program will be the removal of the "burnout round" as well as unique climber-specific exercises to perform while resting between hangs with a replacement of appropriate stretches. It has the benefit of being a routine you can perform before you climb for the day (given a nice 15 minute rest in between to allow your body to recover) or, ideally, it can be done in the morning and then you climb again later that day. Note: this should be used as a training day for climbing, not your max effort day.
These show notes will go through each section of the routine chronologically so you can read along while performing the routine. It will also have notes to help better understand each movement so it can be performed safer.
The 4th round of this hangboard routine will be either a minimal edge or Max hang Protocol. DO NOT DO BOTH! Pick one that works better for you. If you are newer to hangboarding, start with the minimal edge protocol and work your way up to the max hang protocol. Or, if you have experience with hangboarding but have a project that involves crimping on a smaller ledge, work the minimal edge protocol to build strength on that crimp. Think about your current training and decide what works best for you!
Note: This routine requires you to add weight in certain rounds to complete them correctly, so you'll need some way of adding weight to your body. This can be done by attaching weight to a harness, backpack, or vest
Now we need to talk about edge sizes real quick. You’ll hear me refer to edge sizes by large, medium, or small. Or medium/small…. Or maybe even sometimes medium/large? Well, it’s important to note that edge sizes are relative to your strength level. Large edges are ones that you can hang on with little warm-up and minimal effort. Medium edges require warming-up and moderate effort. Small edges, big surprise, require a full warm-up and high effort.
6mm may be a jug to Alex Megos, whereas I’m still struggling with 10mm
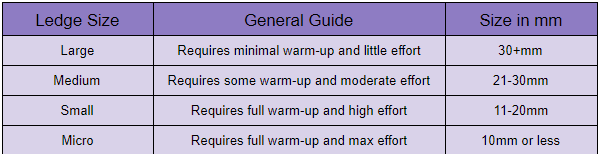
We've included suggestions for what edge size you should use for each type of hang, but as with any hangboard program you may need to modify these to fit your abilities. Remember, it's always best to start off easy and work up from there
Layout
This routine will be broken down into a few sections. It will focus on a proper warm up which will include both physical and neurological aspects. It will have a max effort round, and will have specific movements built into it to promote healthy mobility and training for climbing. It’s important to note that these exercises won’t be placing a large demand on your cardiovascular system, which will allow you to fully recover between sets and reserve energy if you are deciding to climb later.
The purpose of this routine is for building strength to advance your climbing. It is designed for:
Climbers who climb outside only and don’t have access to a gym but do have access to a hangboard (maybe in a sweet sprinter van)
Climbers looking to add to their training routine to build finger strength.
Climbers who can only climb a couple days a week that want to optimize those training days.
The other thing that specifically went into designing this program is utilizing the breaks with other tools that will benefit our climbing. The mobility exercises were chosen to promote hip and lower extremity mobility to work on functional movement with climbing. They will help work on high feet and big reaches. They will help improve your heel hooks and keep your hips closer to the wall. They are meant to give you something to do to have a true active rest so your forearms and fingers can recover while you do something beneficial rather than just scroll on your phone.
With hangboarding it’s important to understand that you won’t feel the same “pump” you would feel at the end of climbing 100 v points [Emile shouts what are V points] (umm… add up all your V climbs. Not V0’s though) but it’s OK to not feel the pump, stop chasing the pump. This is a strength building program, you do not need to be producing muscle burn to be effective. That is training another energy system. If you don’t trust me, trust the research done in the styles that went into this routine including work by the great Dr. Eva Lopez.
Warm up
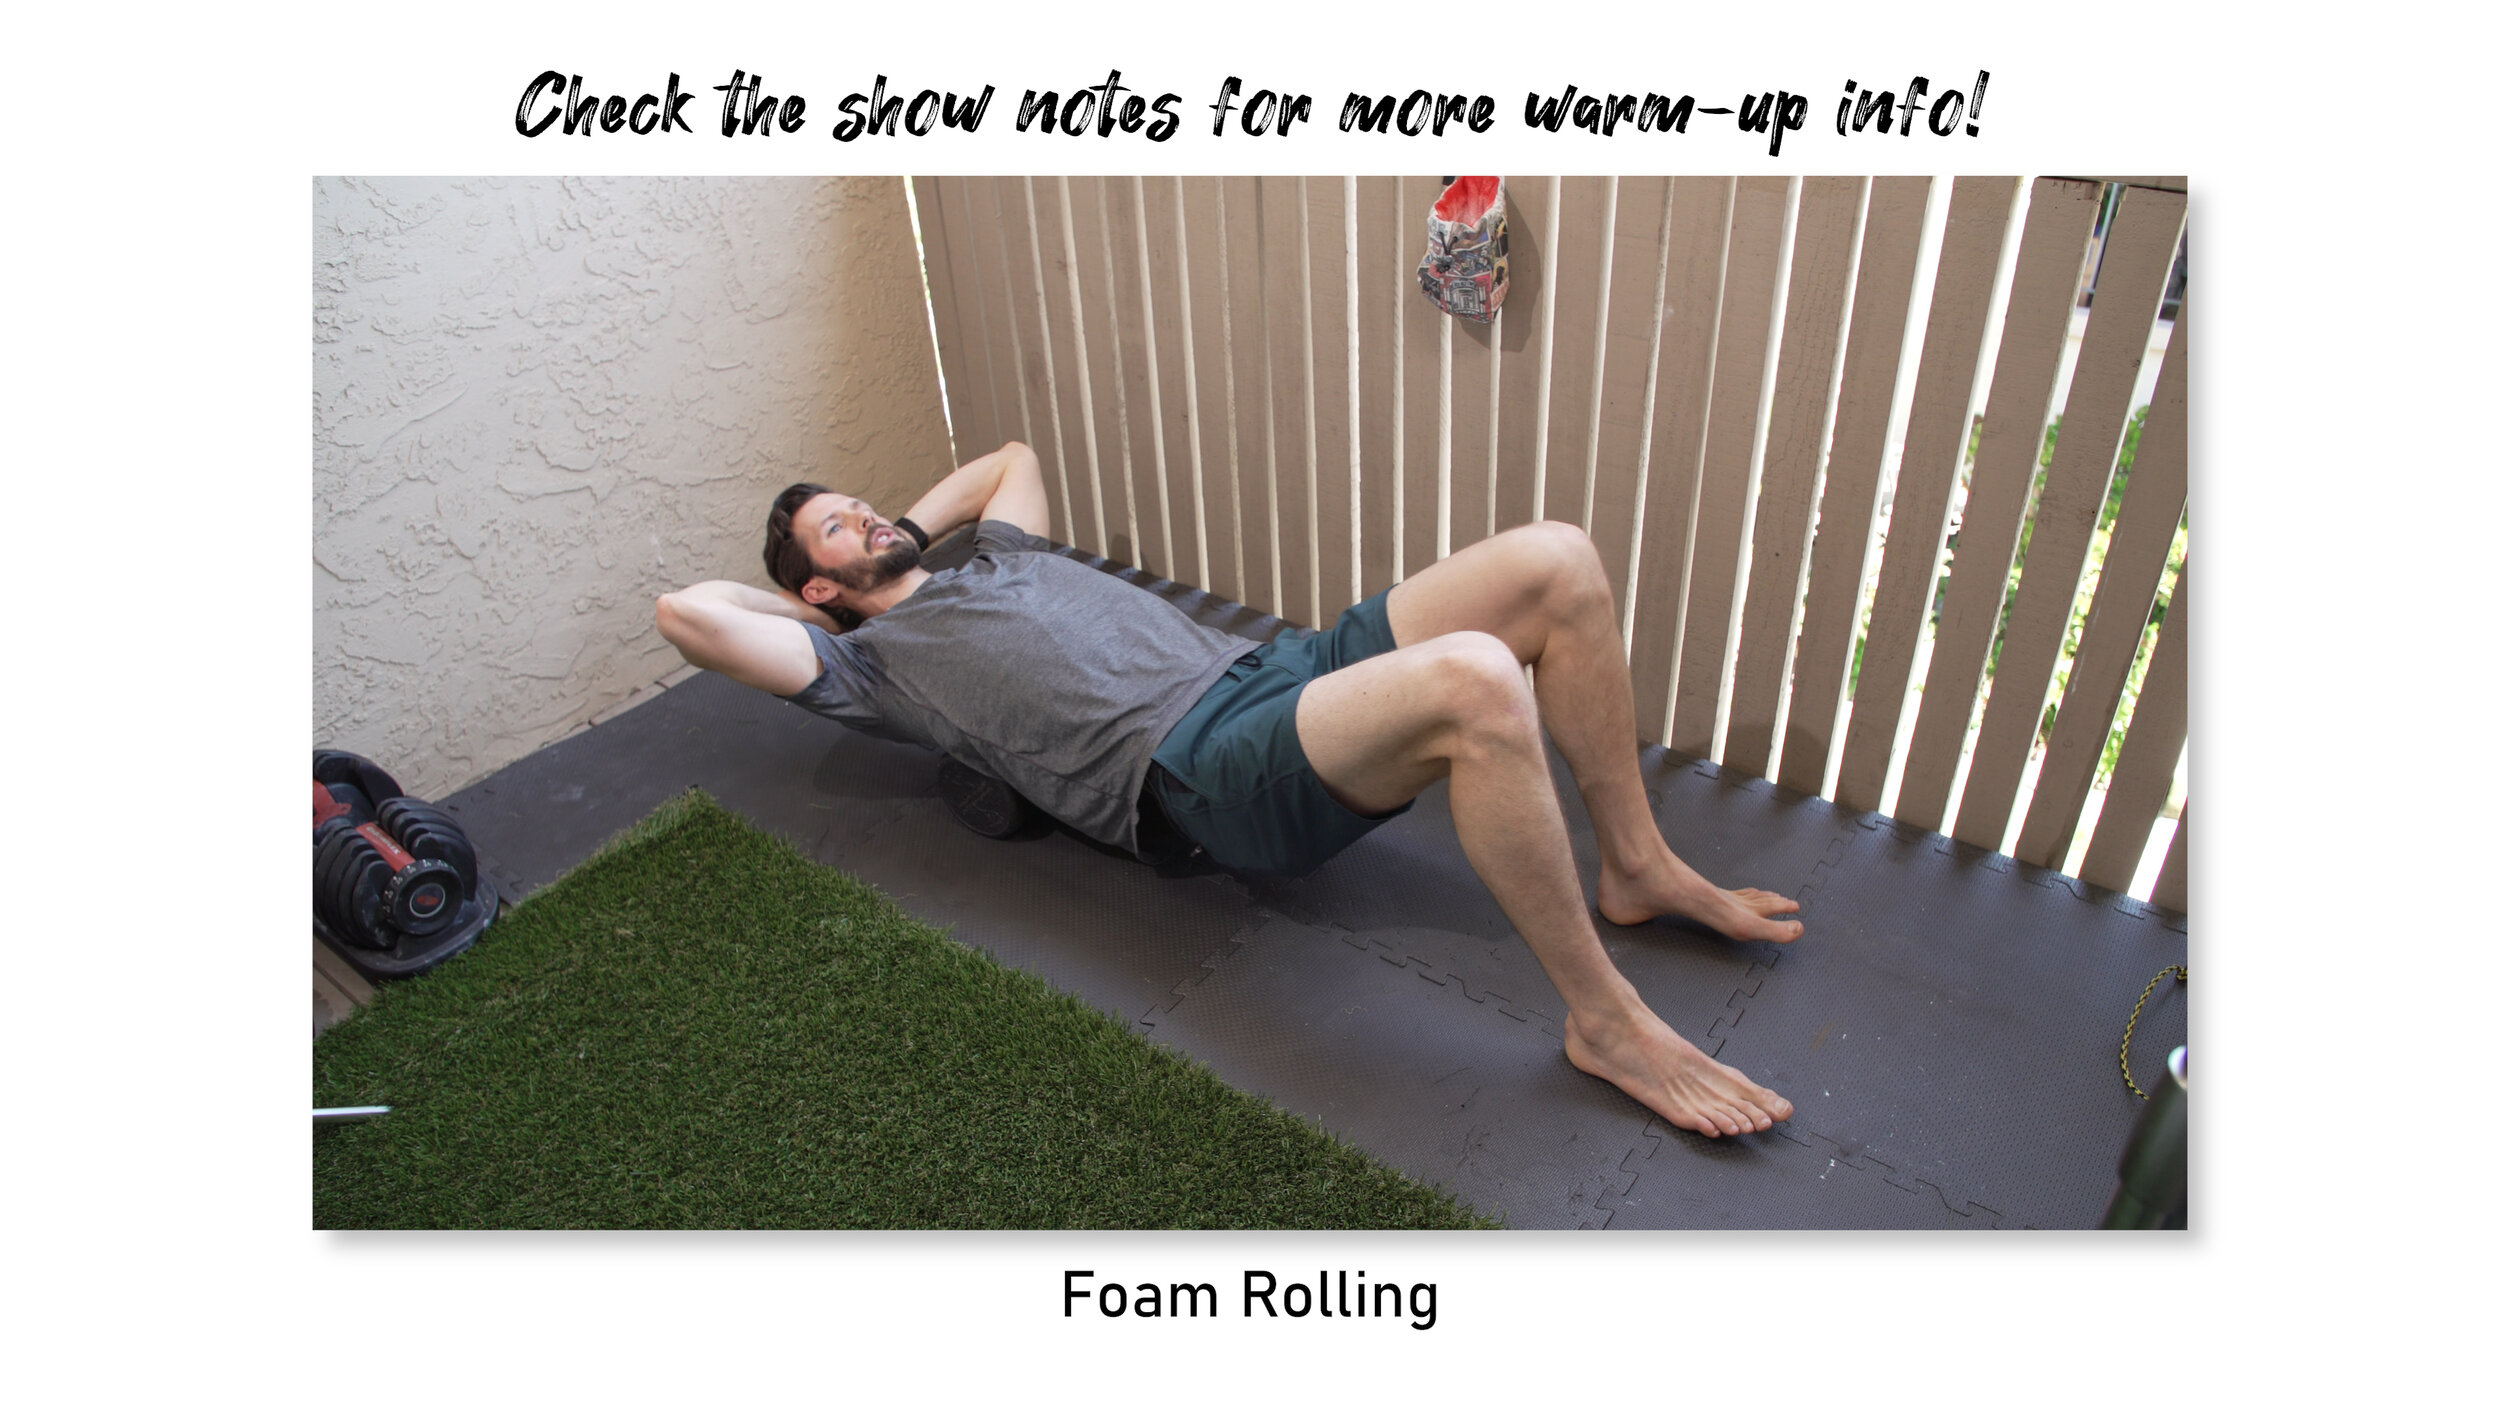
Foam Rolling. This is always a good idea just to mobilize the tissue and improve your thoracic mobility. Maximal flexion of the shoulders (reaching overhead) requires thoracic extension, so getting a few quick rolls in on the foam roller can quickly help get the body prepared for hanging overhead and may even help any potential shoulder issues such as with impingement. You will also be foam rolling the rhomboids, infraspinatus, teres minor, and lats. This will help with circulation and mobility of the muscles.
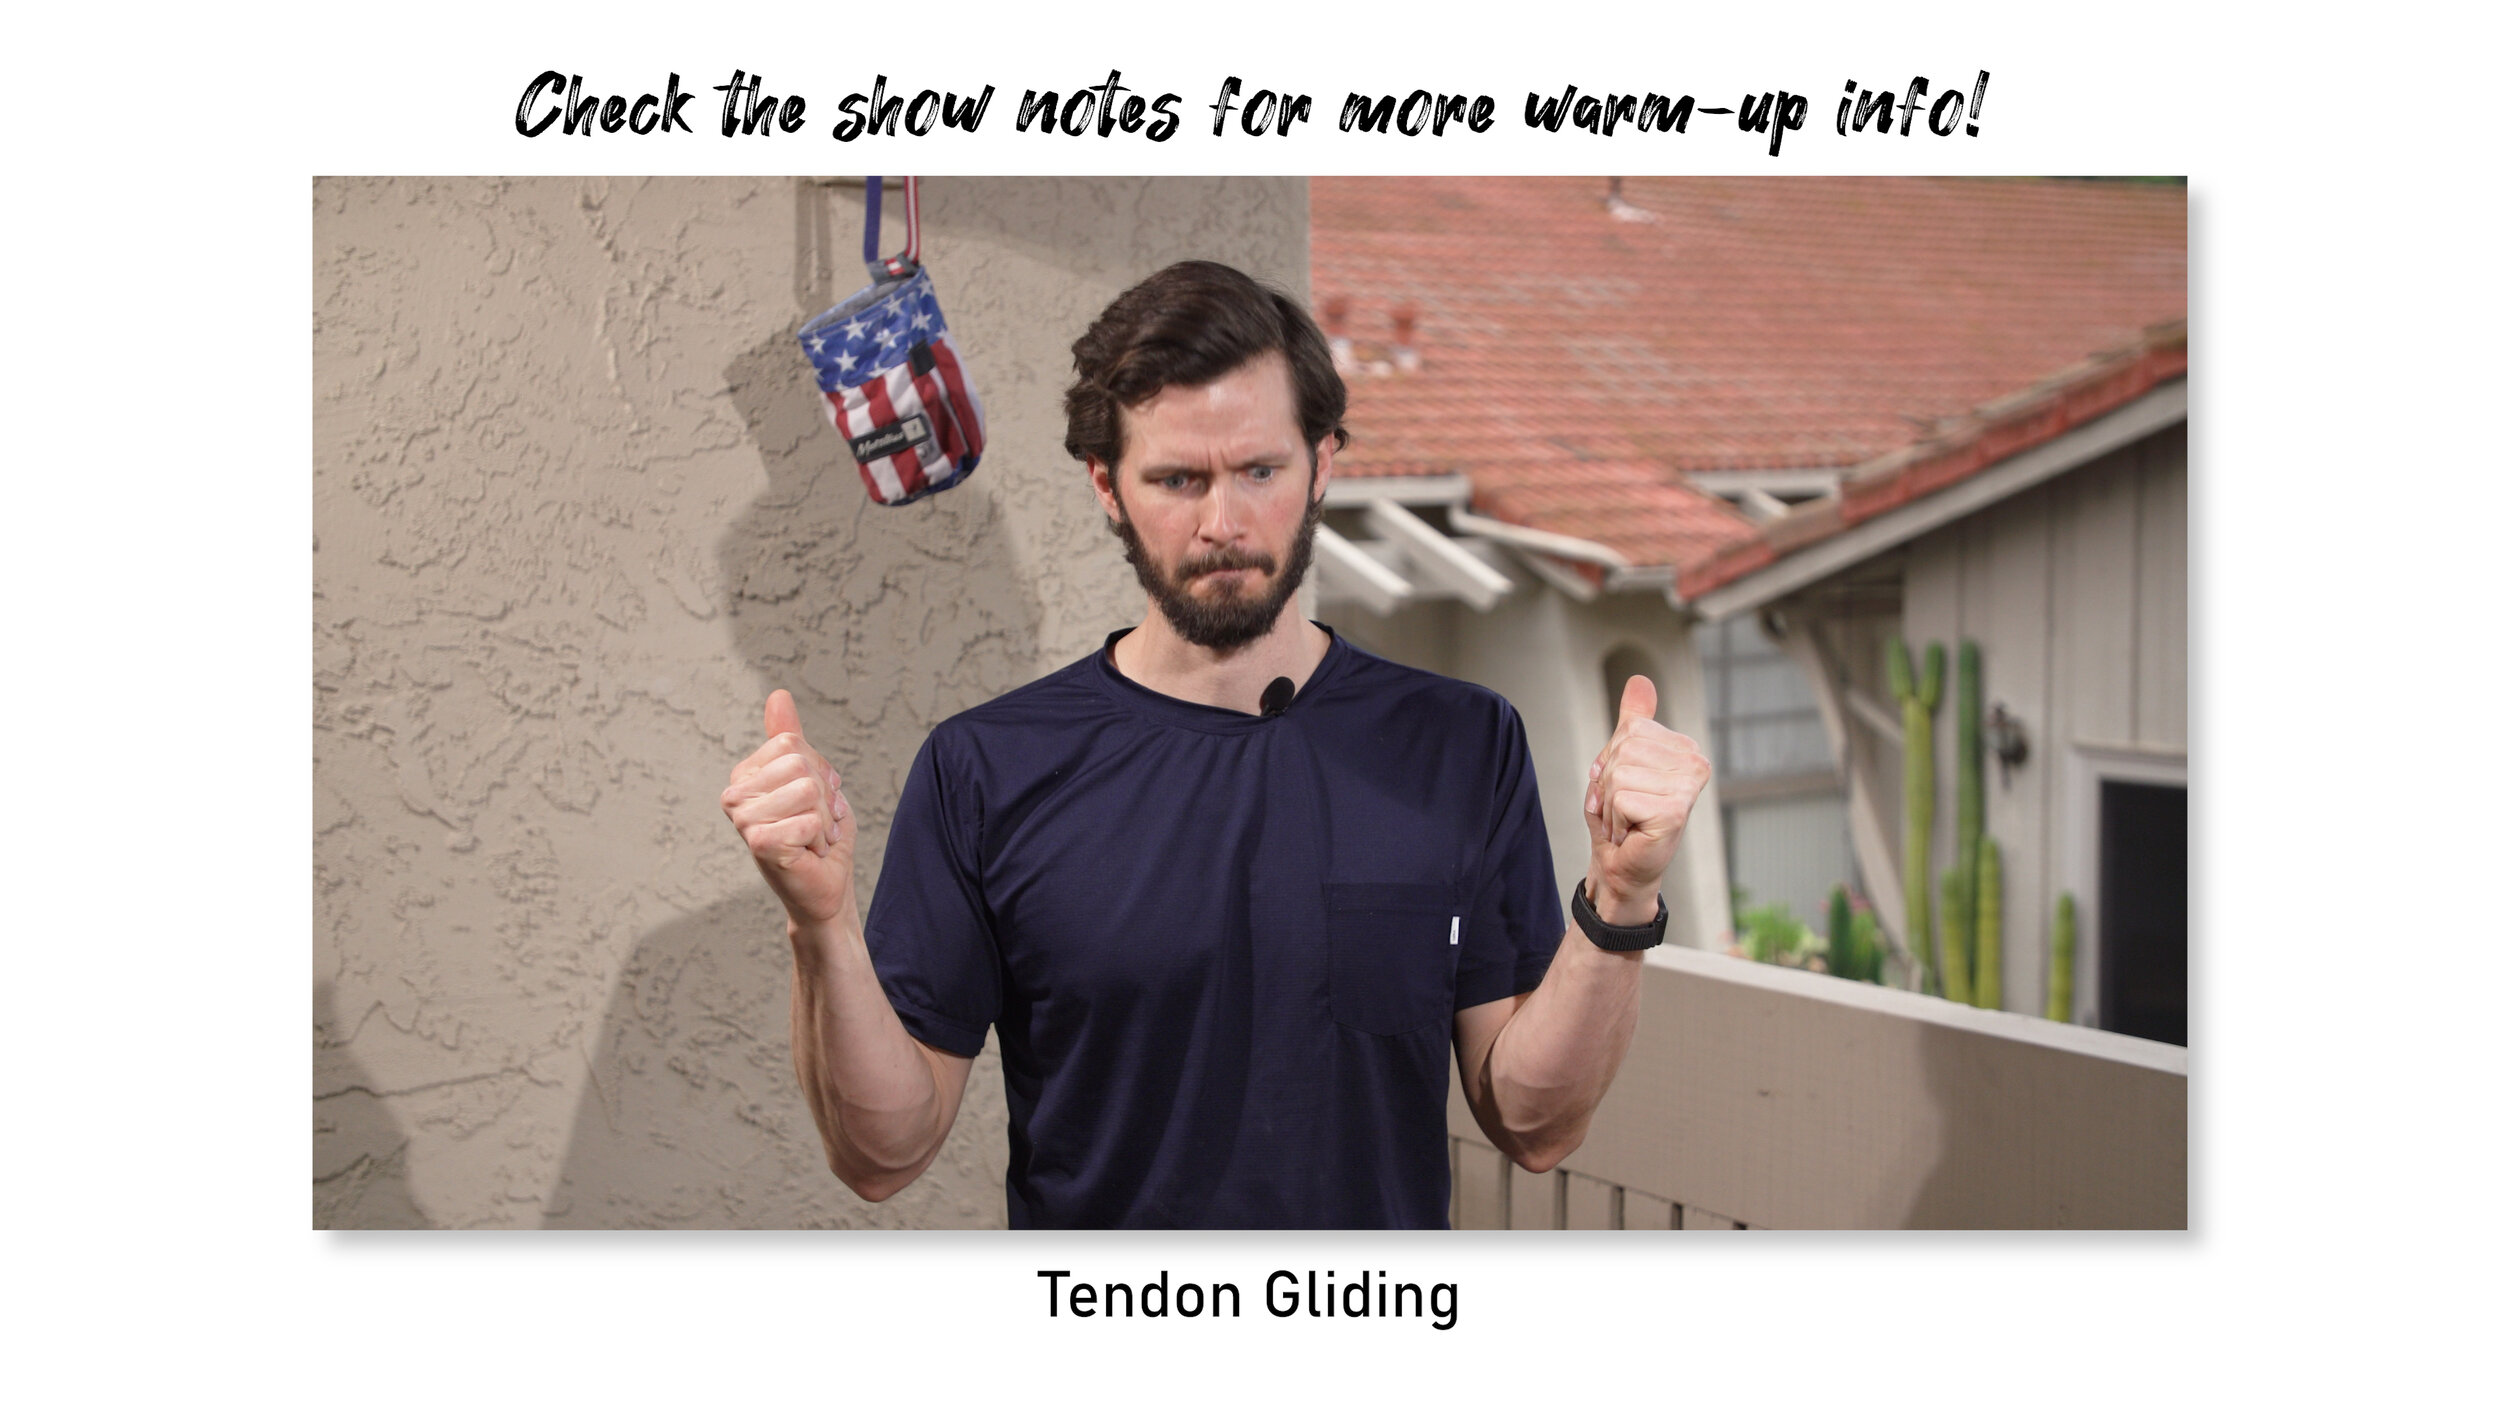
Tendon Gliding: Perform 10 tendon glides. Touching all 3 spots counts as 1. Perform on both hands at the same time for efficiency. You can also do this before you get to your climb. For example, I love to do it in the car with 1 hand or while I’m walking into the gym. Just get the tendons moving so our hands are a little warm.
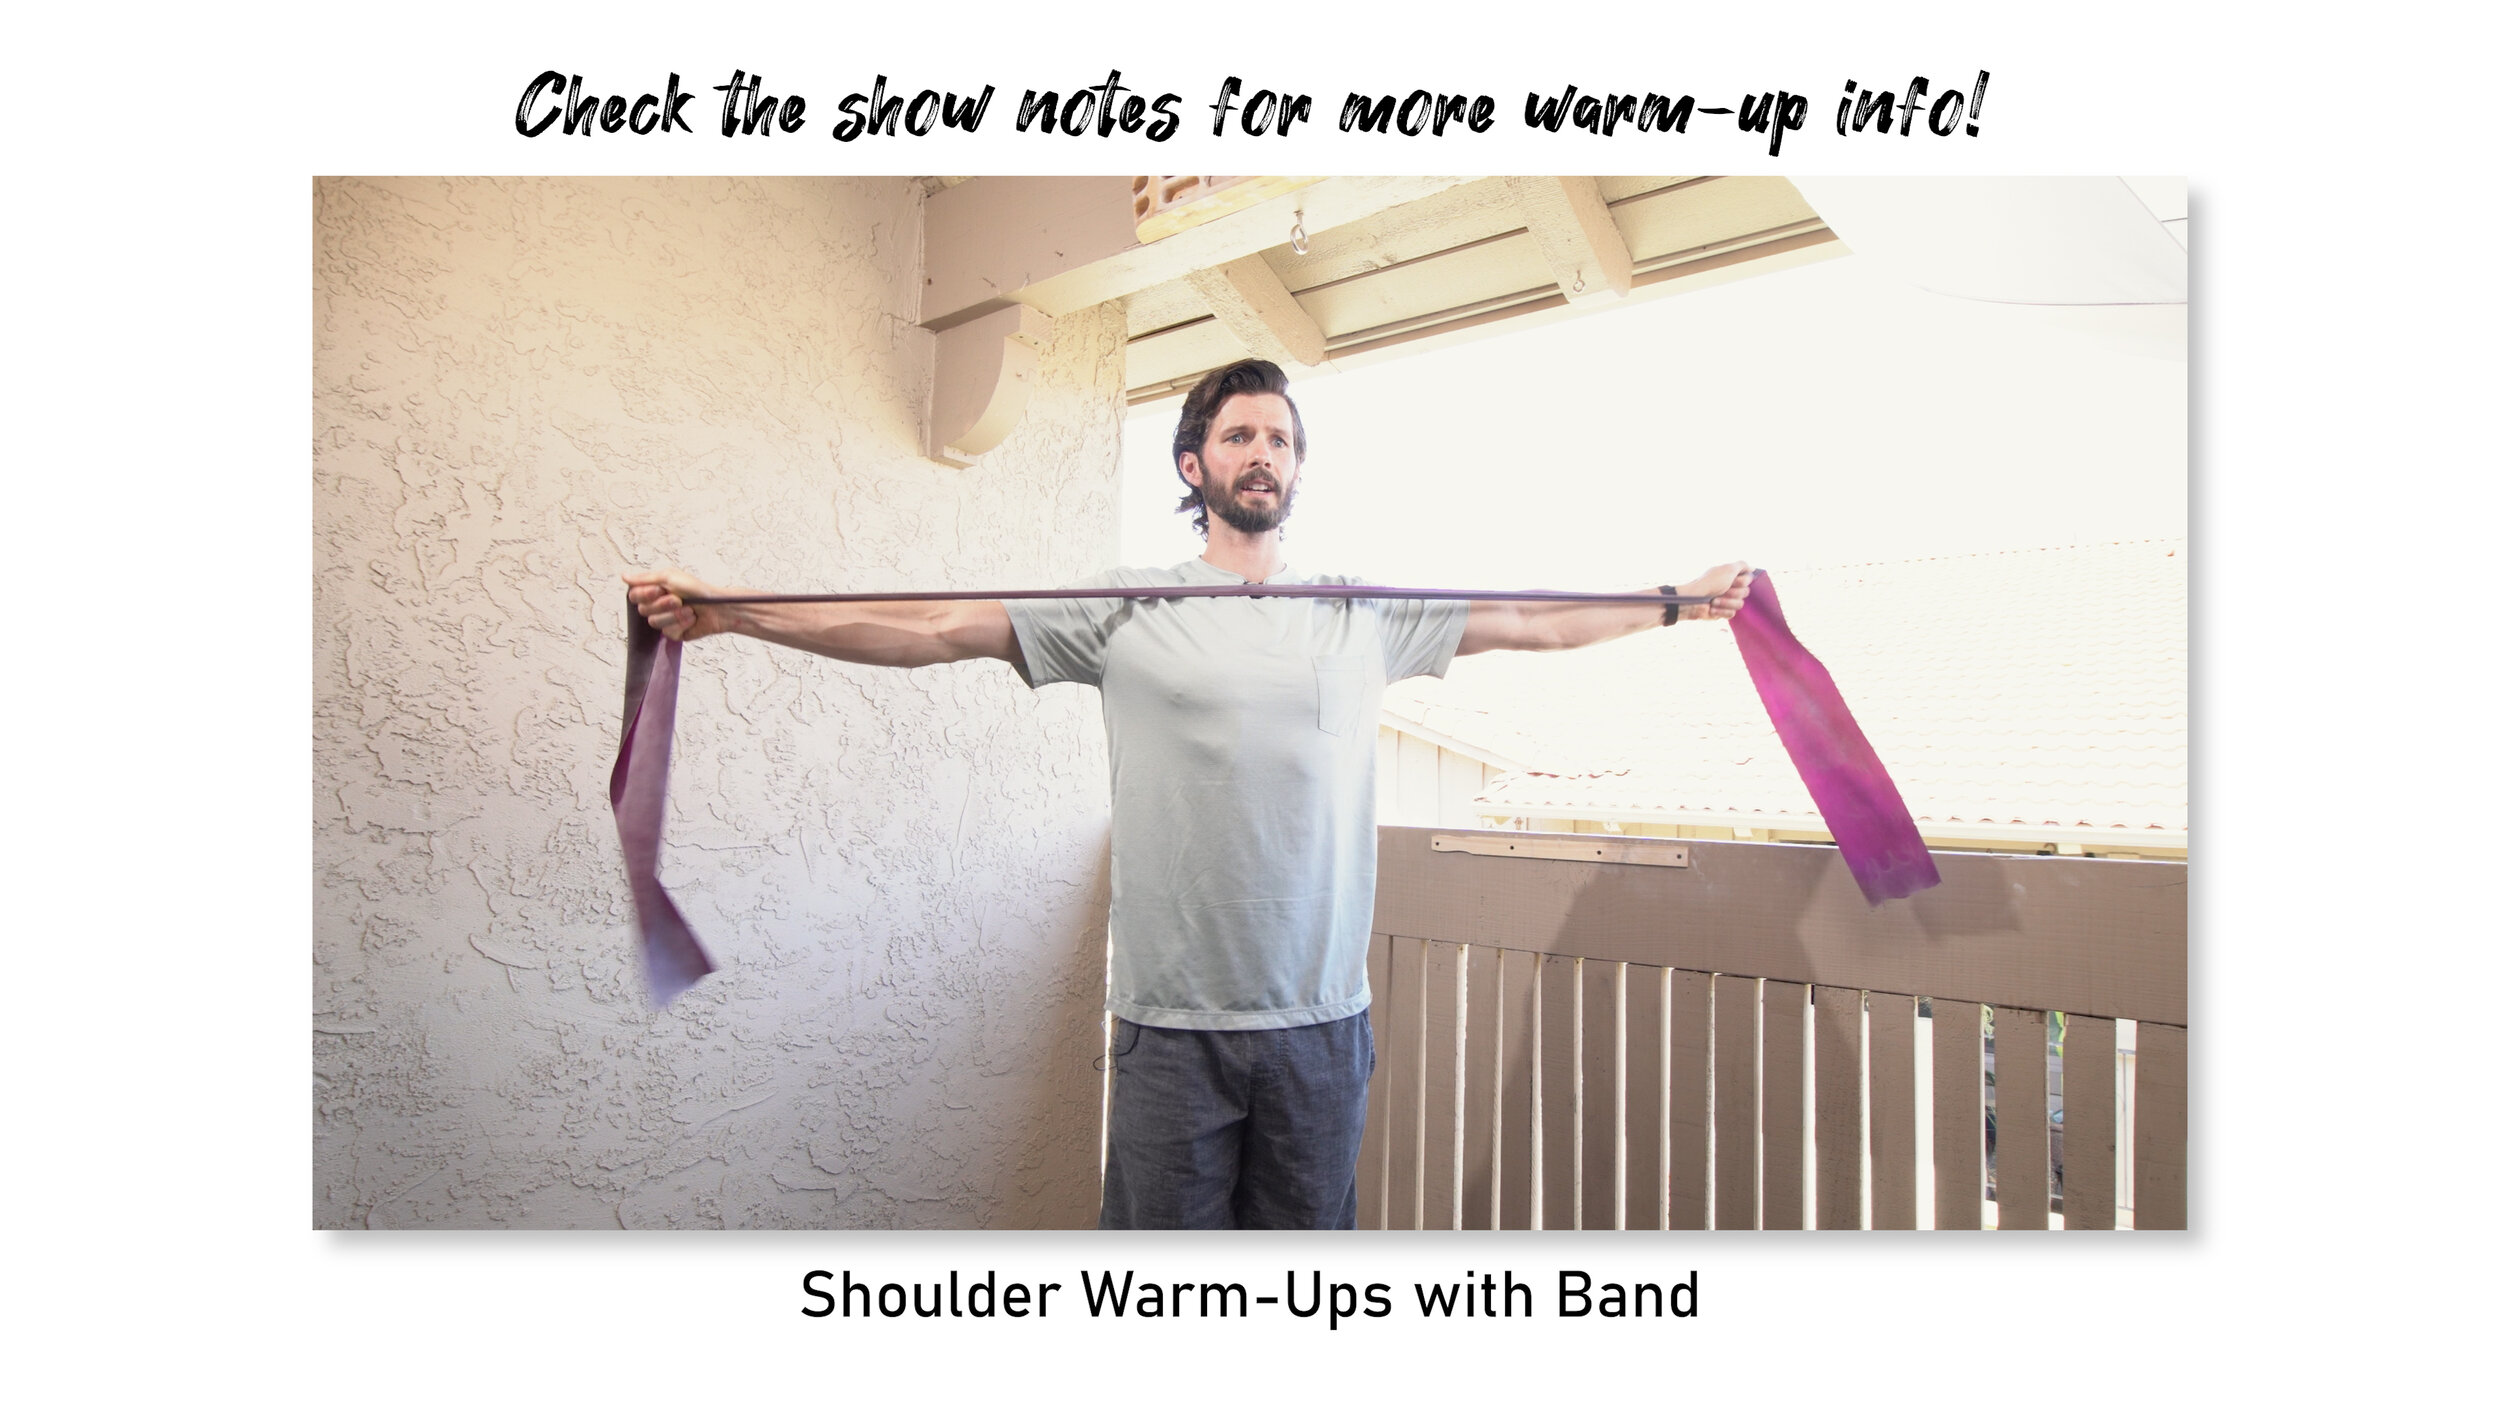
Bilateral External Rotation with Scapular Retraction aka no moneys: This exercise is to help warm up our infraspinatus, teres minor, and rhomboids to get us ready to rock. Squeeze the shoulder blades together as you rotate out. Palms up or thumbs up for our hand position. Either is fine. We will do 12-15 reps with a resistance band and 1-2 sets.
Horizontal Abduction aka Human T: This is our next warm up and will be to help get the middle trapezius and posterior shoulder ready to go. Try to keep the band parallel to the ground so you make a strong ‘T’. Don’t let your hands drop down into a “droopy T”. Squeeze the shoulder blades together as you do this. 12-15 reps, 1-2 sets.
D2 flexion aka Sword from the Sheath: This exercise hits the lower trapezius which will be really important for those hangs. It also provides an exercise going towards the hanging position so we can get the body accustomed to being “engaged” while we hang. Make sure the thumb is pointed backwards at the end of the movement. Perform 12-15 reps, 1-2 sets.
Tendon Gliding Round 2: if your hands don’t feel that warm yet, do another set of tendon glides just to get things moving.
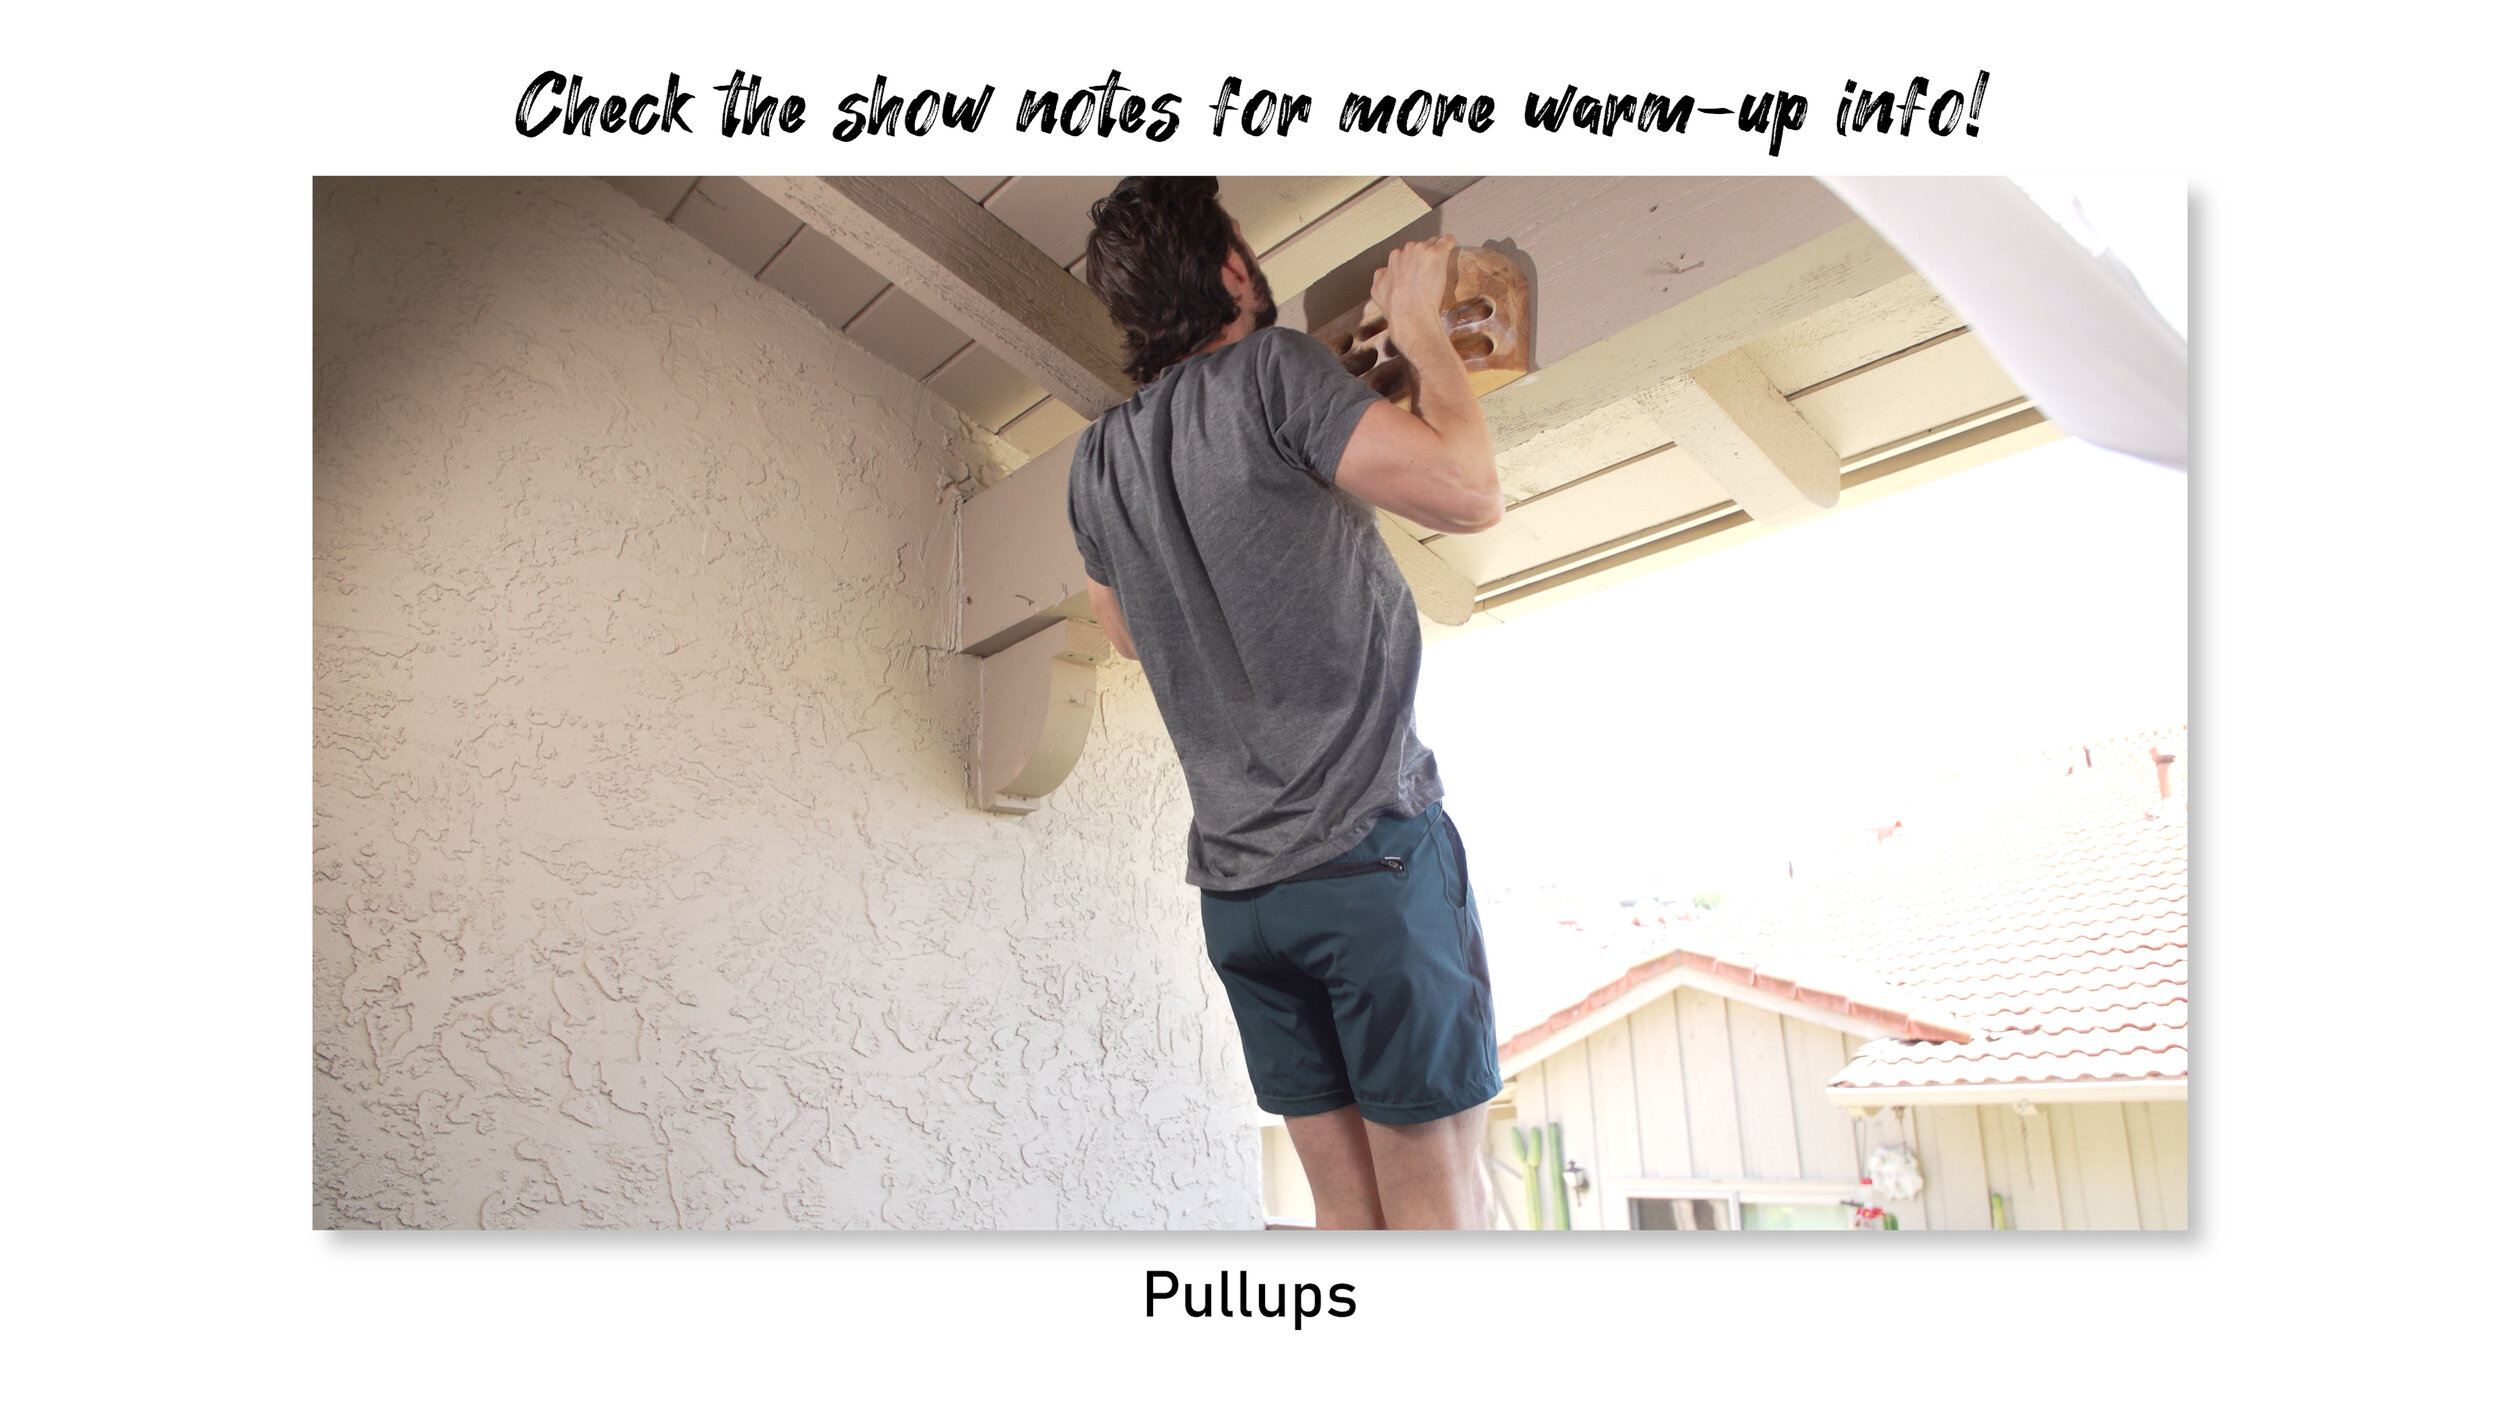
Hangboard Pull ups / scapular pull ups: To finish off the warm up, use a large hold (one that you can get close to the first joint (your proximal interphalangeal joint) of your middle finger on and either do 10 pull ups or 10 scapular pull ups. If you can’t do 10, that’s fine, just do as many as comfortable to get yourself ready.
Scapular pull ups are simply engaging the shoulders and sticking the chest out while you squeeze the shoulder blades together.
You should now be set for the first round of hangs! But first, let’s establish a really important factor: Effort Level.
Effort Level
Effort level is, in this case, using time to define the amount of force we are placing on the body. The lower the force, the lower the effort, the longer we can hold (and vice-versa). This was described wonderfully by Dr. Eva Lopez in her research which is available in our show notes, and we will integrate it into our training. For example, let’s take our round 4 of the Minimal Edge protocol.If the effort level is plus/minus 3 seconds on a 12 second hang, your actual hanging time should not fall outside of the 9-15 second range. If you fail at 8 seconds, you're on too small of an edge (or have too much weight if doing max hangs). If you can hang for 16 seconds or more without failing, you're on too large of an edge (or don't have enough weight added). This is how you can track your progress. If you were able to do 4 sets of 15+ seconds with +25% BW on a 20mm edge with no issue, that’s great! You are within the window of the effort level, but, you may, in fact, be ready to go to a smaller edge or add weight next time you complete this as you are bordering on it being too easy. It is best practice to start on a large enough hold or with minimal body weight to the point where you are reaching the plus (ex, 3 sets of 15 seconds) and work your way down, rather than starting to fail at 6 seconds and then adjusting.
The Hangs: Round 1-4

Round 1: SubMax, no weight

Submax hangs, no weight, 30 second hold - The purpose of this warm up hang is to get the shoulders accustomed to hanging but in a safe manner. It allows you to make little corrections as needed and basically raise your body's awareness to hanging before you add more stress to it. The longer hold allows you the time to pay attention to what your body is telling you. Are your shoulders active? How do your fingers feel? Etc. This should be done with a medium to large ledge so anything larger than 20mm. Because this is a warm up and not yet too strenuous, you should only rest for ~1 minute, to keep the program efficient.
Ledge Size: 20mm+
Hold time and Effort Level: 30 seconds hold, EL +/- 5 seconds
Start your 60 second timer immediately after your hold
Side split against wall with lateral trunk flexion: This will help when balancing on wide feet and having to move out to the side. Start by facing a wall in a side split position. Your toes should be all the way up against the wall. Bring your arms out to your sides and then reach the right hand towards the right toe. The left arm will go overhead as if reaching up towards a hold. Come back up to the start position, then repeat going to the left. Perform 5-6 reaches on each side, holding for 5 seconds at your end range.
Perform 2 sets, with 60 seconds between the end of your hold and the next set, then move on to Round 2
Round 2: Recruitment Pulls

Single Arm Recruitment Pulls (not hanging) - This is part warm up, part awesome training. These recruitment holds are short, near max effort holds. You will notice the force you can safely generate will increase with each round or even each rep as your tissue warms up and the neuromuscular recruitment component improves. The hold in this should be small enough so that your hand is in a half crimp position and that you cannot lift off of the ground. 10-15mm should be a good size for this hold.
The idea is not to immediately overload the tissue by placing complete body weight on the hold, but rather safely begin loading it to get ready for the challenge of round 4 Minimal Edge hangs. With this hold, try not to have your elbow fully extended but rather start with a slight bend. If in fact you are strong enough to lift yourself off of the ground... don't, your tissue may not be fully warmed up yet, don’t hurt yourself. The concept with this is to pretend like you are pulling the hangboard down, not to just put all of your weight on a small hold on a single arm. Each rep will be a 5 second hold and you should slowly work up to "max" effort throughout the 5 second hold. Think of it as each second is a "gear". The longer you go, the higher the "gear" (effort/force) you place into it. This also allows you to listen to your body and stop if you aren't ready for the next gear yet. The first round you may only get to 3rd gear, but by the 3rd set, you are safely pulling hard in 5th.
Ledge Size: Small ledge 10-15mm
Hold time and reps: 5 seconds hold, 5 reps, each hand.
Start you 90 second timer after you finish your reps on the second hand.
High Feet Drills Against Ledge or Wall: High feet drills are to work on hip mobility and of course, high feet! We will have two forms of this, high feet close to the body with the knee bent, and high feet to the side with the knee straight. You will face a balcony (preferable) or wall with your toes touching the balcony/wall. Lift your left leg up as high as you can as close to your body as you can allowing the knee to bend. Hold briefly 2-3 seconds then return, perform 6 times on each leg. Next, keep your knees straight and reach one up and out to the side while trying to keep your hips close to the wall. Don't allow your shoulders / chest to lean to the side to compensate. Hold at your end range for 2-3 seconds, then return. Perform 5-6 times on each leg.
Perform 3 sets, with 90 seconds between the end of your hold and the next set, then move on to round 3
Round 3: SubMax with Weight

Submax Hang With Weight: We go back to the open hand position. This is similar to round 1 except now we are adding weight. The idea here is multidimensional. We want to get the shoulders safe for hanging if you are going to do a maxhang protocol for round 4, but also it is to further warm up the flexor digitorum profundus and superficialis (the two main finger flexors that are crucial for climbing). Finally, it allows for a small break for the pulleys that we just put a lot of force into with our round 2 holds. Allowing us to safely prepare for Round 4 which goes back to a crimp.
LedgeSize: Medium Ledge 21-30mm
Hold time and EL: 20 seconds hold, +/- 5 seconds.
Start your 90 second time at the end of your hang
Nordic hamstring curls against wall: A great opportunity to work on some hamstring strength and training to help in multiple realms. It will warm your tissue up for climbing (if you plan on climbing after doing this routine), it will strengthen your hamstrings to help prevent injury, and it will improve body awareness as you have to engage your hamstrings, foot/ankle, butt, and core.
Start by kneeling on the ground and backing up against a wall. You want to pull your toes in (dorsiflexion) as you scoot back so you can get as much foot on the wall as you can (think about the toes and heels touching the wall when you start). Padding is mandatory for the knees. Next, engage the core, glutes, butt, hamstrings, and start to lean forward, maintaining a straight/neutral spine. Hold briefly at your end range, then return. Perform 8-10 reps and then finish with 1 iso rep at max distance. You may fall forward, that’s OK! Just be prepared to catch yourself. Start with a small/safe range in the beginning and slowly advance as you warm up!
Perform 3 sets, with 90 seconds between the end of your hold and the next set, then move on to round 4
Round 4a/b: MinEdge vs. MaxHang Protocol
Round 4a: Minimal Edge

Minimal Edge Hangs: The idea here is to push your strength on smaller edges, without the addition of weight. This is much better for an introduction to the hangboard, whether it be with an experienced climber who has not been on a hangboard recently, or someone who has at least 6-12 months of climbing and wants to start working on more strength. It is also helpful when you do not know what edges you should be training on. Start with a medium ledge that you can half crimp on. Eventually, as the name would assume, you want to hang on the smallest edge that allows you to hold on for 12 seconds (plus/minus 3 seconds).
You don’t want to overestimate your strength level. Start with a large enough hold that allows you to complete the time, or even go slightly over. If you can hold it for 15 seconds, that is fine. Don’t go to a smaller ledge immediately. Rather, complete all of your sets and if you make it 15 seconds each time, then you may need a smaller ledge. Write it down so you are better prepared next round.
Yes, you need the full 3 minute rest. The energy system you are using here takes longer to recover and since this is a high effort round, we need to rest longer to maintain safety.
Hold time and Effort Level: 10 seconds hold, EL +/- 3 seconds
Start your 3 minute rest timer immediately after you complete your hold
Mandatory - Stretch - After reach hold, you will have more time to rest. Set your timer for 3 minutes, or 1 minute and restart it 3 times (1 minute for plank bird dog, 1x2 for the stretches whether that is switching sides or switching stretches)
1st Rest: Runners and Pigeon stretch - multiple variations are possible. Perform rotations by opening up your chest away from the front leg, or simply go deeper into the stretch by trying to bring your chest towards the ground and even get your elbows down instead of your hands. Next, drop the leg down and go into the pigeon stretch.
2nd Rest: Deep squat to Hamstring Stretch - personal favorite. With the deep squat, you can go wider or narrower, and with the HS you can perform both straight and bent leg variations
3rd Rest: Standing Straight and Bent Leg Side Splits - Both bent and straight leg variations are important. Go wider as you feel comfortable. Reach leg to leg for a bonus stretch
4th Rest: Frogs pose and Child's pose - great to further open up the hips and build on top of the previous stretches. Also, very helpful to keep the hips closer to the wall while climbing
Perform 3-4 sets with 3 minutes rest between the end of each MinEdge hang, then you’re done! Rest 15 minutes before climbing or just go on with your day.
Round 4b: MaxHang

MaxHang: The MaxHang program has been heavily researched and backed by Dr. Eva Lopez. This is similar to your “limit boulder”, your project, this is where you need to be careful and respect your experience and skill level. This will be done with weight, with a hold time of 10 seconds, plus/minus 3 seconds. The timing of this can be varied depending on your skill and experience level (see the work done by Dr. Eva Lopez for more on that).
Why are you adding weight if you don't when you normally climb? One thing to recognize is that these hangs are to be done with two-hands so the force is equally distributed to both hands. Oftentimes on our hardest climbs, we place a significant amount of stress on a single hand. By performing MaxHangs with weight on 2 hands, you are attempting to simulate the effect of a hard, project hold, with 1 hand (while be safer and equal with 2).
NOTE: If you can do >50% BW, you should probably drop the weight down and work on a smaller ledge.
The second important aspect that these hangs are achieving is creating physiological change in our connective tissue. These changes help promote growth of the connective tissue and help with organization of the cellular matrix so that our connective tissue can handle the stresses of hard problems.
Is it only helpful for boulderers? No way! The stronger you are, the smaller items you can “rest” on. Think of Ondra. He can rest on a ledge much smaller than the average climber, meaning he can move through hard sections and find rests where no one else can.
As mentioned in the notes for effort level, it is important to shoot for the over on this! Meaning, if you are failing at 15 seconds in the first round, that is fine. Don’t go to a smaller ledge or add more weight right away. Rather, perform 4 sets and if you make it 15 seconds each time, then you may need more body weight next time. What might happen instead? You may start strong with your first 2 sets at 15 seconds, then fail at 10, and 7 on your last sets. Good thing you didn’t change things too quickly! Write it down so you are better prepared next round.
Yes, you need the full 3 minute rest. The energy system you are using here takes longer to recover and since this is a high effort round, we need to rest longer to maintain safety.
Hold time and EL: 10 seconds hold, +/- 3 seconds.
Start your 3 minute timer immediately after you complete your hang.
Mandatory - Stretch - After reach hold, you will have more time to rest. Set your timer for 3 minutes, or 1 minute and restart it 3 times (1 minute for plank bird dog, 1x2 for the stretches whether that is switching sides or switching stretches)
1st Rest: Runners and Pigeon stretch - multiple variations are possible. Perform rotations by opening up your chest away from the front leg, or simply go deeper into the stretch by trying to bring your chest towards the ground and even get your elbows down instead of your hands. Next, drop the leg down and go into the pigeon stretch.
2nd Rest: Deep squat to Hamstring Stretch - personal favorite. With the deep squat, you can go wider or narrower, and with the HS you can perform both straight and bent leg variations
3rd Rest: Standing Straight and Bent Leg Side Splits - Both bent and straight leg variations are important. Go wider as you feel comfortable. Reach leg to leg for a bonus stretch
4th Rest: Frogs pose and Child's pose - great to further open up the hips and build on top of the previous stretches. Also, very helpful to keep the hips closer to the wall while climbing
Perform 4 sets, 3 minutes rest between the end of each MaxHang, then you’re done!
You can perform more sets of this IF YOU ARE EXPERIENCED (I don’t recommend any more than 6 total sets)
Climbing after training
If you plan on climbing after this routine, great! Just wait 15 minutes before attempting anything hard. You can climb on some V0’s but nothing beyond V1 just to make sure to get some rest.
A great idea is to do this routine in the morning and then climb in the afternoon/evening.
Notes
Remember, the best hangboard routine is one that allows you to safely load your tissue in a way to enhance your climbing without suffering an injury. If you get hurt, you can’t climb or train. Do the math, start light and work your way up so you can keep doing the sport you love.
The reason that doing a hangboard routine early in the day and climbing later is part recovery and part overall tissue load. You are allowing for adequate time for each energy system to recover but also while doing it on the same day you are optimizing your training schedule and your body will respond to this stress by reinforcing your tissue even more. You need to acknowledge that this may not be your limit problem day as you have already trained once, and I would only recommend experienced climbers perform this as you need to be in tune with your body so you can know when to push and when to pull back.
If you prefer looking at these notes in a format such as below we have created and shared the entire program on a google doc! It is available here: Hangboard Protocol - Training for Climbing
If you’re interested in a hangboard routine that is a full climbing session replacement, then check out our introductory and intermediate/advanced routines as well! These are 45+ minute routines to work on pull strength, core strength, finger strength, and mobility. It will kick your butt and get you climbing better when you don’t have a gym available to use.

Until next time, remember: Train. Climb. Send. Repeat.
Disclaimer:
As always, exercises are to be performed assuming your own risk and should not be done if you feel you are at risk for injury. See a medical professional if you have concerns before starting new exercises.
Written and Produced by Jason Hooper (PT, DPT, OCS, SCS, CAFS) and Emile Modesitt
IG: @hoopersbetaofficial