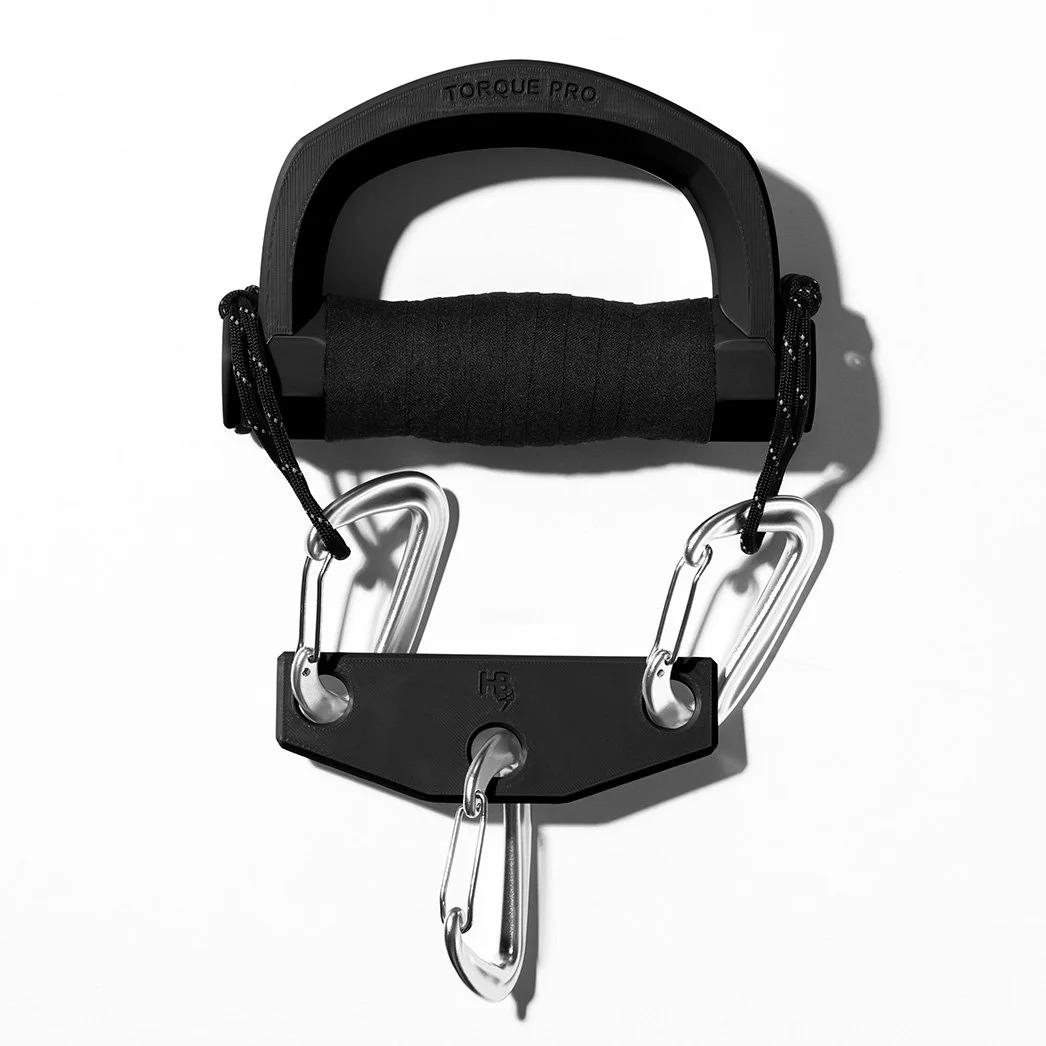
Torque Pro
Setup, Tips & Tricks
Hi, everybody!
This page contains a bunch of useful tips and tricks to get the most out of your Torque Pro, so bookmark this page as a reference! I’ll update it from time to time as I discover new hacks.
Warning!
Please do not leave your device sitting in an excessively hot environment for an extended period, e.g. the dashboard of your car on a hot day or outside in direct sunlight for hours — it could soften and warp. This is one of the trade-offs of using a compostable polymer; it's extremely strong, but it’s not a imperious “forever plastic.”
What you get in the box…
Torque Pro
Three carabiners
Rope spreader
Microfiber carrying bag and lifting strap (as of mid-February 2026)
Getting starting…
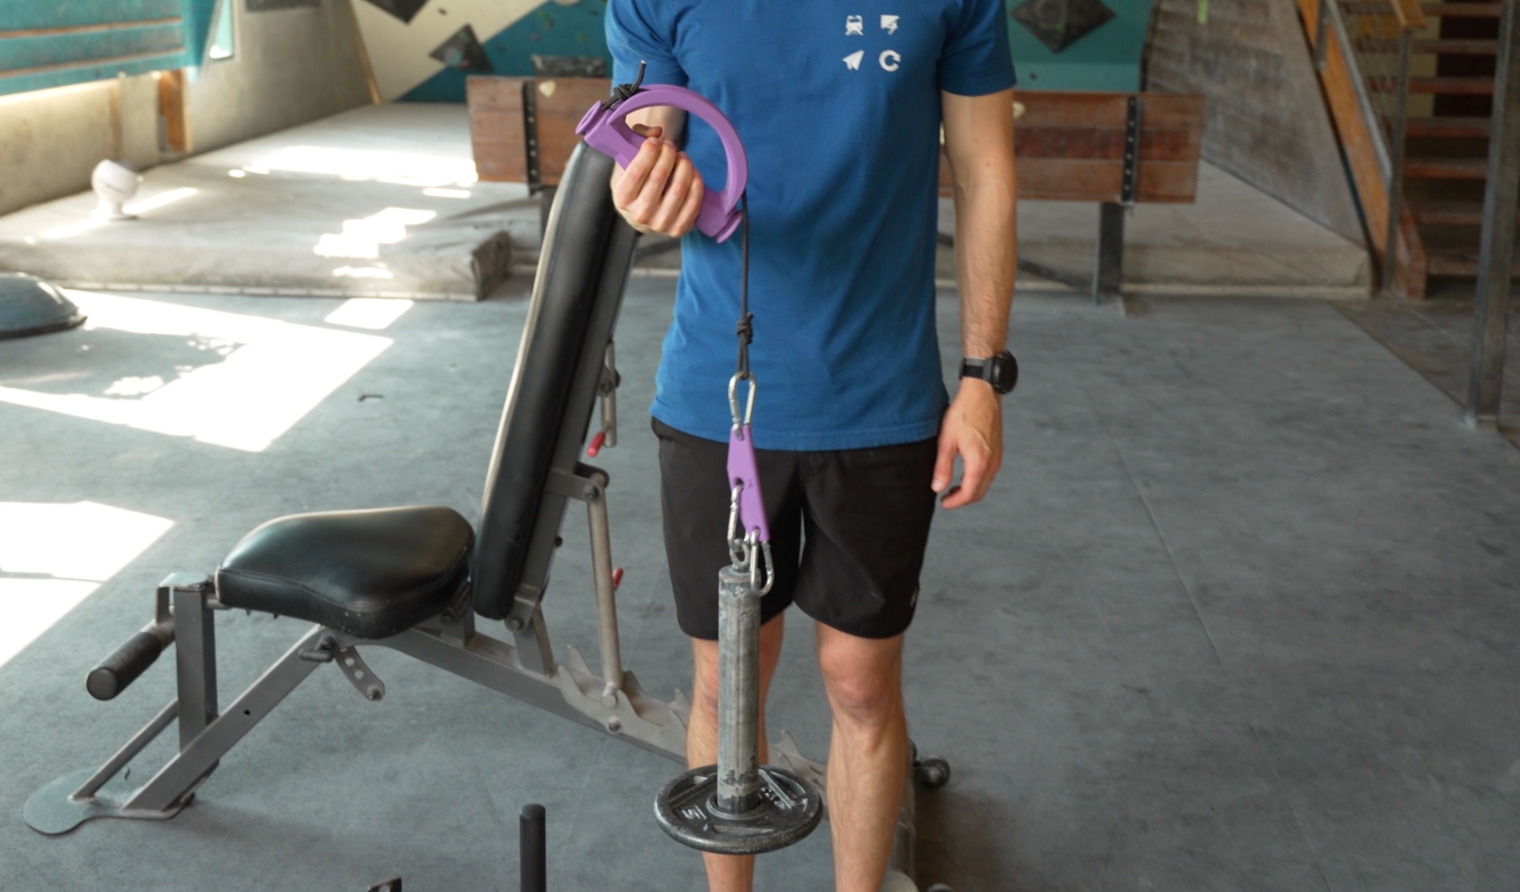
First, unhook the rope loops from the ends of the Torque Pro (do not untie the knots).
Attach the three carabiners to the rope spreader.
Attach one rope loop to one of the outer carabiners (not the middle one), and attach the other rope loop to the other outer carabiner.
Attach the middle carabiner to your weight/resistance of choice (e.g., a loading pin).
Now you’re ready to go!
Primary Functions
Flexion:
Extension:
Pronation:
Supination:
Some YouTube videos where we use this device…
If you’re currently injured:
If you’re NOT injured: Wrist Bulletproofing video
Useful things to know…
For a bunch of the information below, I’ll include links (underlined and bolded)to quick video clips and/or photos so you have a visual reference. You can also find them all in this Google Drive folder in case the links don’t work properly.
-
(Tape on each one for a video example.)
Ulnar deviation (can be done in isolation or combined with something like tricep extensions on a cable machine)
Radial deviation (can be done in isolation or combined with something like hammer curls)
-
-
EASIEST METHOD: Rather than letting one loop get pulled inside the device, grab that end and hook it to the opposite end of the device. You can do this over the handle or over the arc. Instantly shortens the whole system!
OTHER METHODS:
Attach the weight to the outside carabiner (rather than the middle one) or take off the spreader entirely.
Cut the cord to the length that suits you and retie the overhand loop (melt the rope end to prevent fraying).
Stand on an elevated platform.
Use a shorty loading pin or a different type of weight that doesn't add as much height.
-
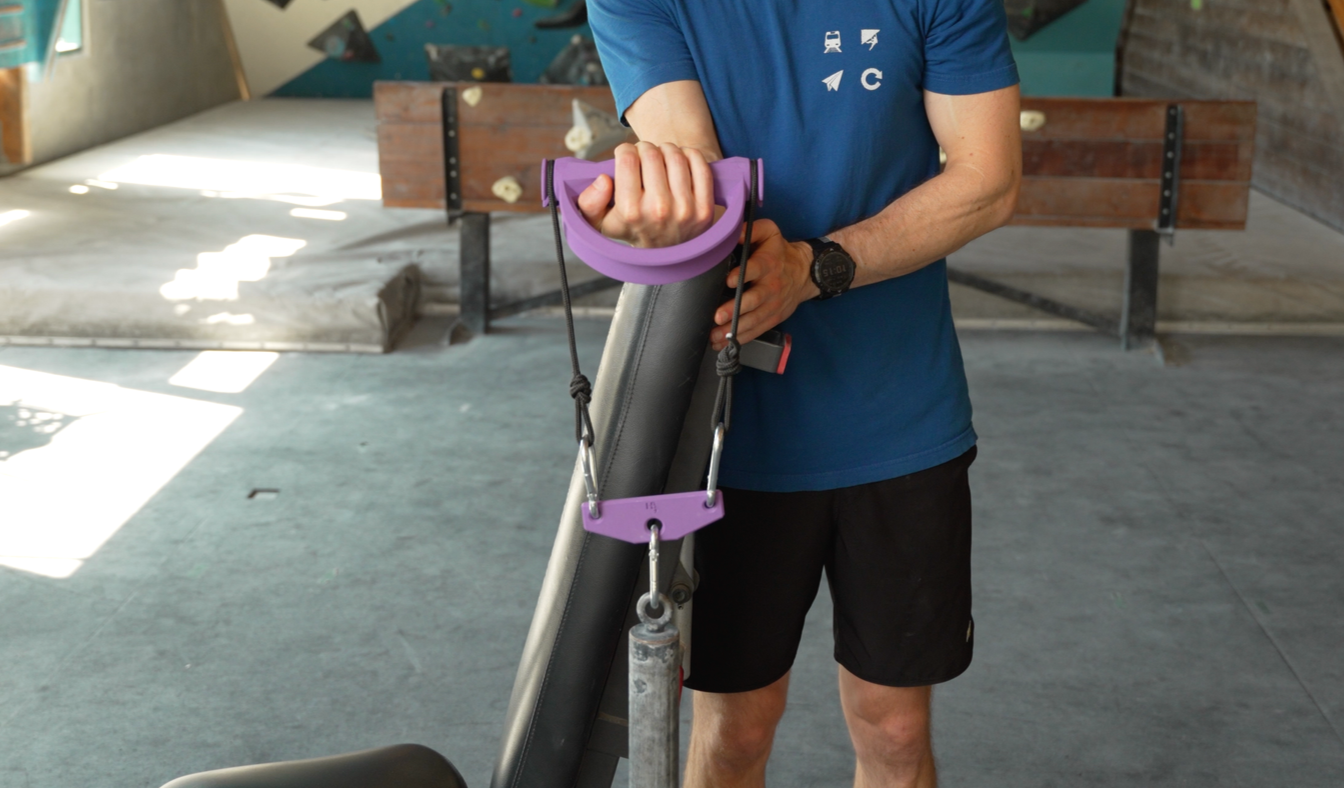
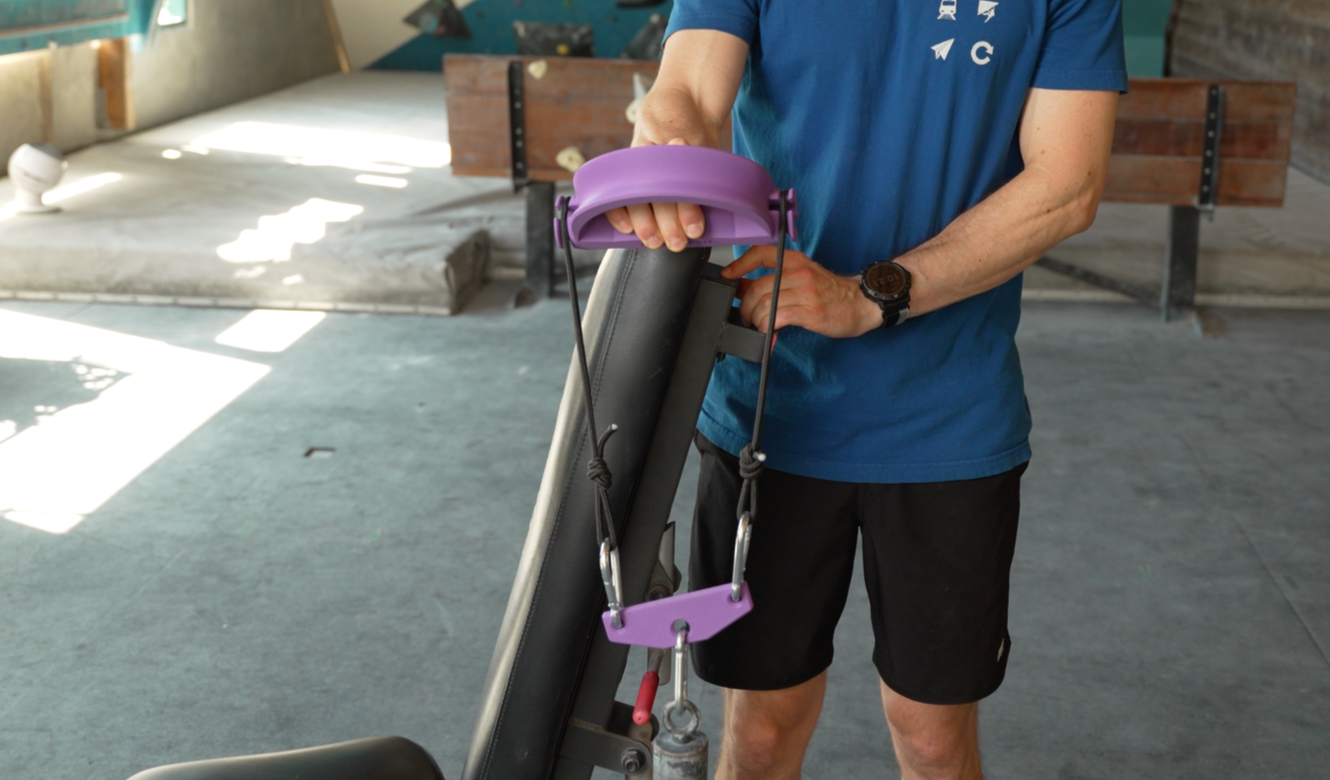
Where you grip the handle changes the leverage throughout the movement. The most important thing is to grip the device in the position that feels best to you. However...
For pronation/supination, gripping at the *opposite* end of where the rope exitsmakes the *beginning* of the motion harder and the *end* easier (as opposed to gripping close to the rope exit). This is usually a good thing, as the end of the motion is the "shortened" position for the muscles, which tends to be much harder, which tends to reduce your range of motion. So, if in doubt, grip the device at the furthest point from where the rope exits. Jason explains this here.
For ulnar/radial deviation, again your hand position on the grip will make a big difference in the leverage on your wrist, so just keep that in mind and use it for adjusting intensity if needed.
-
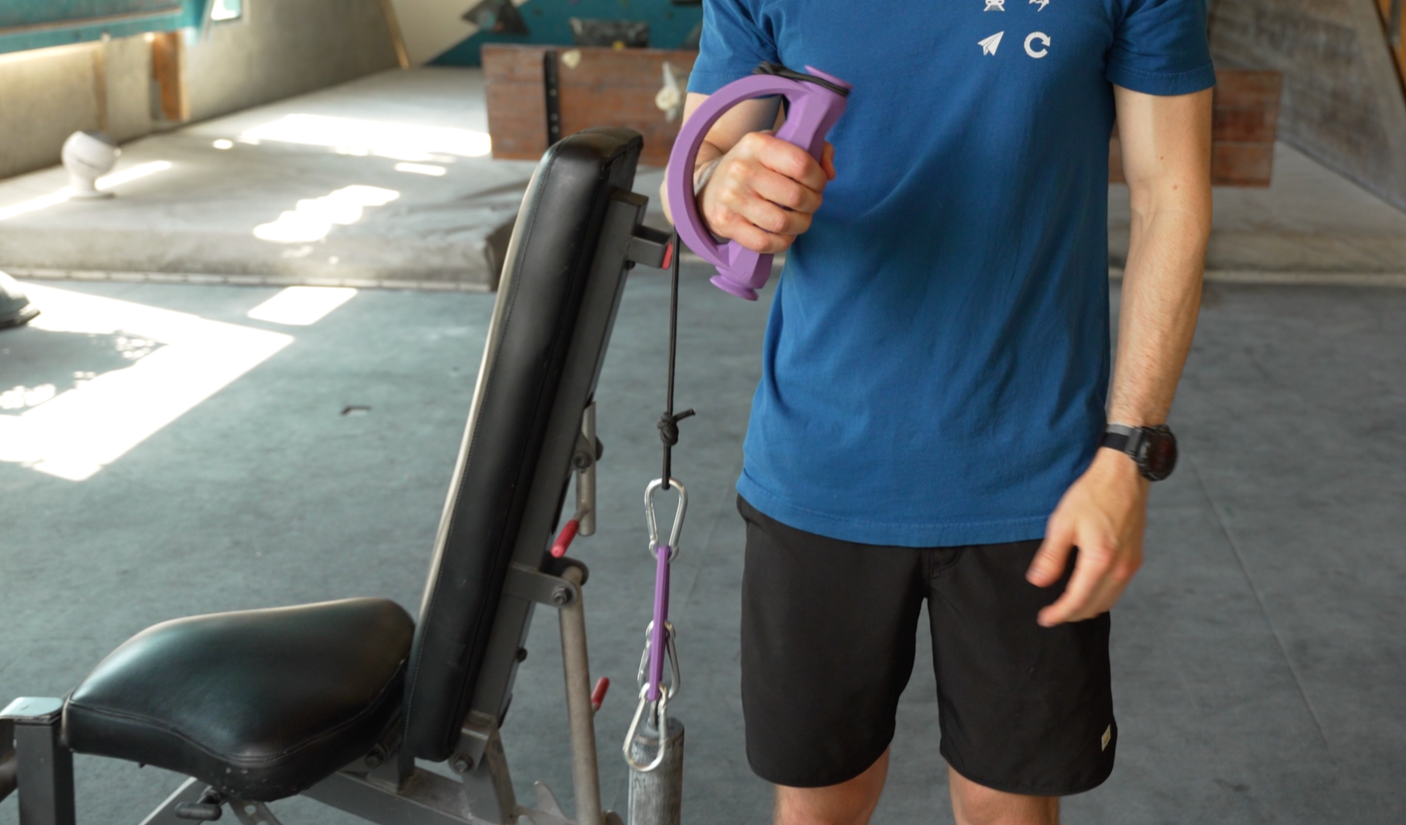
One of the huge benefits of the Torque products is that they allow you to use virtually any form of resistance.
A loading pin is typically my favorite because it's easy to adjust in small increments (2.5 lb, 1 lb, or even 0.5 lb plates are often available). This is particularly nice for wrist exercises since most people will be working with relatively little weight.
Of course, you could also use dumbbells, kettlebells, a cable machine, or heck even a gallon of water!
-
For pronation/supination, you should perform them *unsupported* if possible, meaning you're not resting your forearm on a bench or bar.
For flexion/extension, perform the exercises *supported* (rest your forearm on something like a flat bench, a padded rack attachment, or ideally an adjustable bench so you can get the height to a comfortable spot).
-
As you get to higher weights, you may find that supination places a lot of load on your thumb (it has to bear a lot of the weight).
To fix this, use a lifting strap. Put it on so the long end is on the top-side of your hand, thread the strap between your thumb and index finger, then under the handle, then back around and under your palm. Pull it as tight as you can and it'll take all the weight off your thumb!
-
This is a common issue with wrist extension exercises in general if you have small hands or you're doing lots of weight/reps; the thumb-over grip is ideal (as explained here) but can make it hard to hold onto the device/weight over multiple reps. Luckily there's an easy fix...
Similar to the lifting strap hack for supination, you can use the same strap to secure your grip during extension. Place the strap over the middle of your hand (so it doesn't block your wrist range of motion), loop the strap over your fingers, around the handle, and back under your palm/fingers. Pull it as tight as you can and it will take a lot of the weight off your fingers, allowing you to perform the exercise more effectively!
-
It can take a little practice to get the coordination down! With a little time you'll get the feel for it. If you're still having issues, try one or more of the following...
Change where you place your forearm on the support (further from or closer to your wrist).
Pause briefly at the bottom of the motion.
Slow down the movement a little bit.
Try the exercise unsupported. I've found that my body automatically compensates to mitigate the swinging.
-
Additional helpful resources:
These are not free, but they are cheap and effective...
If you're not familiar with our paid programs, learn more here: https://www.hoopersbeta.com/recoveryblueprint
In conclusion...
We're really excited about this new chapter of Hooper's Beta products, so thanks for joining us! Of course, since this is a new venture, we're still working some things out, so please bear with us if you encounter an issue. Email me directly at products@hoopersbeta.com if you need technical assistance :) Thanks for your understanding and psych!!