Increase ANKLE MOBILITY & STRENGTH for Massive Footwork Gains
Hooper’s Beta Ep. 96
INTRODUCTION

The ability to get a foot up as high as you can and be able to rock onto it is a crucial skill in climbing. So much to the point where research has even correlated that ability with climbing skill. What people don’t often understand is that ankle mobility is actually a large part of that movement!
In this video we are going to focus on how to improve ankle mobility for climbing! I’m going to show you a few simple stretching and strengthening exercises you can do pretty much anywhere, and then at the end I’ll show you how to put those exercises into a circuit routine. But first, why are we even making this video?
WHY IT’S IMPORTANT

Good ankle mobility and strength throughout the entire range of motion is more important than you might think. Without good mobility, you will find yourself limited in many aspects of climbing, particularly with moves that are highly dependent on foot friction or that require you to rock your weight over feet. Without good strength through a full range of motion in the ankle, you may be able to get into those deeper ankle positions, but you may find it challenging to move OUT of those positions. Not ideal when you’re trying to finish that sketchy mantle 20 feet up in the air! So how do we make sure that doesn’t happen?

PART 1: MOBILITY
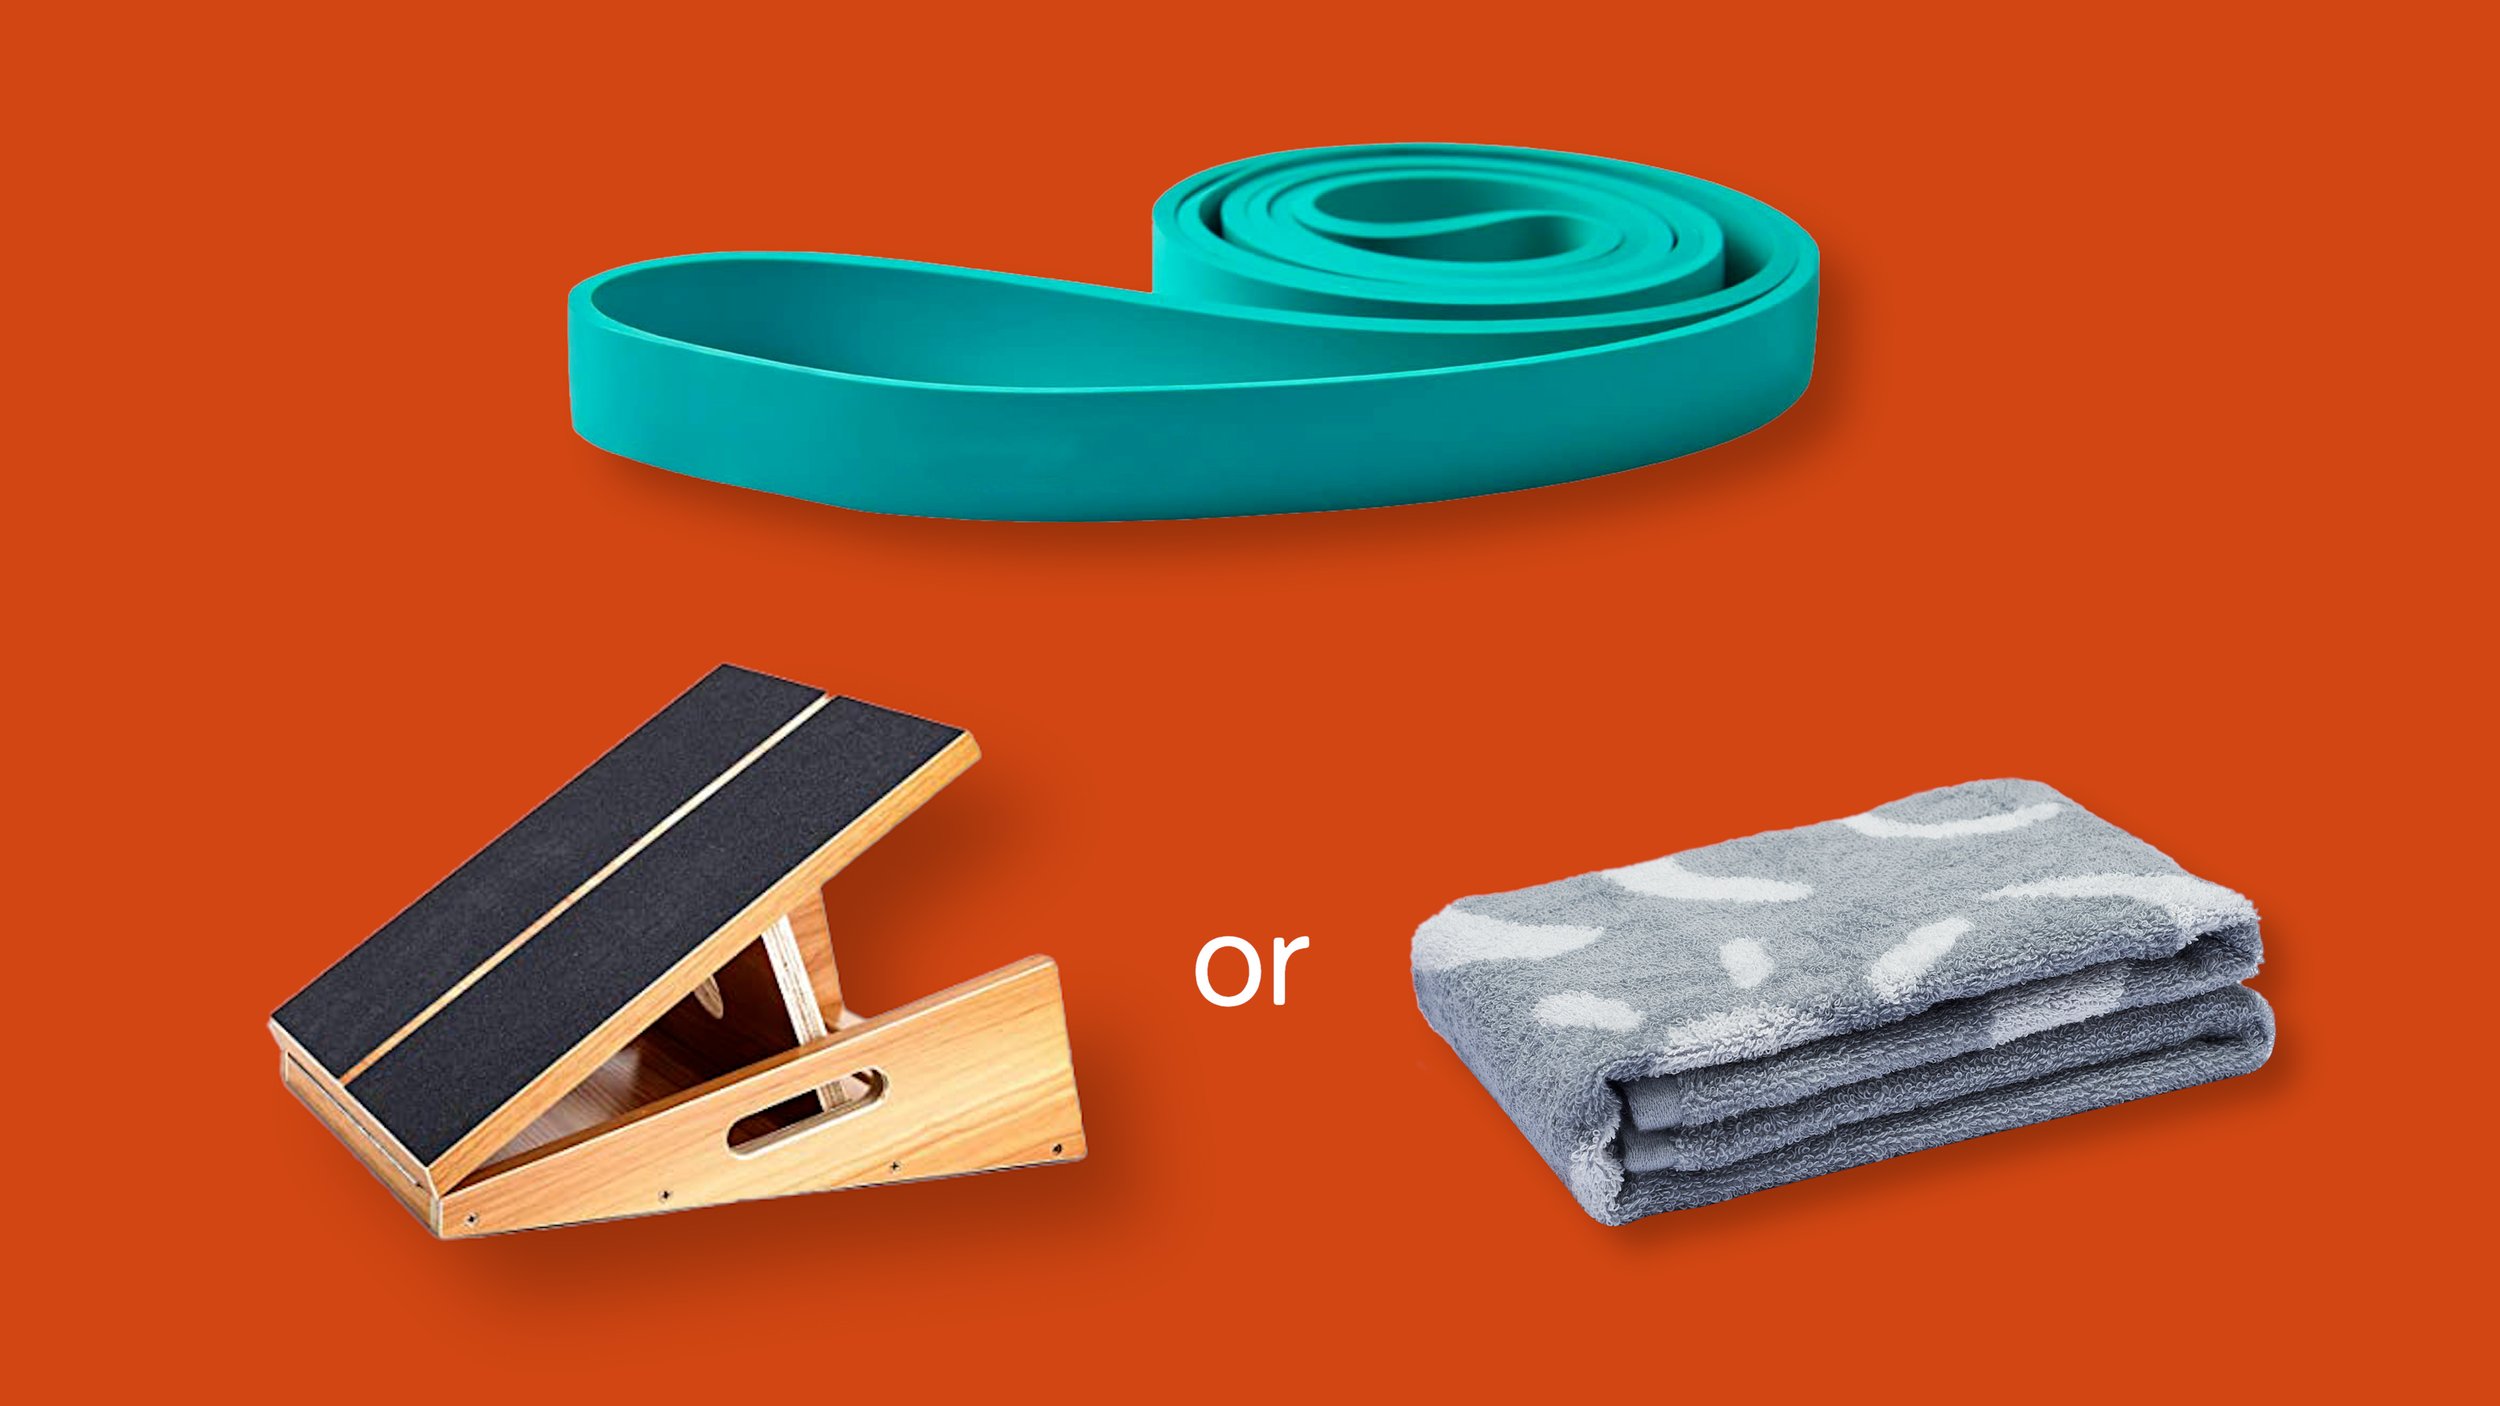
Improving our mobility is our first essential task, plus it will increase our success with later exercises. Mobility involves both joint mobility and tissue mobility, so I’m going to recommend one exercise for each. To do these you’ll need a heavy duty resistance band as well as a slant board (or rolled up towel).
Gastroc and Soleus Stretch… AKA stretch yo calves
The gastroc and soleus are the two main muscles that will limit your range of motion when going through dorsiflexion . The stretch I’m going to teach you has a few components to it to make it more functional to climbing, so be sure to follow the directions closely.
Everyone knows a basic calf stretch, but not everyone knows you need to do it with a straight AND bent knee to appropriately target the gastroc and soleus separately.
Additionally, we are going to need to add in a bit of rotation to the gastroc stretch. You see, the gastrocnemius has two different attachment points on either side of the leg. These attachments can be biased side to side by adding in rotation. Additionally, performing this modification makes the stretch more functional. Climbing doesn’t always place straightforward and direct loads on the gastroc. It often involves a side or rotational component. So, we want to stretch the tissue in multiple directions just like we may load the gastroc in multiple directions.
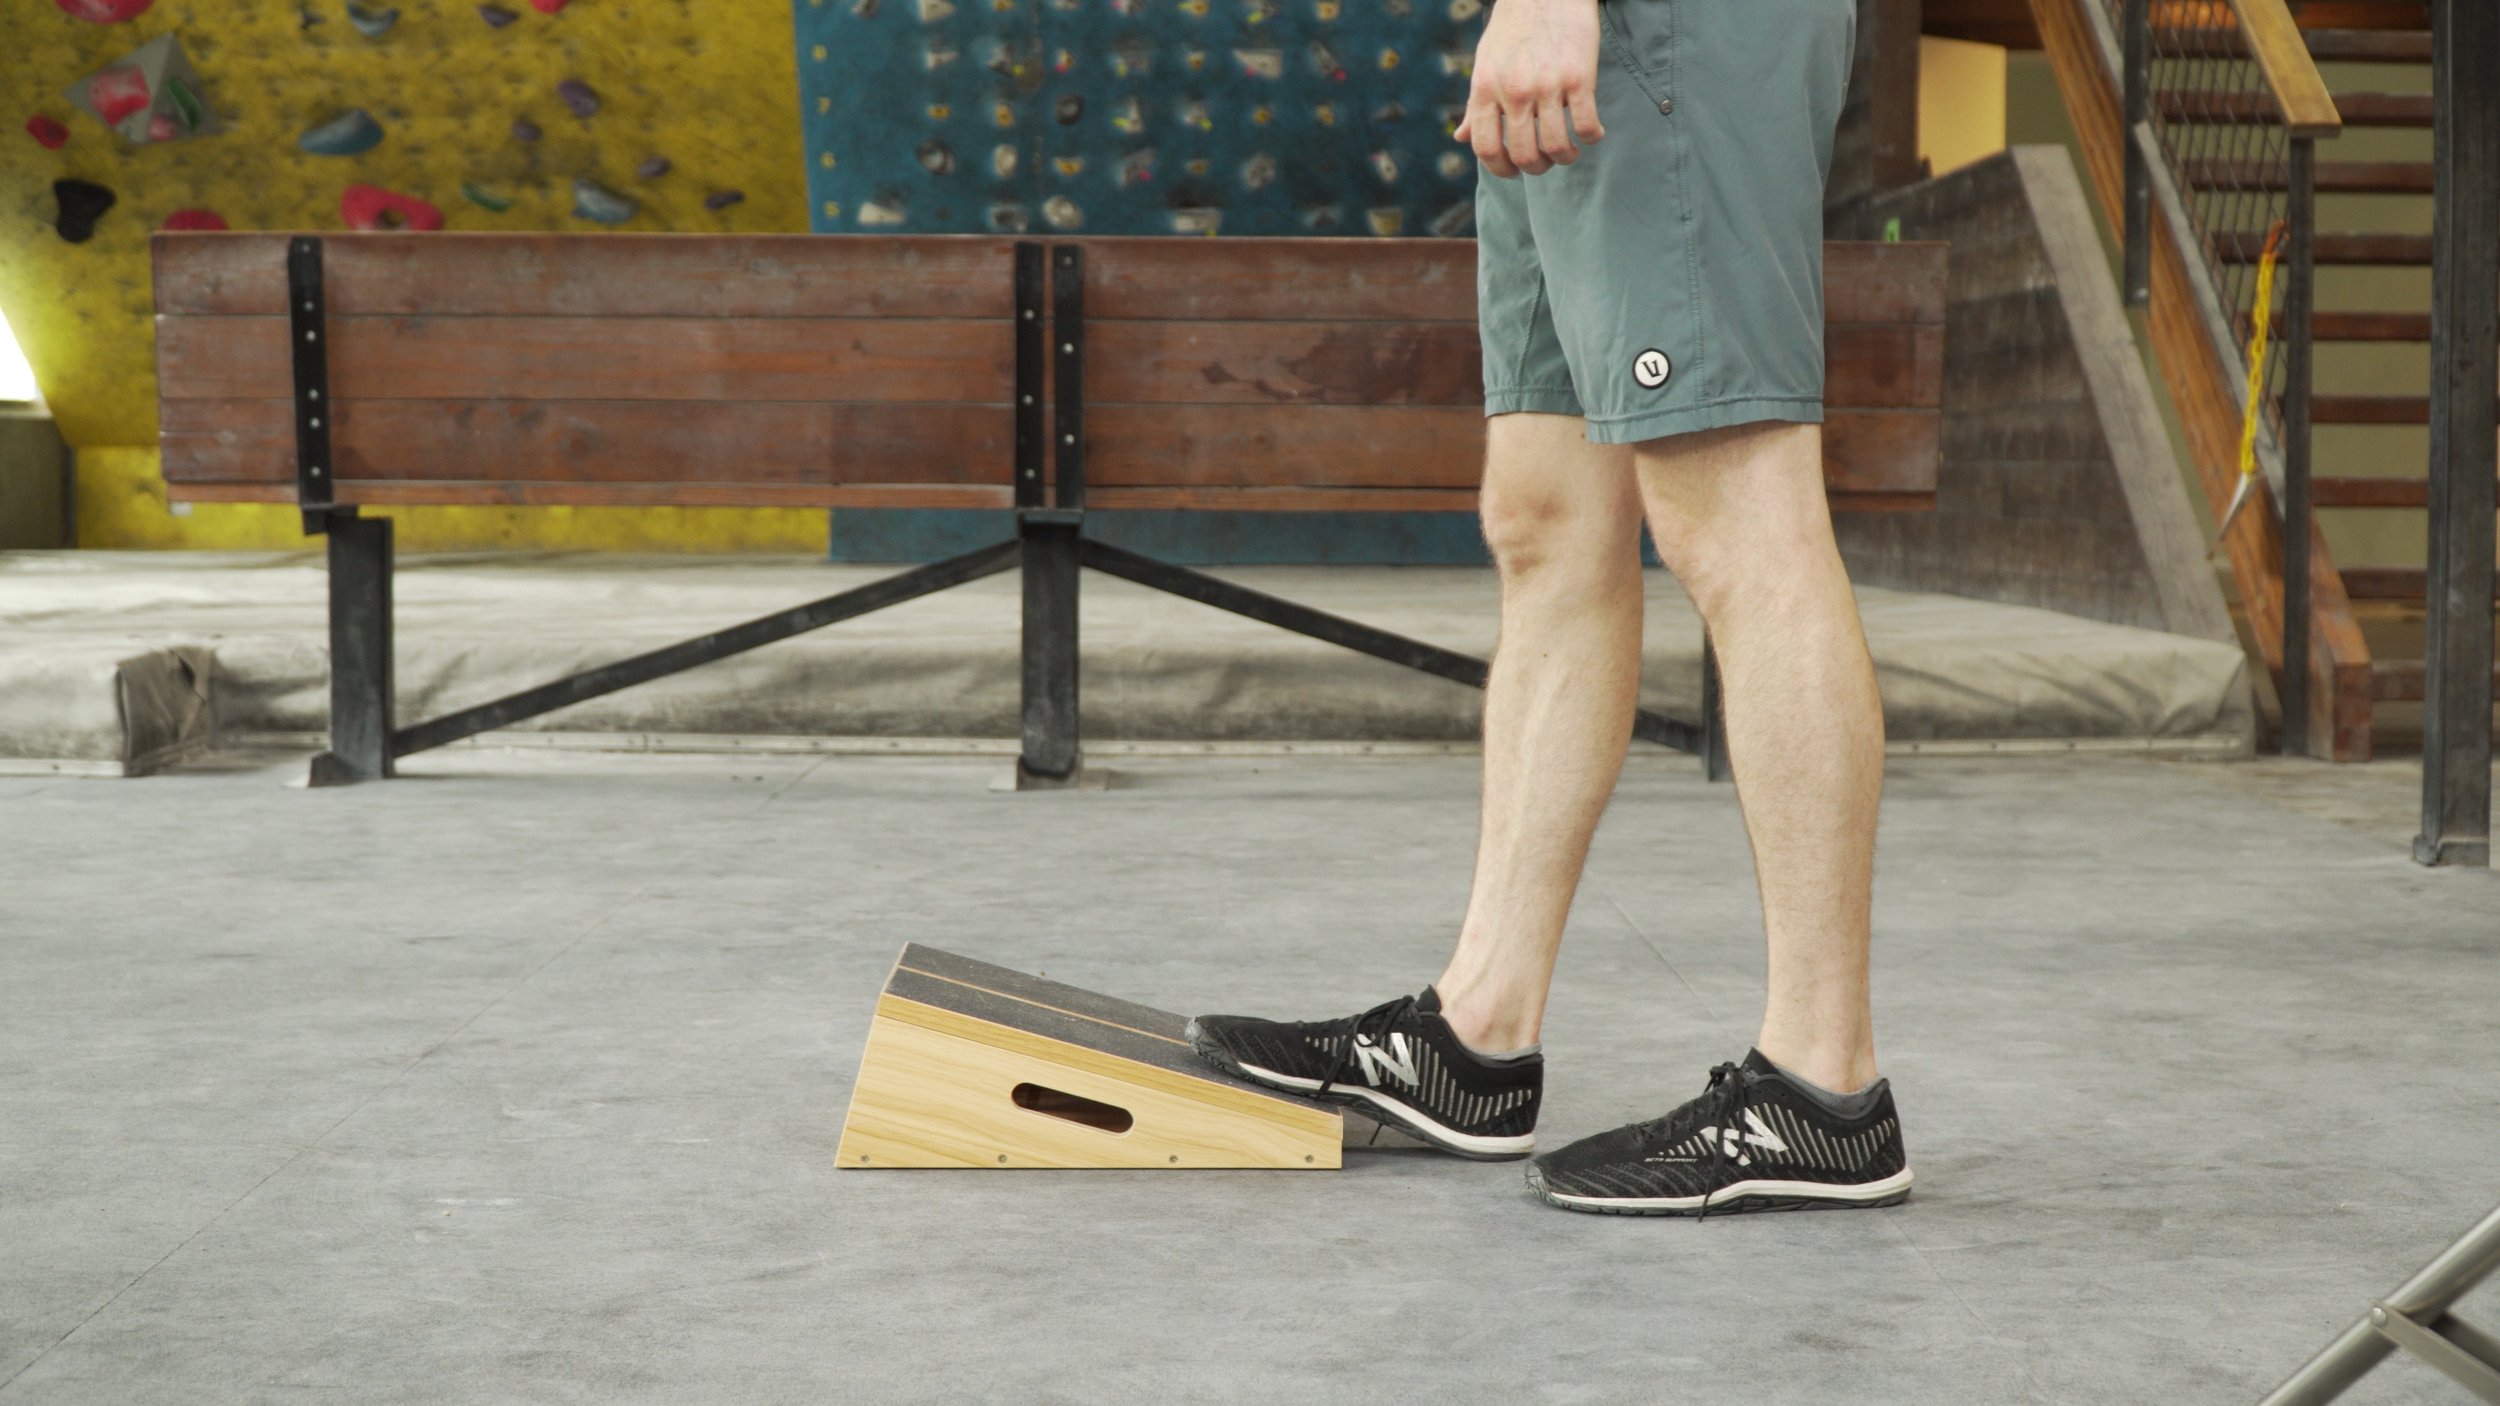
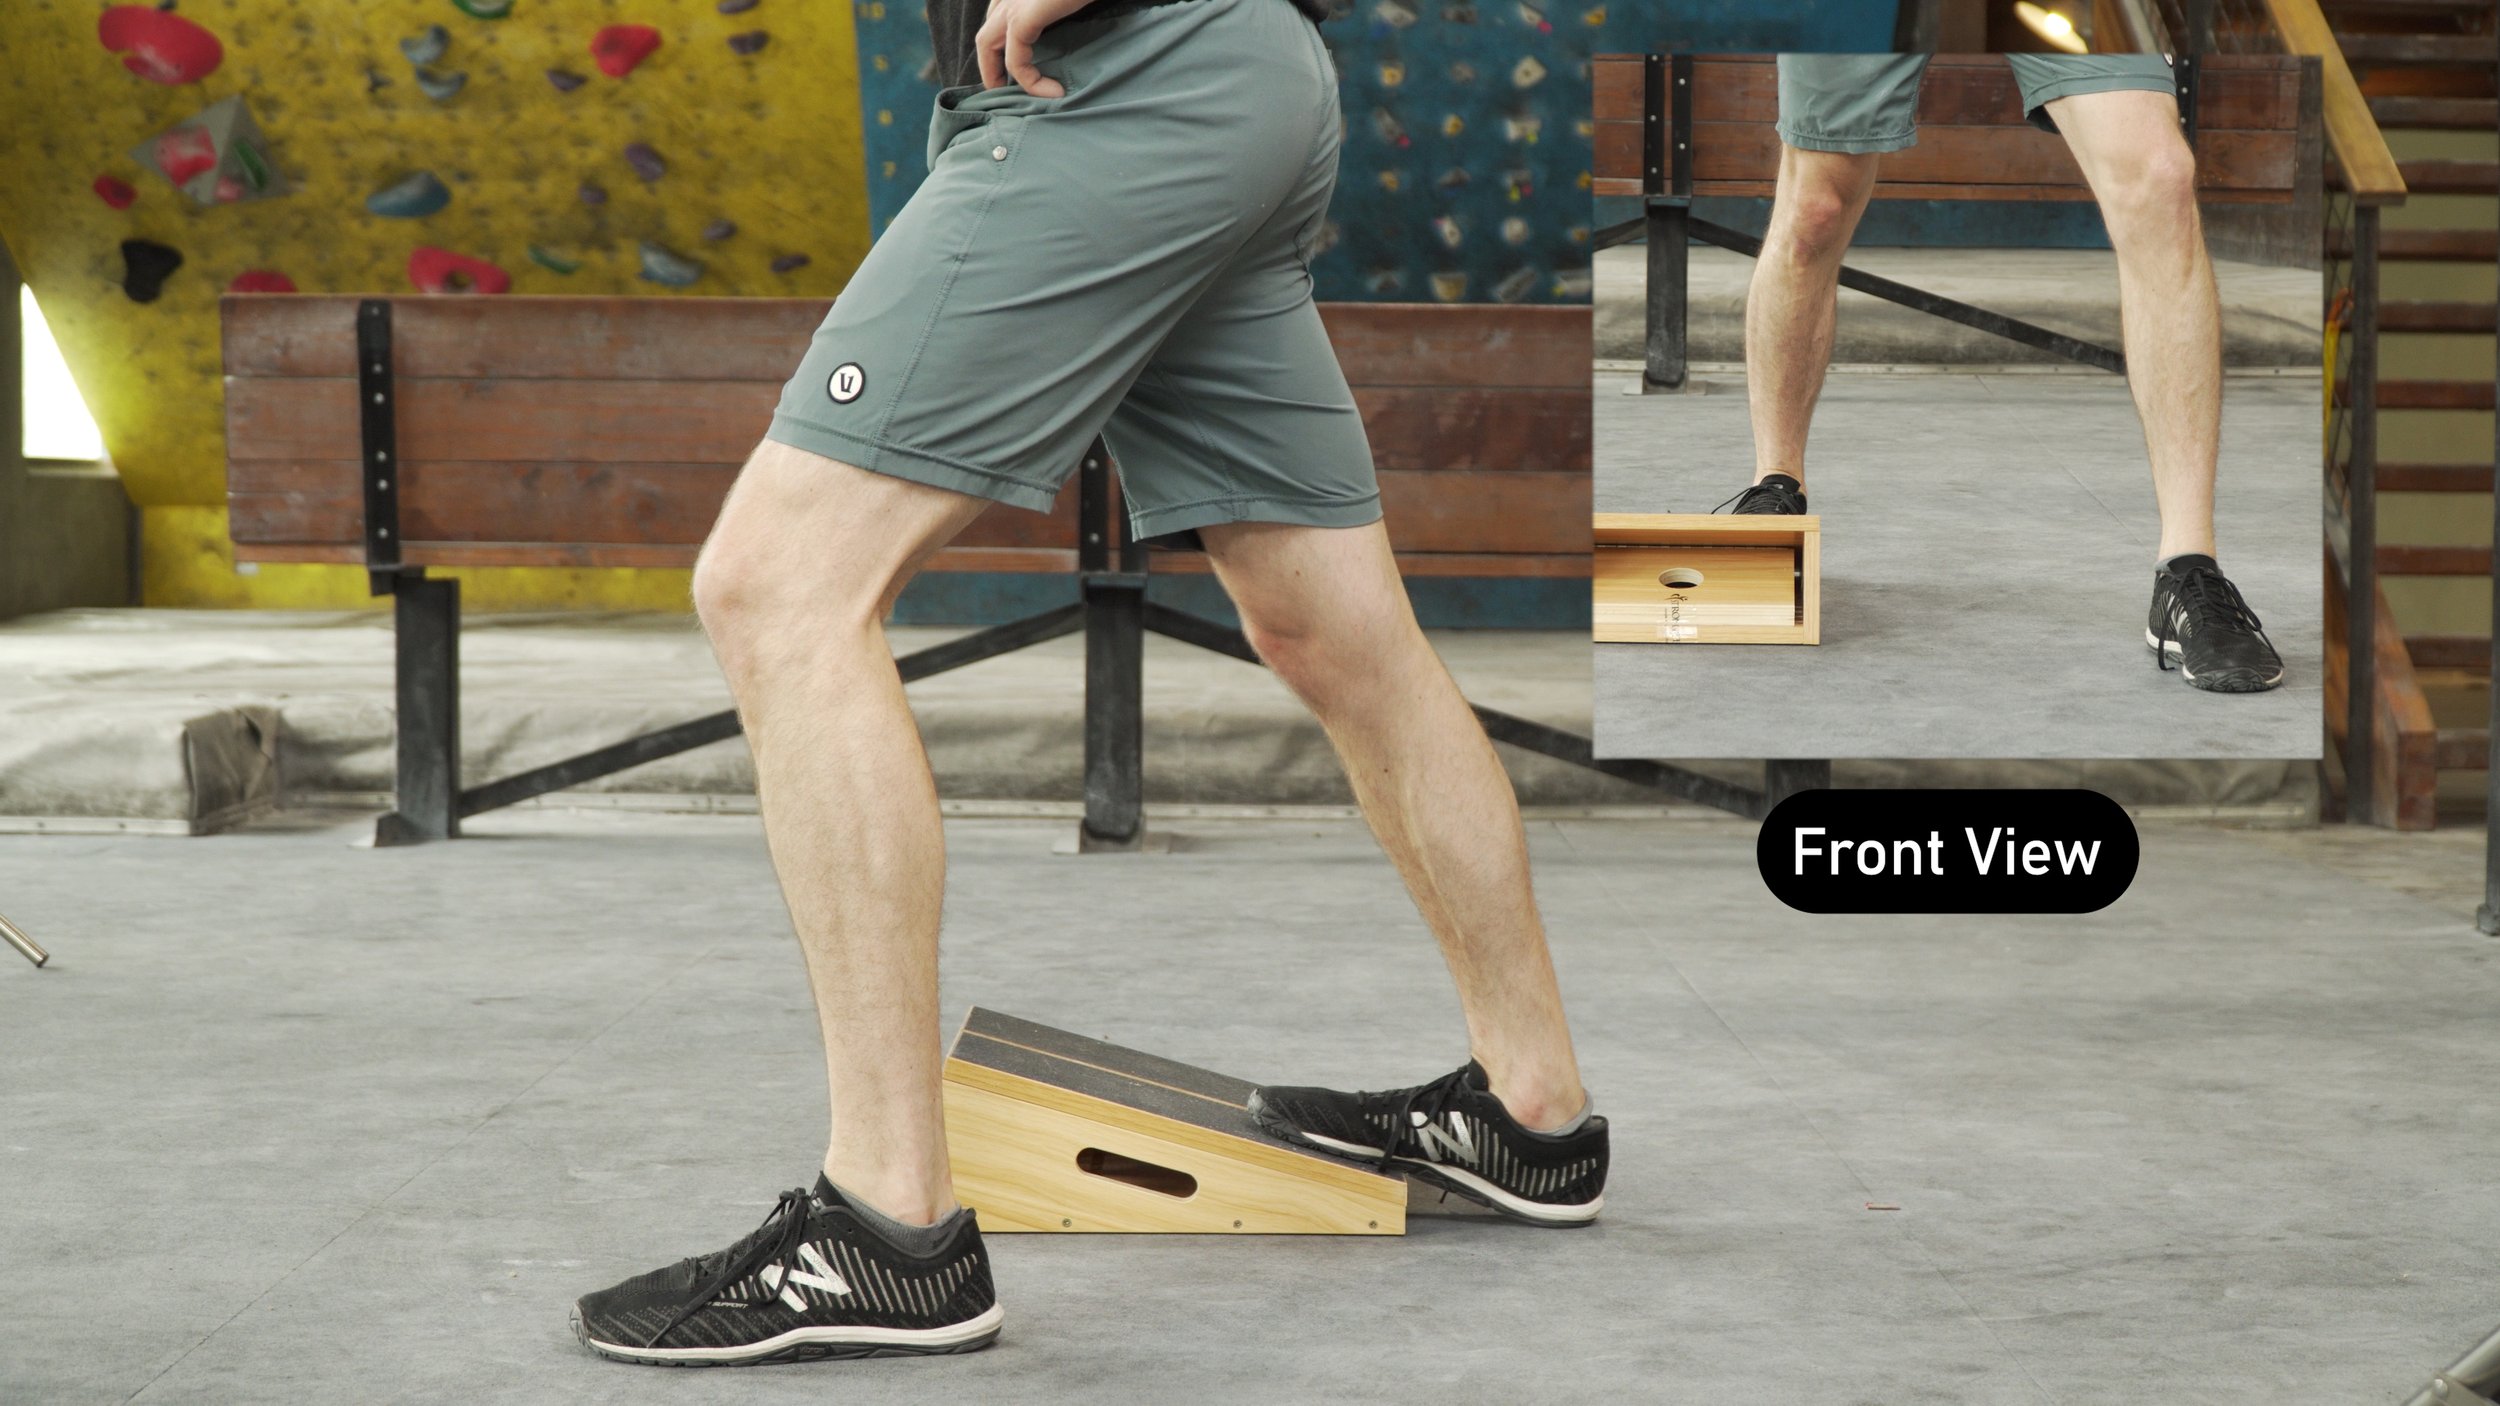
To Perform the Functional Gastroc and Soleus Stretch
Place one foot on a slant board (or place the ball of your foot on a rolled towel or ledge). The other foot will be on the side of the slant board
Maintain a straight knee position on the leg on the slant board and step forward with the opposite leg to create the stretch in your gastroc.
It’s OK to bend the front leg as needed.
Hold for 20 seconds
Return to the start position with the off leg.
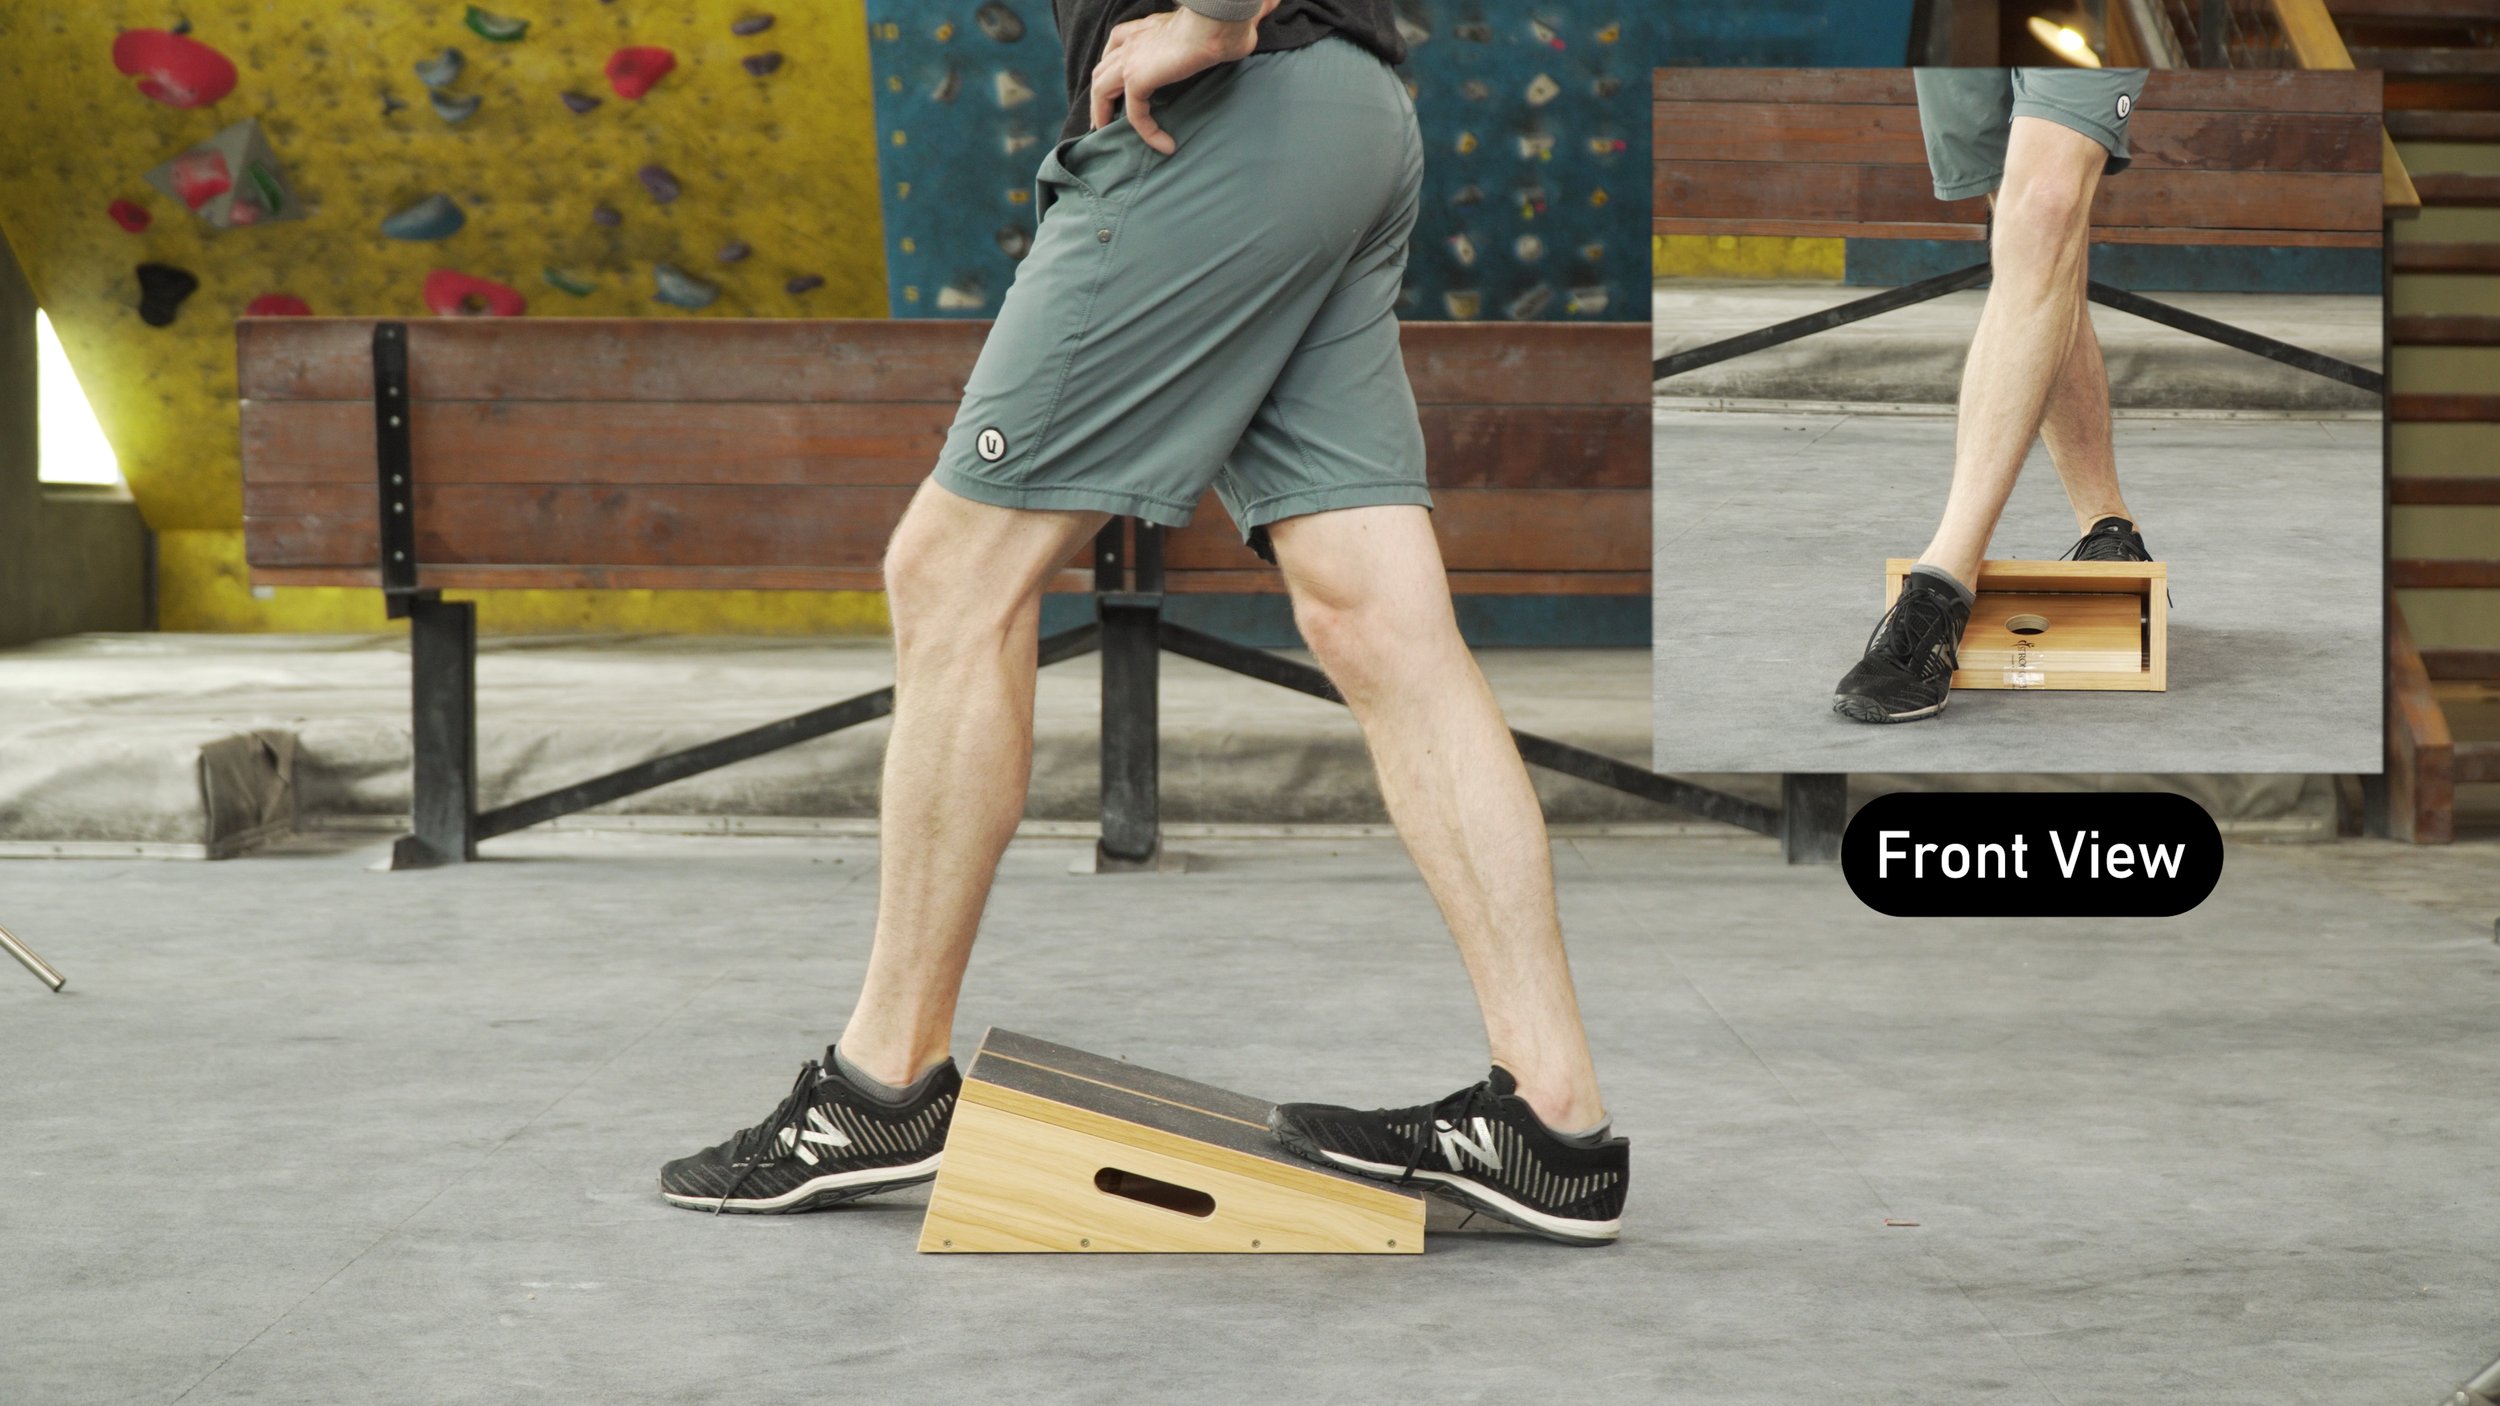
Step forward and to the left with the off leg.
Hold for 20 seconds.
Return to the start position with the off leg
Step forward and to the right with the off leg.
Hold for 20 seconds
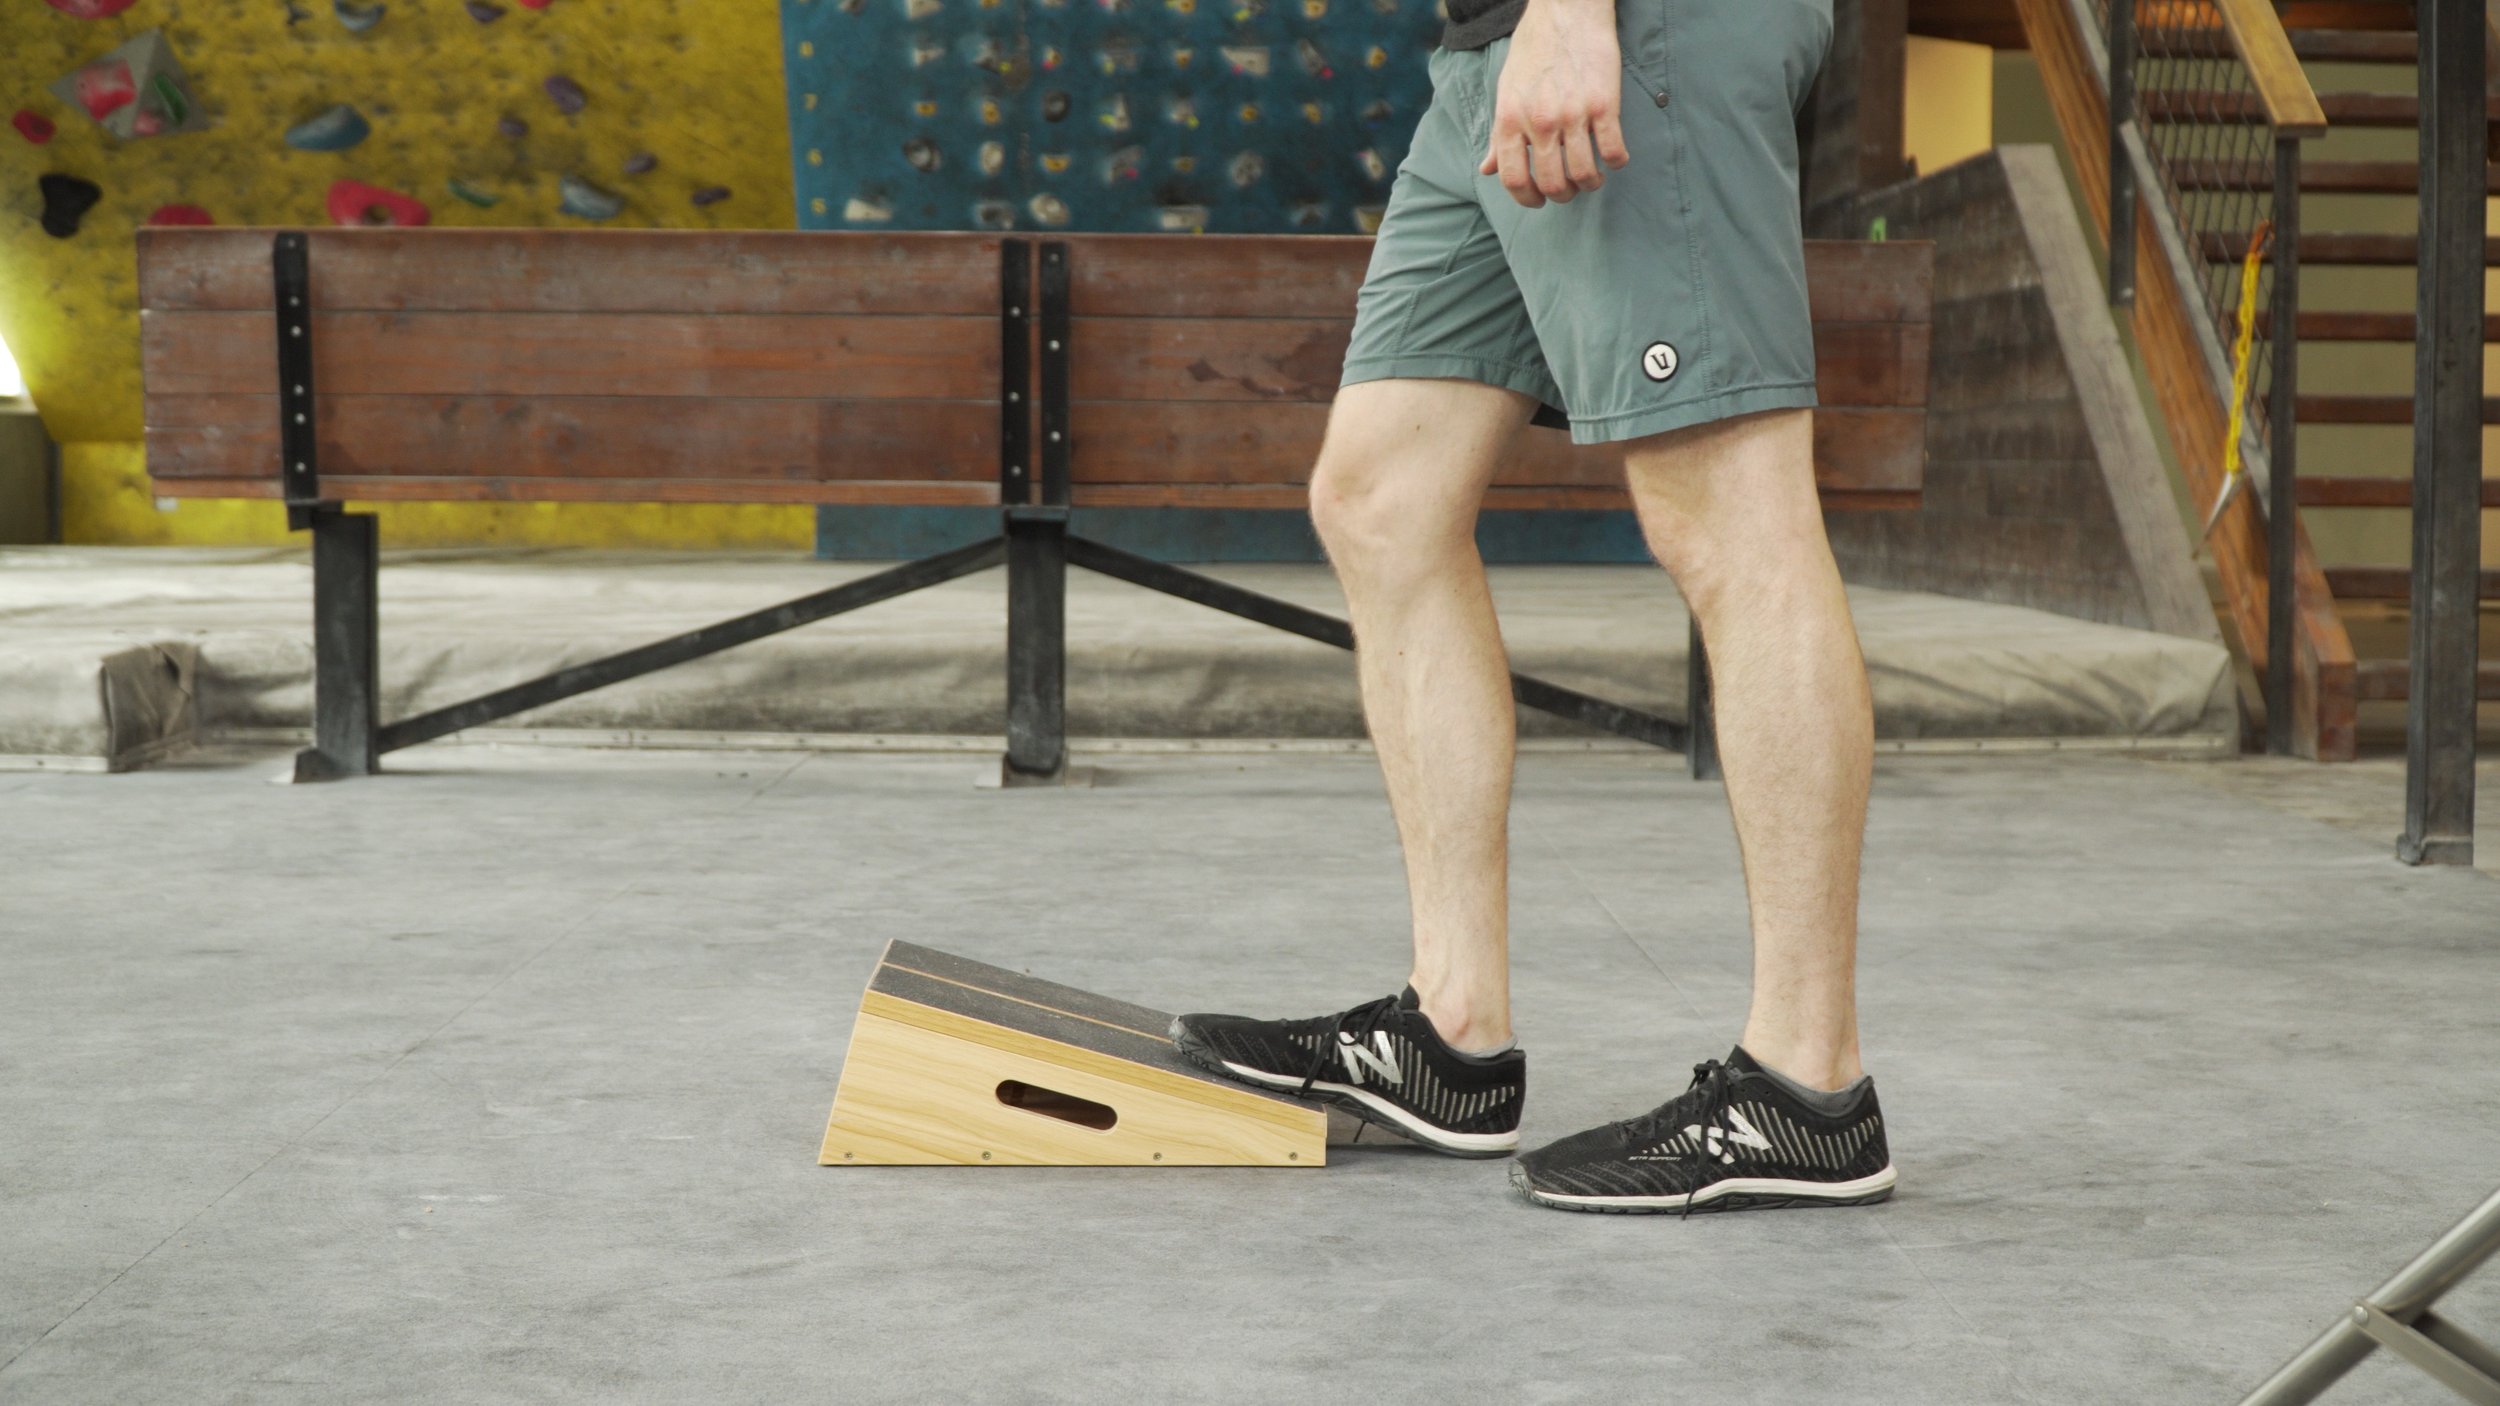
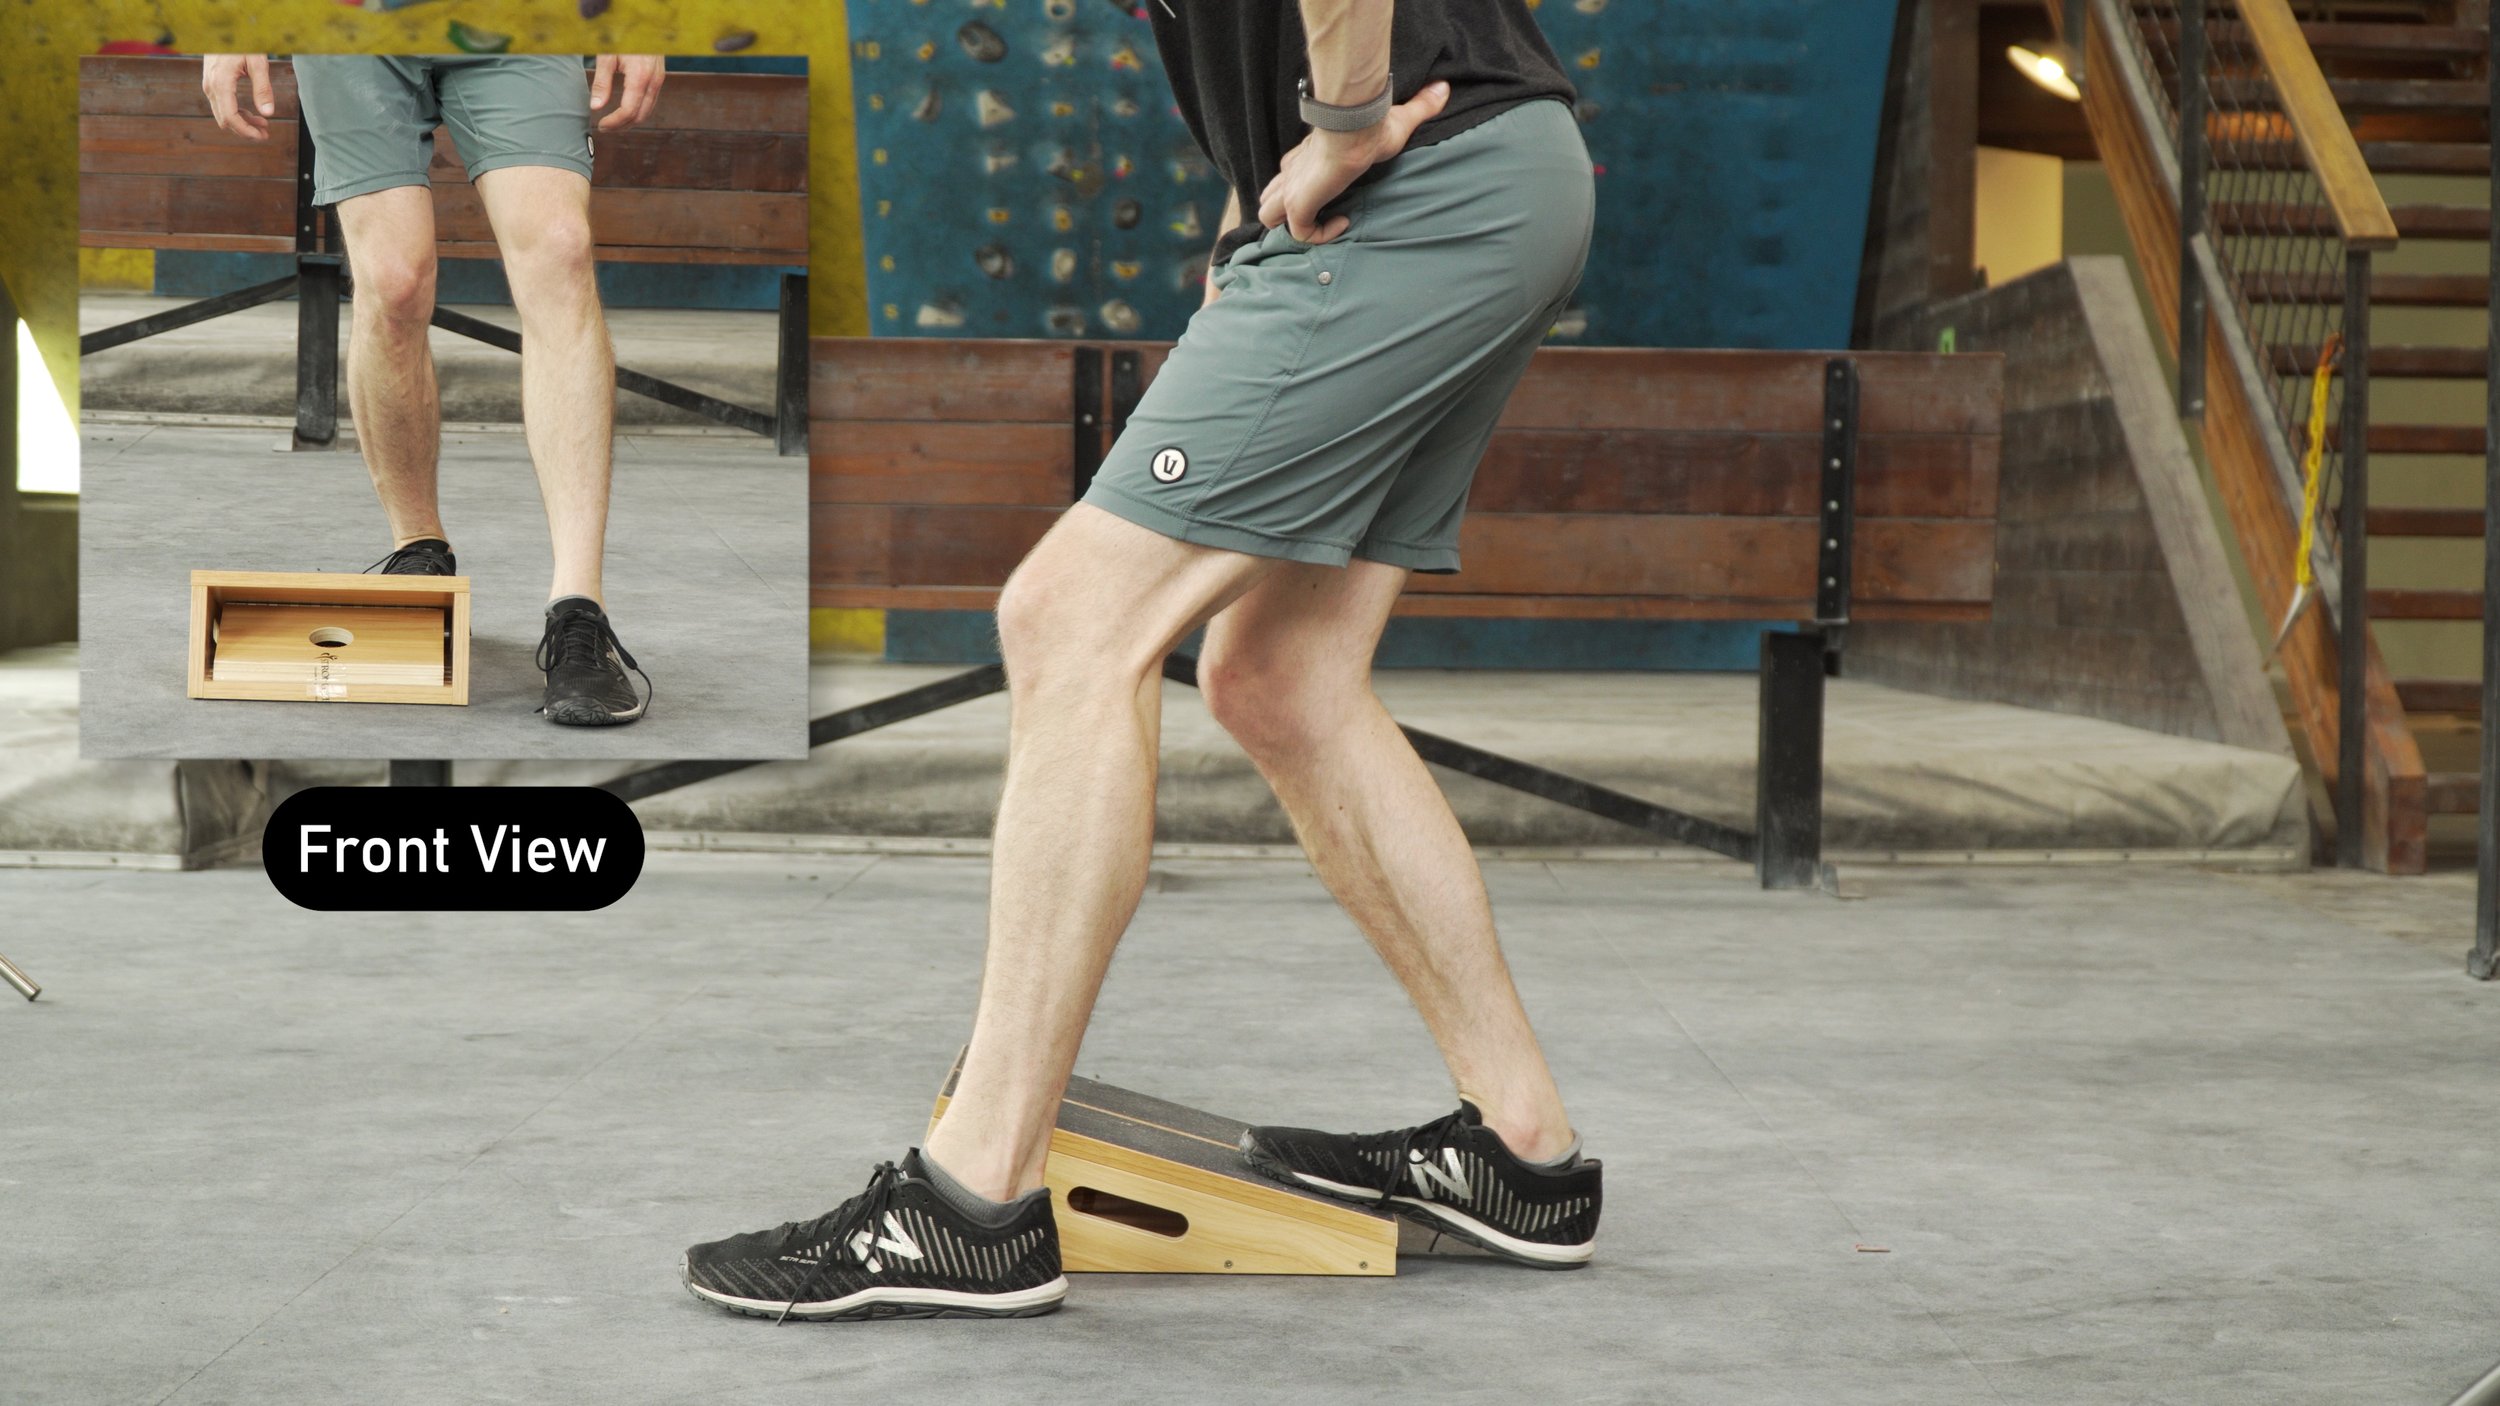
Step back so you are back at the starting position with your foot on the slant board.
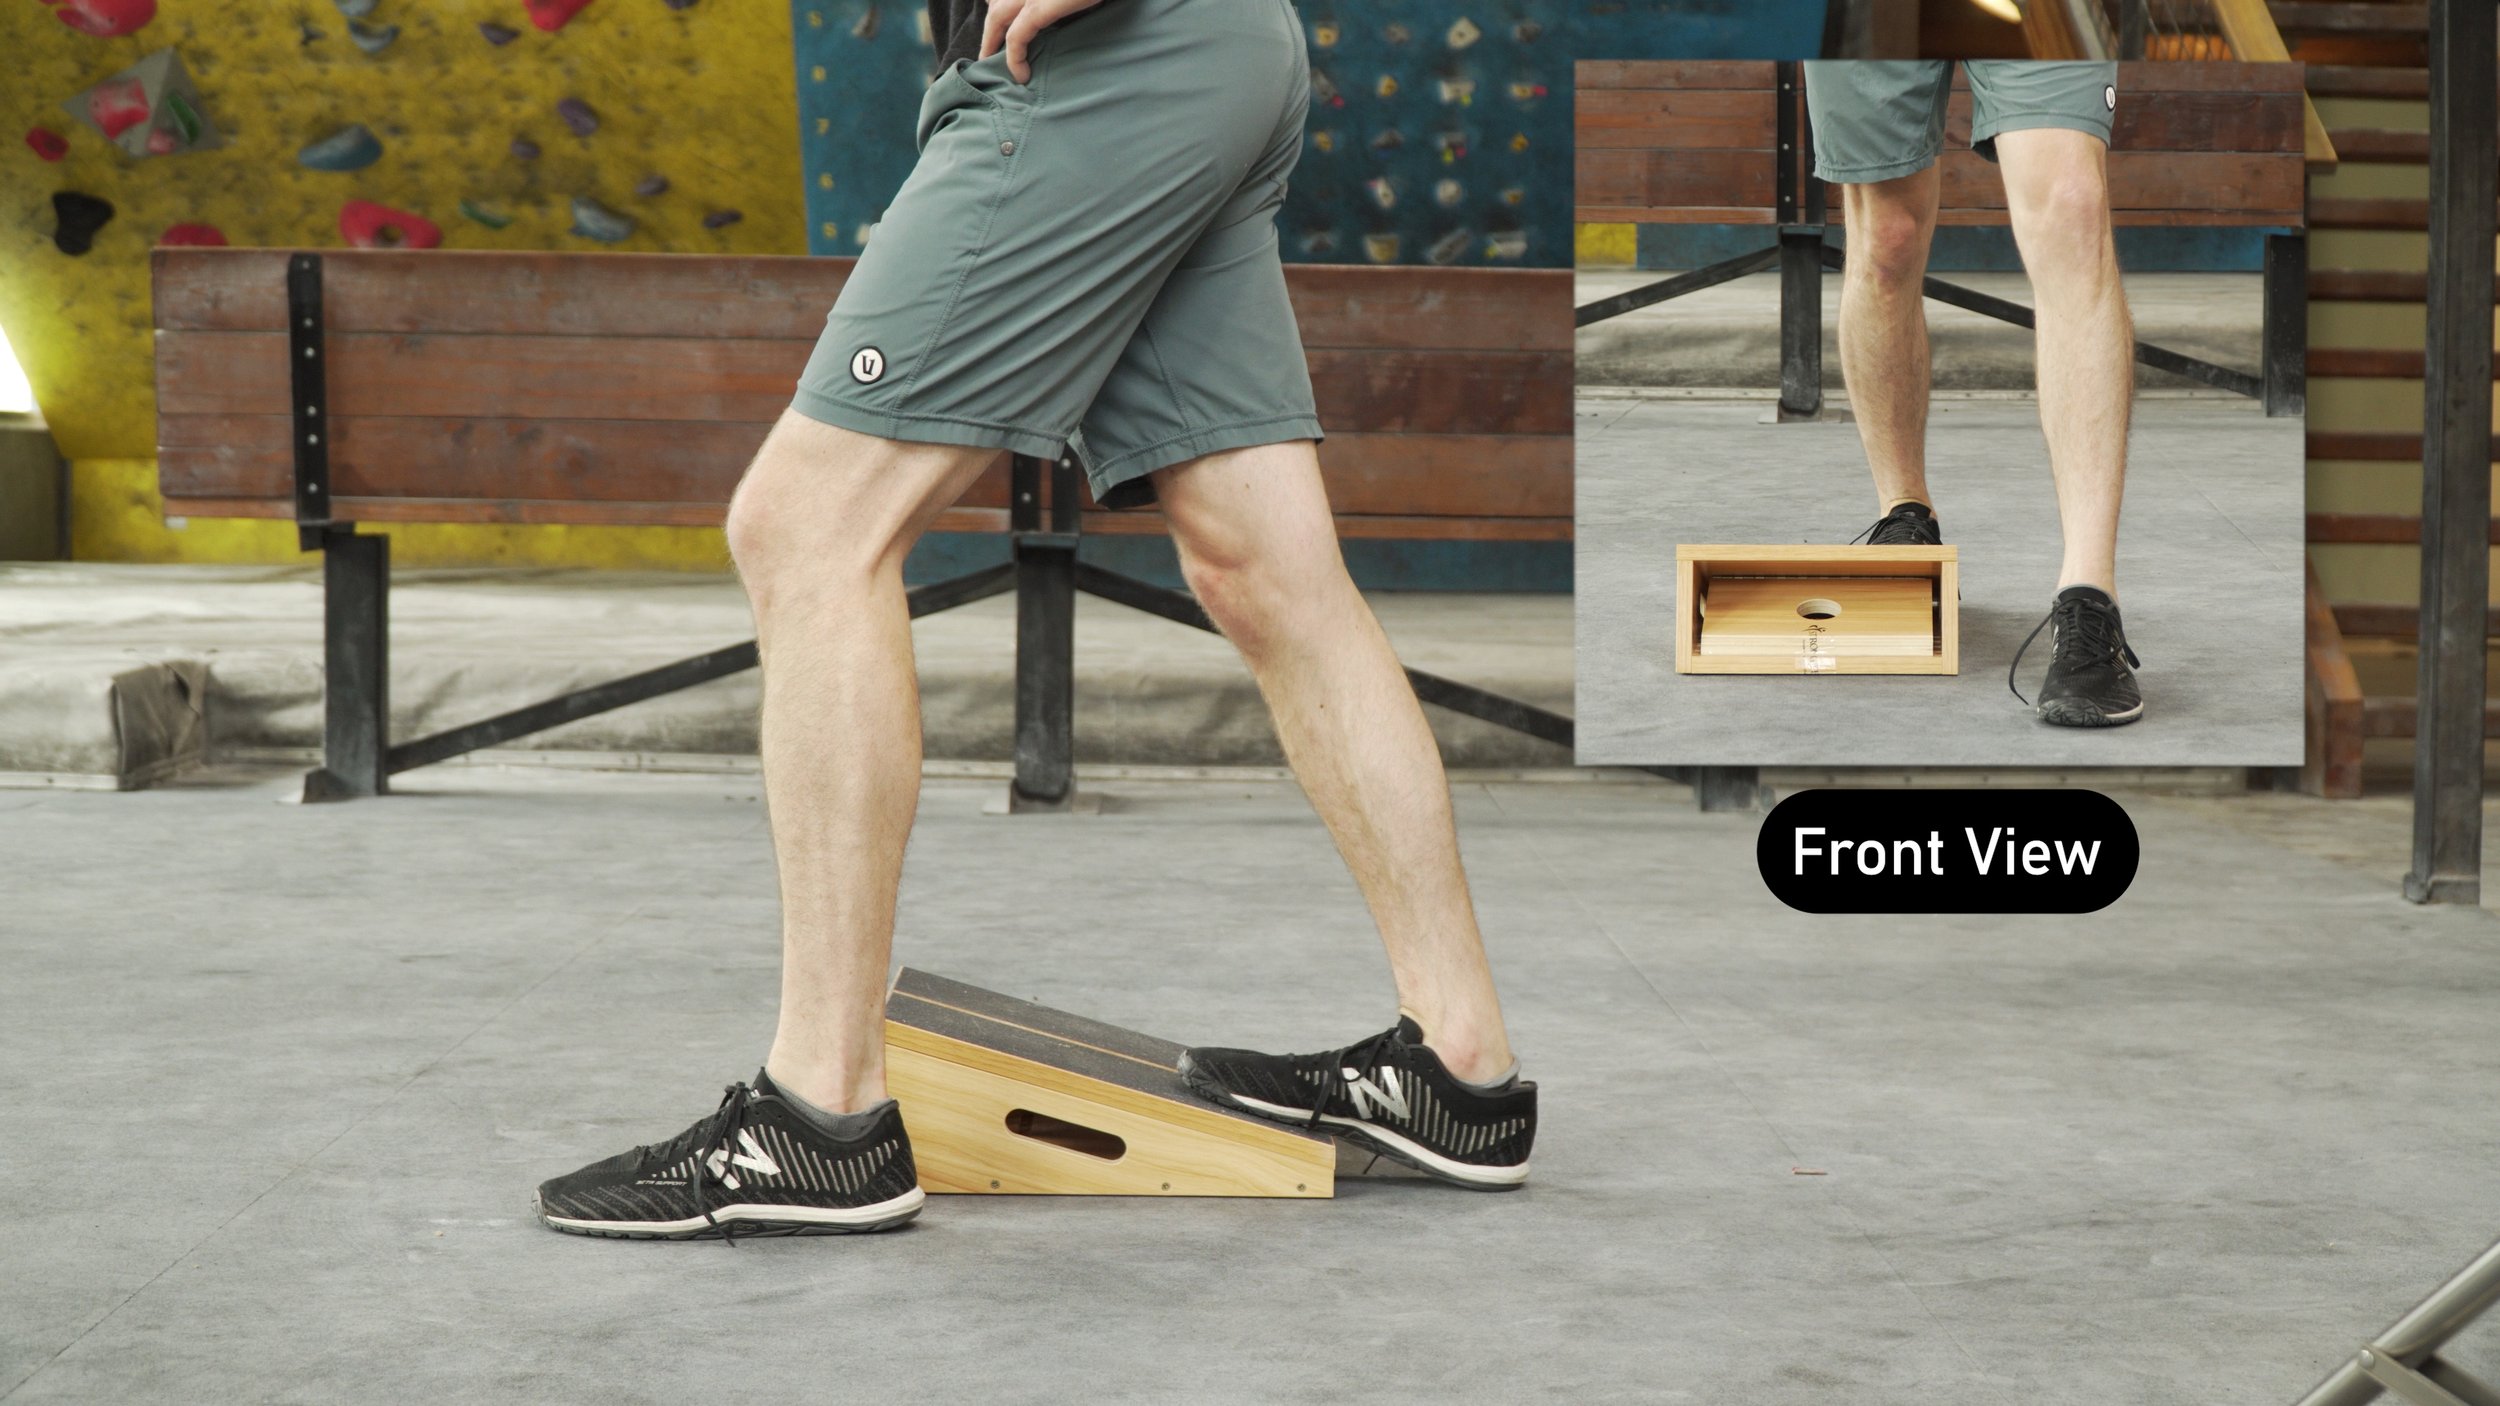
Now, Bend your knee slightly (20-40 degrees)
Step forward maintaining the bent knee position.
Hold for 30 seconds

After all this you will have performed 60 seconds of stretching with the leg straight (20 straight, 20 cross, and 20 out to the side), and 30 seconds with the leg bent.
Ankle Joint Mobilization
Next, to allow us to get further into our stretch (and potentially reduce any pinching in the front of the ankle), we will perform a simple band assisted joint mobilization. Note: if you have hypermobile ankles, proceed with caution or consult with a professional.
You see, in order to dorsiflex (drop the heel down on slap, or sit over the foot on a high step) you have a complex movement of a few bones. The tibia and fibula rest on the talus. When we dorsiflex the tibia and fibular glide forward over the talus and the talus moves slightly posterior. If the talus does not move posterior, the tibia and fibula will approximate with the talus, causing the pinching sensation. By performing the joint mobilization technique I’m about to demonstrate, it will improve the mobility of the talus which will reduce or eliminate the pinching sensation while allowing better movement of the tibia and fibula.
To perform the Ankle Joint Mobility stretch
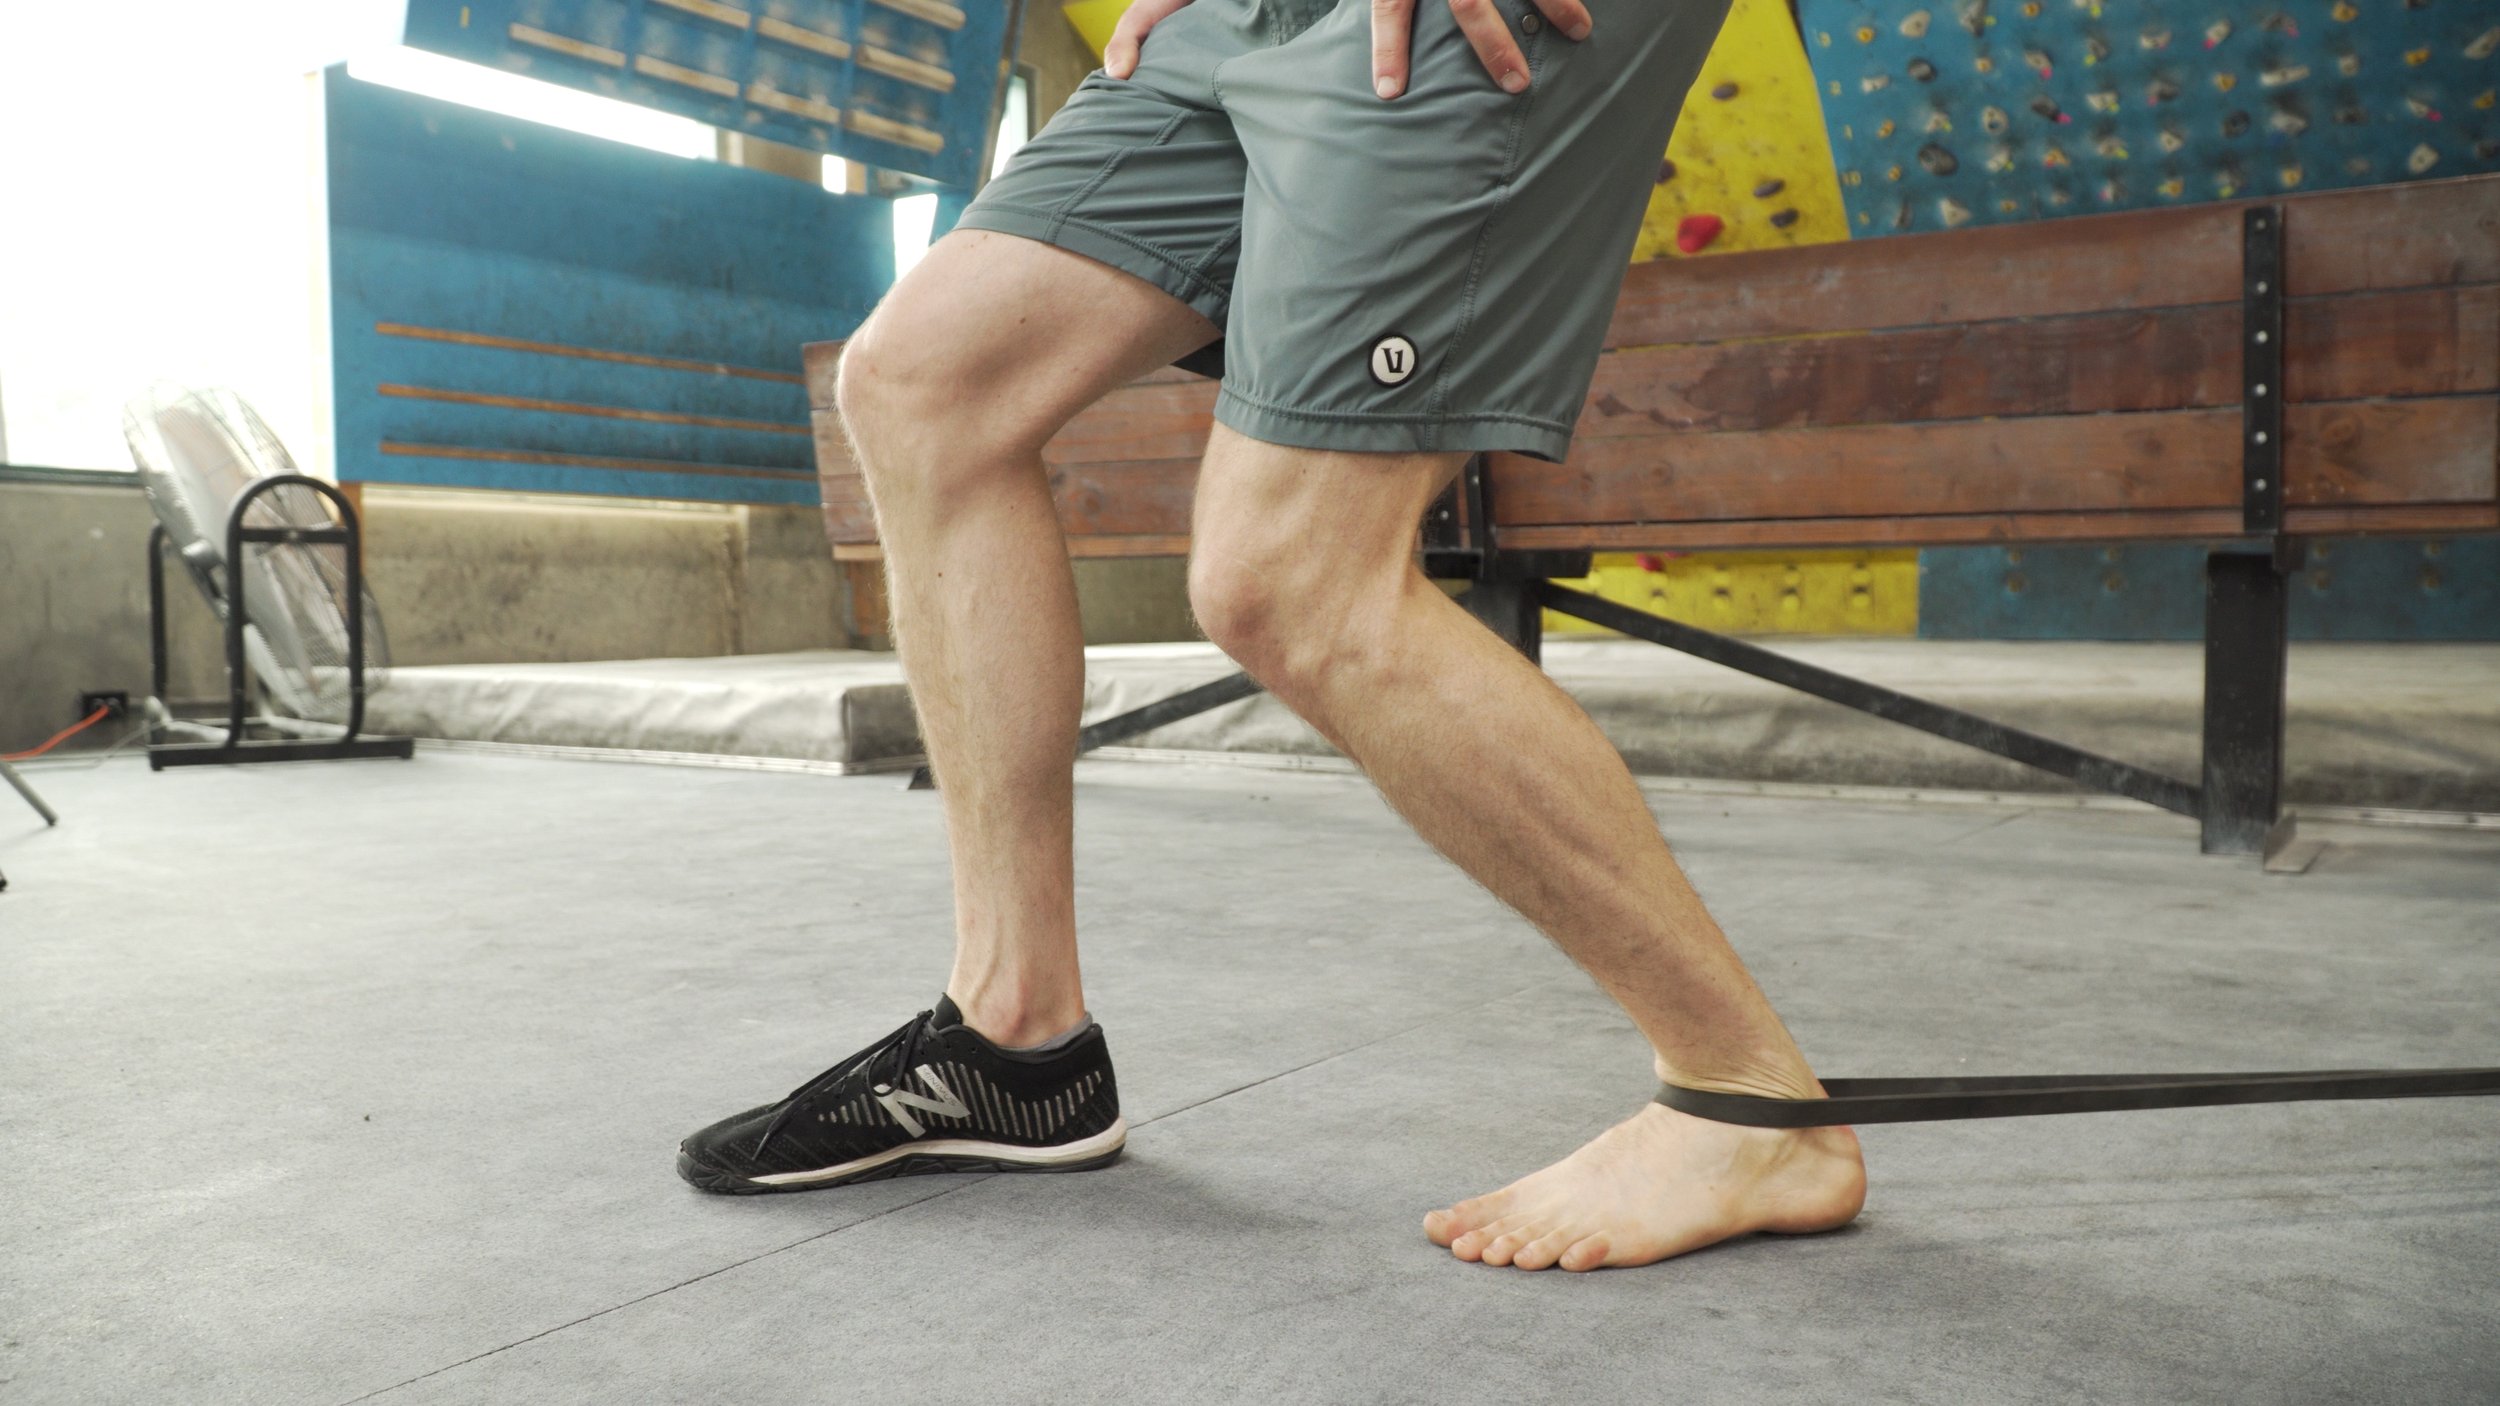
Wrap a heavy resistance band around an immobile object (near the ground)
Place the looped end of the band around the front of your ankle.
This needs to be rolled or balled up so that it is compact.
It needs to be at the top of the foot / bottom of the ankle for full effect
Move forward to create tension in the band
Step forward with the other leg. It should be just slightly ahead of the other foot.
Bend and straighten the leg with the band attached to it. Imagine you are driving the knee forward and towards the ground.
More pressure should be in the toes as you bend forward but keep the entire foot on the ground as you perform this technique.
Hold for 3-5 seconds with the knee bent then straighten it again.
Repeat 6-8 times.
Great! Our ankle has now been effectively mobilized and stretched, which means it’s time to move on to strengthening.
PART 2: STRENGTHENING WHILE LENGTHENING
The next component is going to be strengthening the tissue while lengthening it. This is a great way to build strength throughout the available motion of the joint and tissue, while simultaneously improving the range of motion of the tissue. 2 for 1! What a Deal.

A slant board is ideal for this as it is adjustable and provides better support (and consistency) but you can also use a towel or step if you don’t have access to one.
If you want to acquire a slant board, I’ve linked one that I have used with great success (affiliate link): https://amzn.to/3yXrfkb
Let’s start with a double leg eccentric heel raise on a slant board but we will also cover 2 progressions.
To perform Eccentric Heel Raises on a slant board
Place slant board (or towel) near a stable object that you can hold onto if necessary
If neither are available, simply stand on the edge of a step
Place both feet on the slant board/step
If using a slant board, the further you feet up are on the board the more intense the stretch
The larger the angle of the slant board, the more intense the stretch
Raise your heels off the slant board/step, lifting as high as they can go
Hold for 1 second at the highest point
Slowly lower back down, emphasizing a slow movement at the bottom of the motion as your heels get closer to the end of your available motion.
Once your heels lightly touch back down, pause for 1 second, and then do it all over again.
Perform 15 repetitions in total.
Each repetition will take about 8 seconds (1 second at the bottom, 1 second up, 1 second hold at the top, and a 5 second lower back down).
To advance this, there are a few ways.
You can simply add weight by holding them in your hands
You can perform this on a single leg
Perform this on a single leg while holding weights
And bam, that’s it for strengthening! Now, the three exercises we’ve done so far are really all you need to get your ankle mobility up to par. However, if you’re a super nerd A+ climbing addict like me, you’ll want to take it to the next level! For that, we’re taking things to the climbing wall.
PART 3: ON THE WALL TRAINING
If you’re performing these ankle mobility exercises before climbing, the following on-the-wall drills are a great way to help you warm-up and practice your technique all while giving your ankle some great functional training.
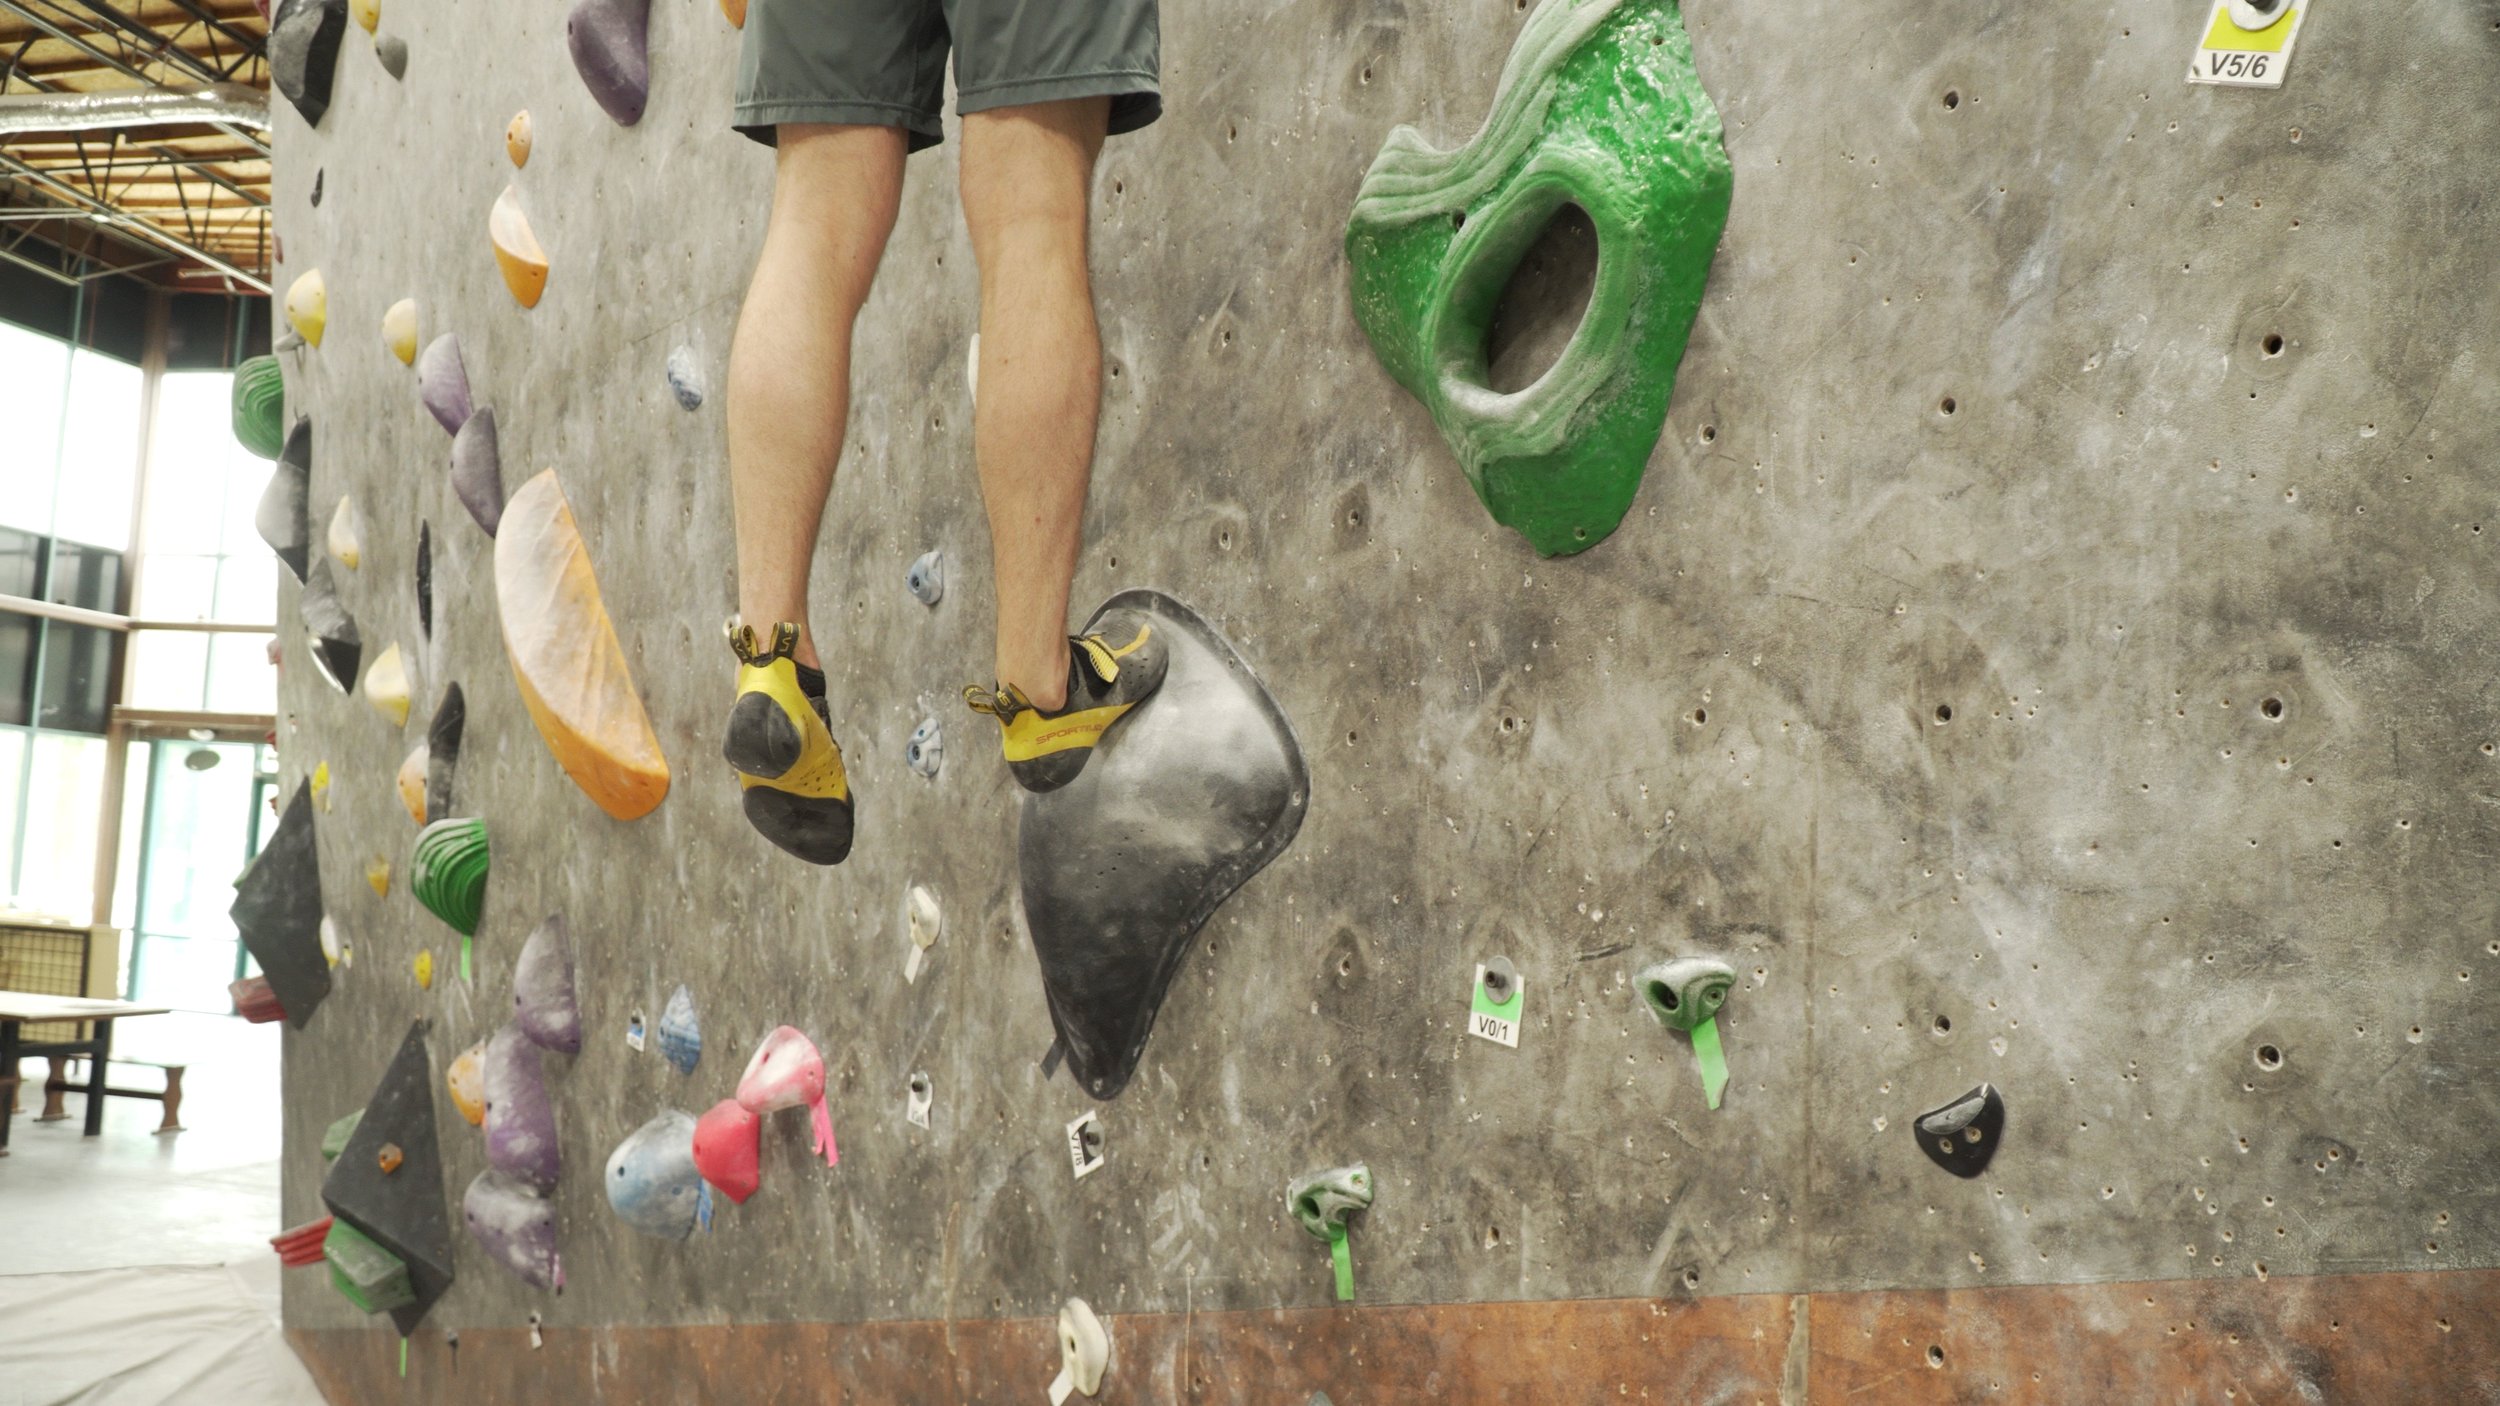
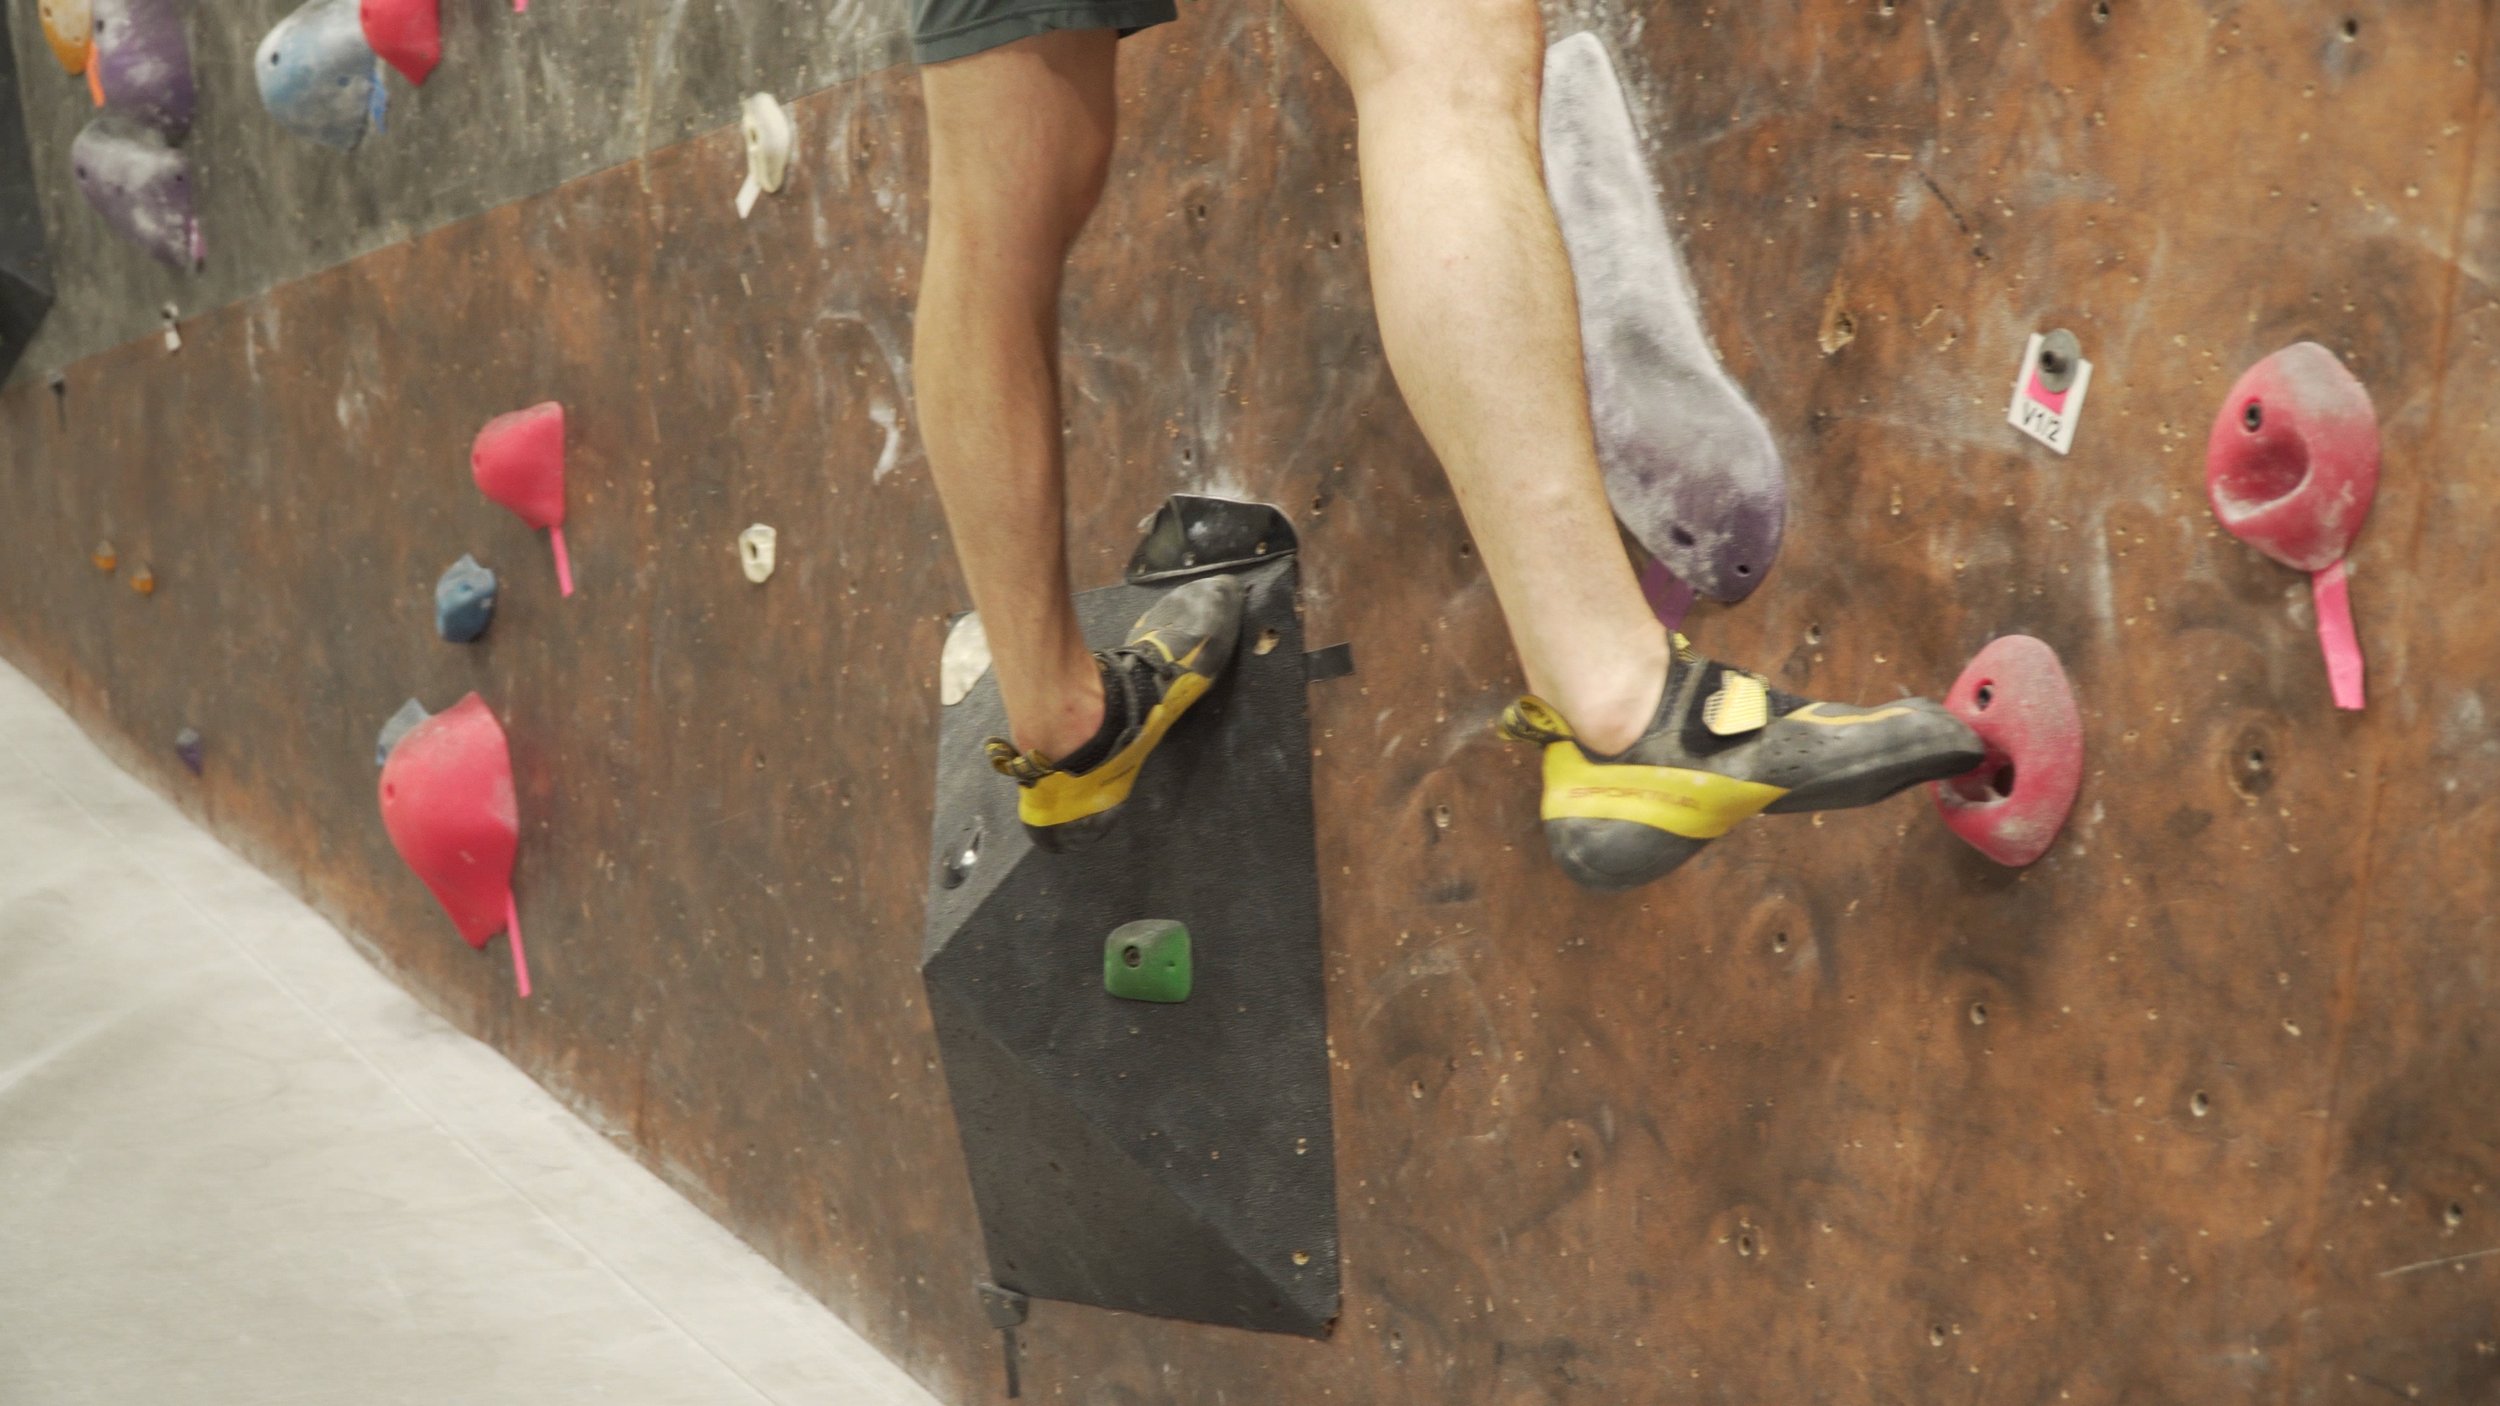
There are two great opportunities to immediately utilize your newfound ankle skills. First, find low-angle volumes that allow you to drop your heel down. Now, play around! Practice your footwork and positioning while on the volume. What happens if you turn your heel down more? What angle gives you the best grip? Can you step up off of this foot now?
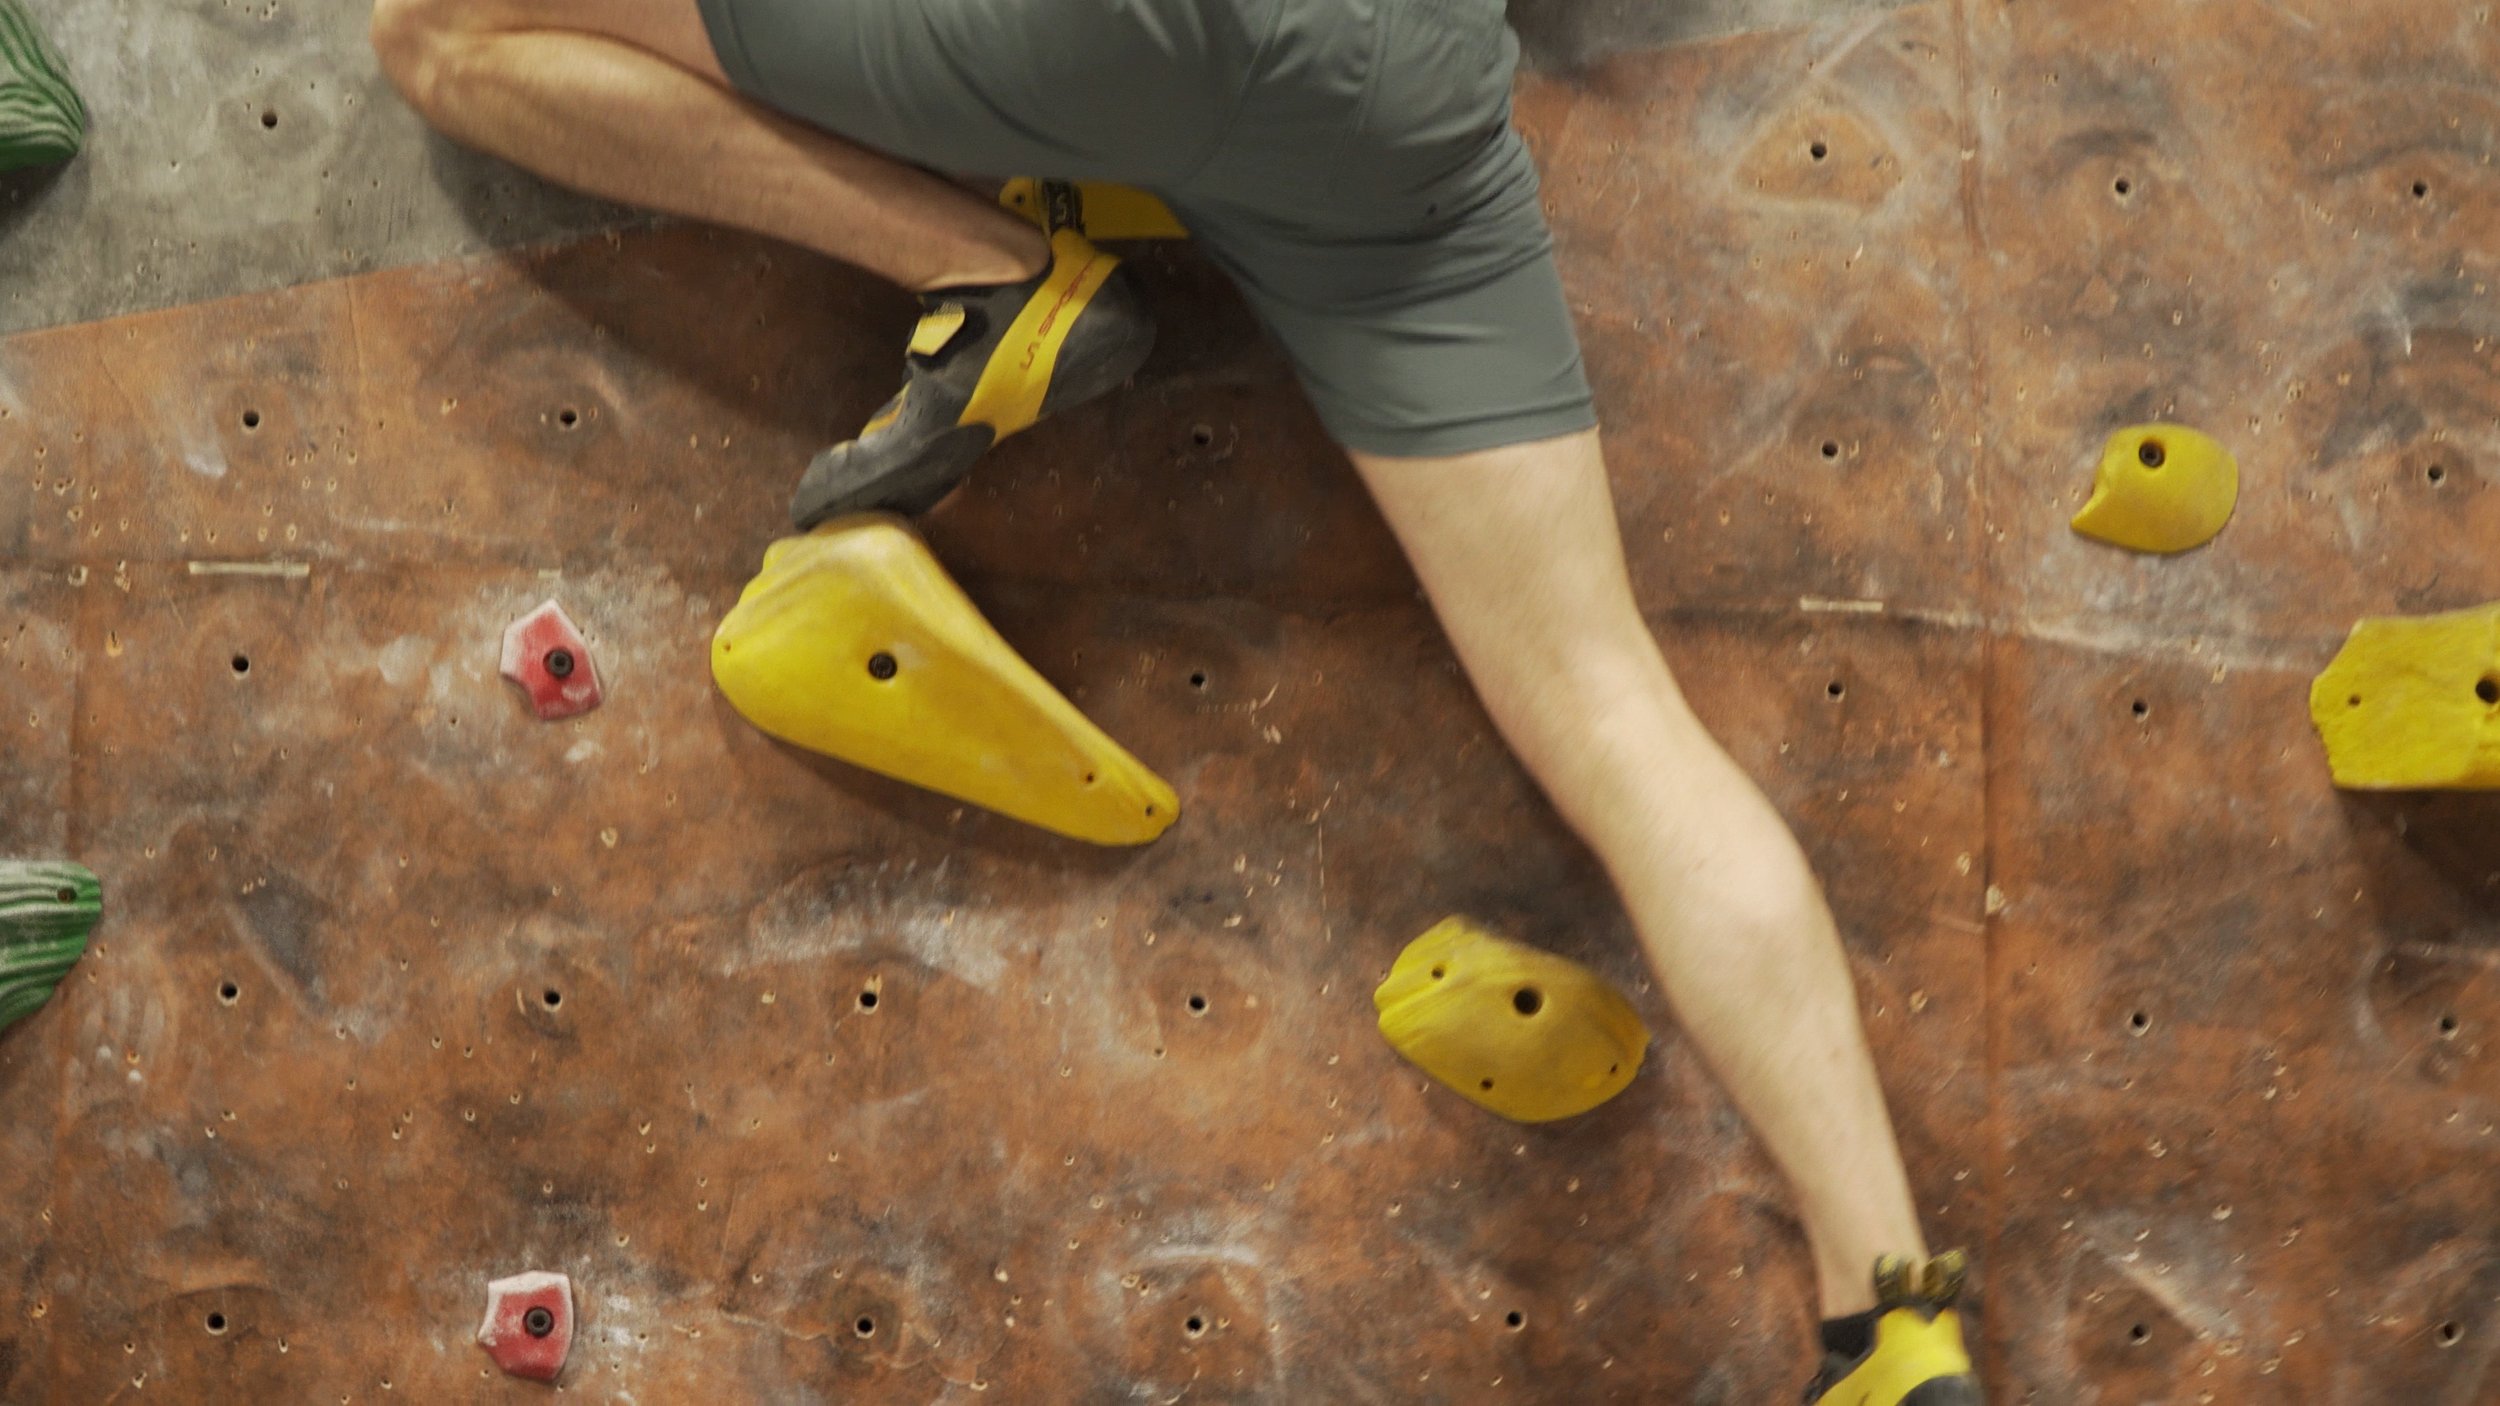
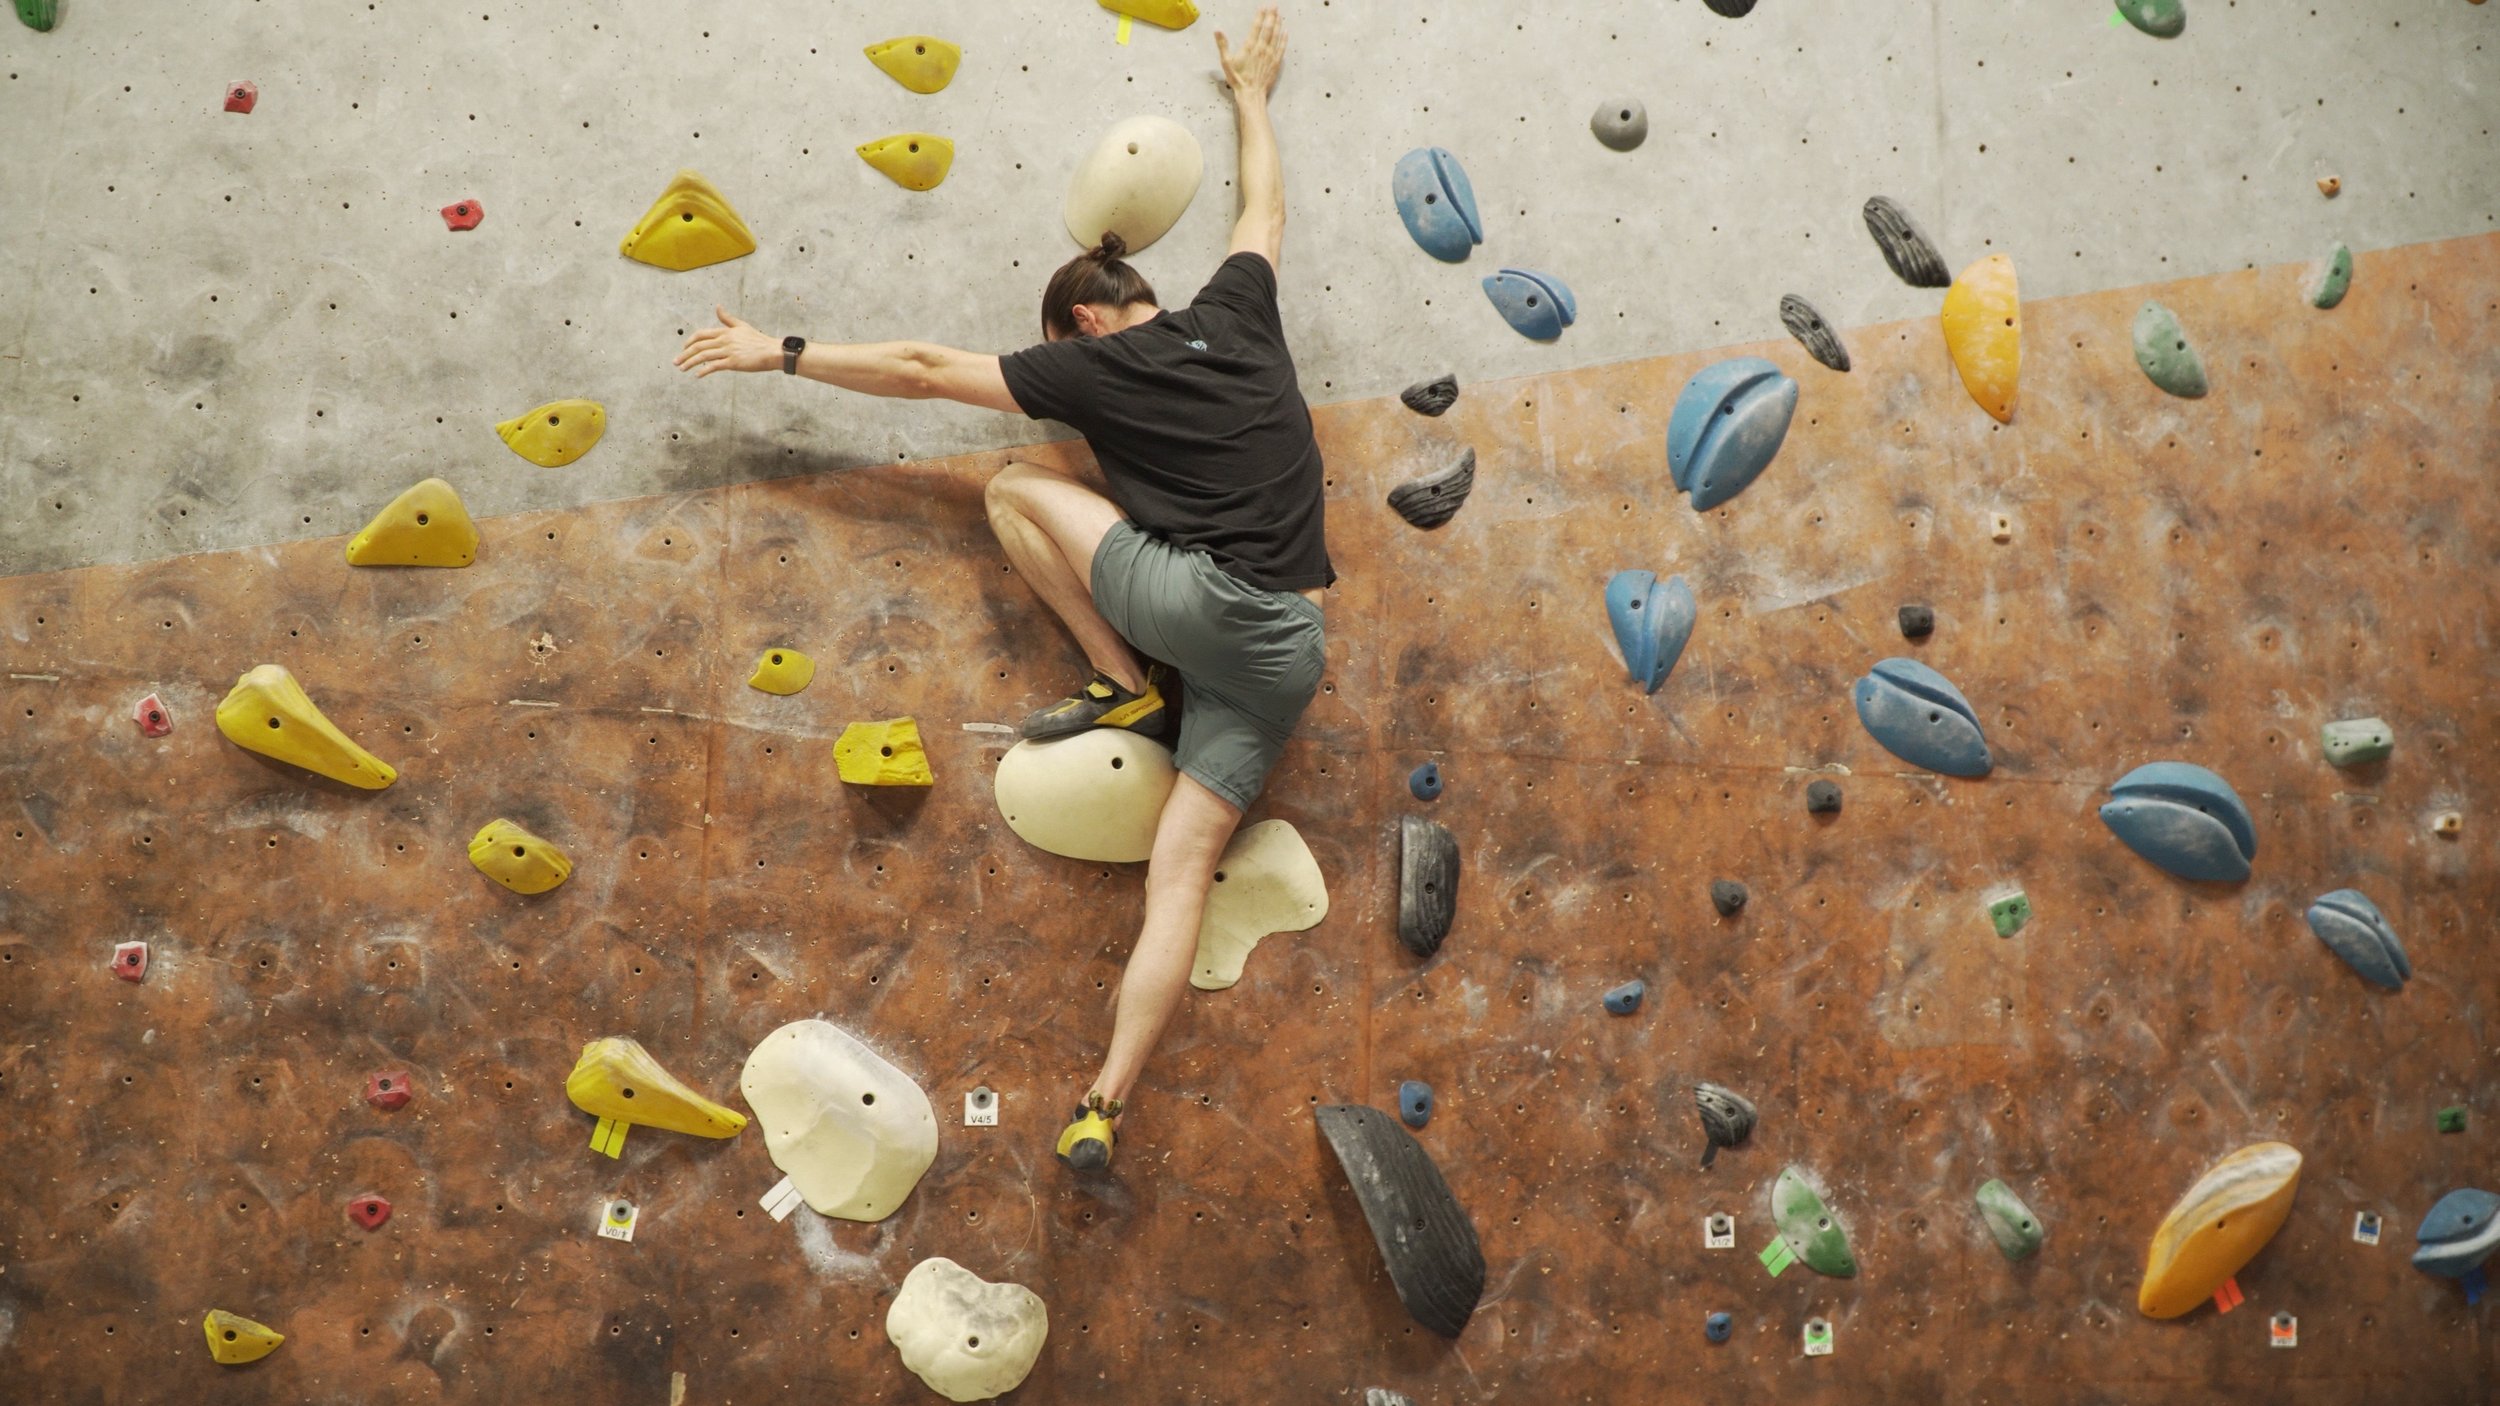
Next, find something that you can step up high onto and practice rocking your weight over the ankle. You’ll eventually start to feel how you can now be more centered and go through more dorsiflexion, meaning you’ll find increased balance and less dependency on your hands.
These on-the-wall drills are obviously pretty open-ended, but that’s what makes them great! You can really just have fun with them, practice your technique, and even use them as part of a great warmup routine, all while improving your climbing ability.
PART 4: TRAINING OUTLINE
I’ve put this entire routine into a nice chart that you can follow along with! The full routine should only take about 12 minutes.

In case you’re wondering “hey, when should I do this routine?” No worries! We got you covered there as well!
I recommend performing the entire routine (mobility & strength together) at least once or twice a week. You can perform it more frequently, up to 3 or 4 times a week depending on your goals and deficiencies. You can perform the mobility routine independently, though, multiple times a day. I recommend adding the mobility routine to your normal stretches, and the full routine with a training day or as part of your climbing warm up on occasion.

Note: with the strengthening you may need to reduce the frequency if it feels intense, or you may need to simply choose a simpler exercise. For example: if you have been doing the single leg activity you may need to go to the double leg activity without weight.
CONCLUSIONS AND OUTRO
And there you have it! A wonderful and simple routine to improve your ankle mobility to take your climbing to the next level. You'll soon be actually enjoying slab (probably not) and sitting perched on those high feet so comfortably that you can relax and munch on your favorite sending foods.
Until next time: Train that ankle mobility. Climb that V0 slab problem that's been evading you for years. Send it with sweat palms and having utilized all the courage you can summon. Repeat it but maybe don't cry at the top this time.
DISCLAIMER
As always, exercises are to be performed assuming your own risk and should not be done if you feel you are at risk for injury. See a medical professional if you have concerns before starting new exercises.
Written and Produced by Jason Hooper (PT, DPT, OCS, SCS, CAFS) and Emile Modesitt
IG: @hoopersbetaofficial
RESEARCH
Title
Importance and Diagnosis of Flexibility Preparation of Male Sport Climbers
Citation
Draga P, Ozimek M, Krawczyk M, Rokowski R, Nowakowska M, Ochwat P, Jurczak A, Stanula A. Importance and Diagnosis of Flexibility Preparation of Male Sport Climbers. International Journal of Environmental Research and Public Health. 2020; 17(7):2512. https://doi.org/10.3390/ijerph17072512
Key Takeaways
Contemporary sport climbing is demanding with respect to the abilities of the lower limbs, starting from the hip joint through to the feet phalanges.