Why Is Everyone Talking About This New Grip Training Method?
Hooper’s Beta Ep. 169
INTRO
Why is everyone suddenly talking about this “new” grip training method?
Multiple people, on completely separate platforms, with different training philosophies, have all started saying some version of the same thing: you should be training your grip with your fingertip actively pressing into the hold.
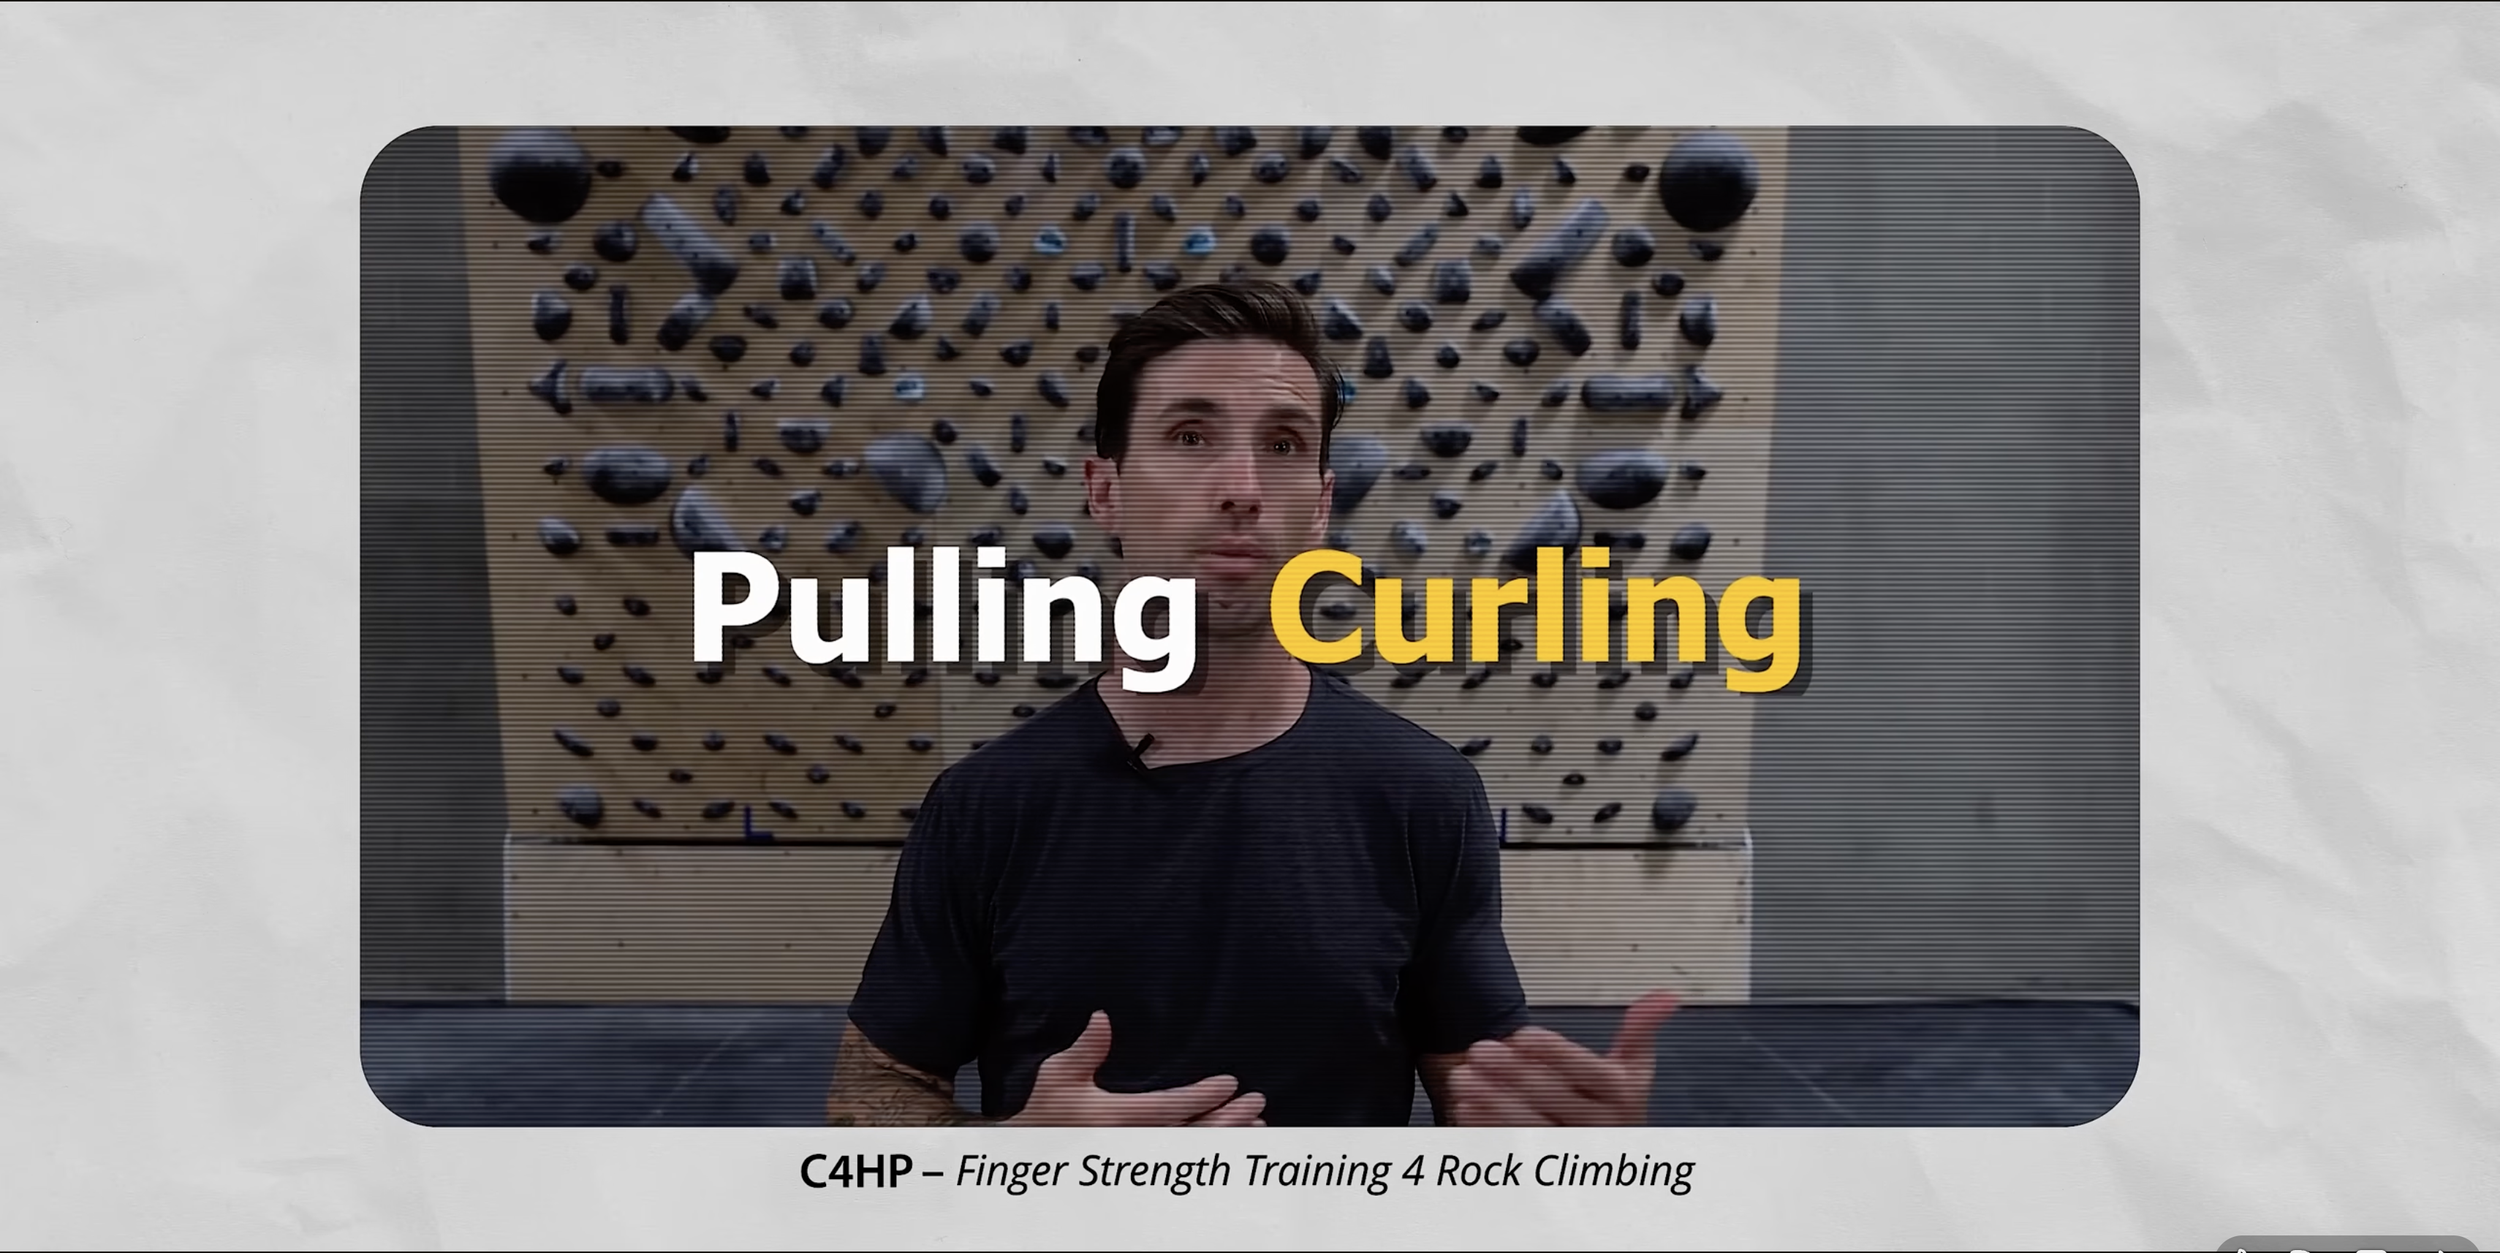
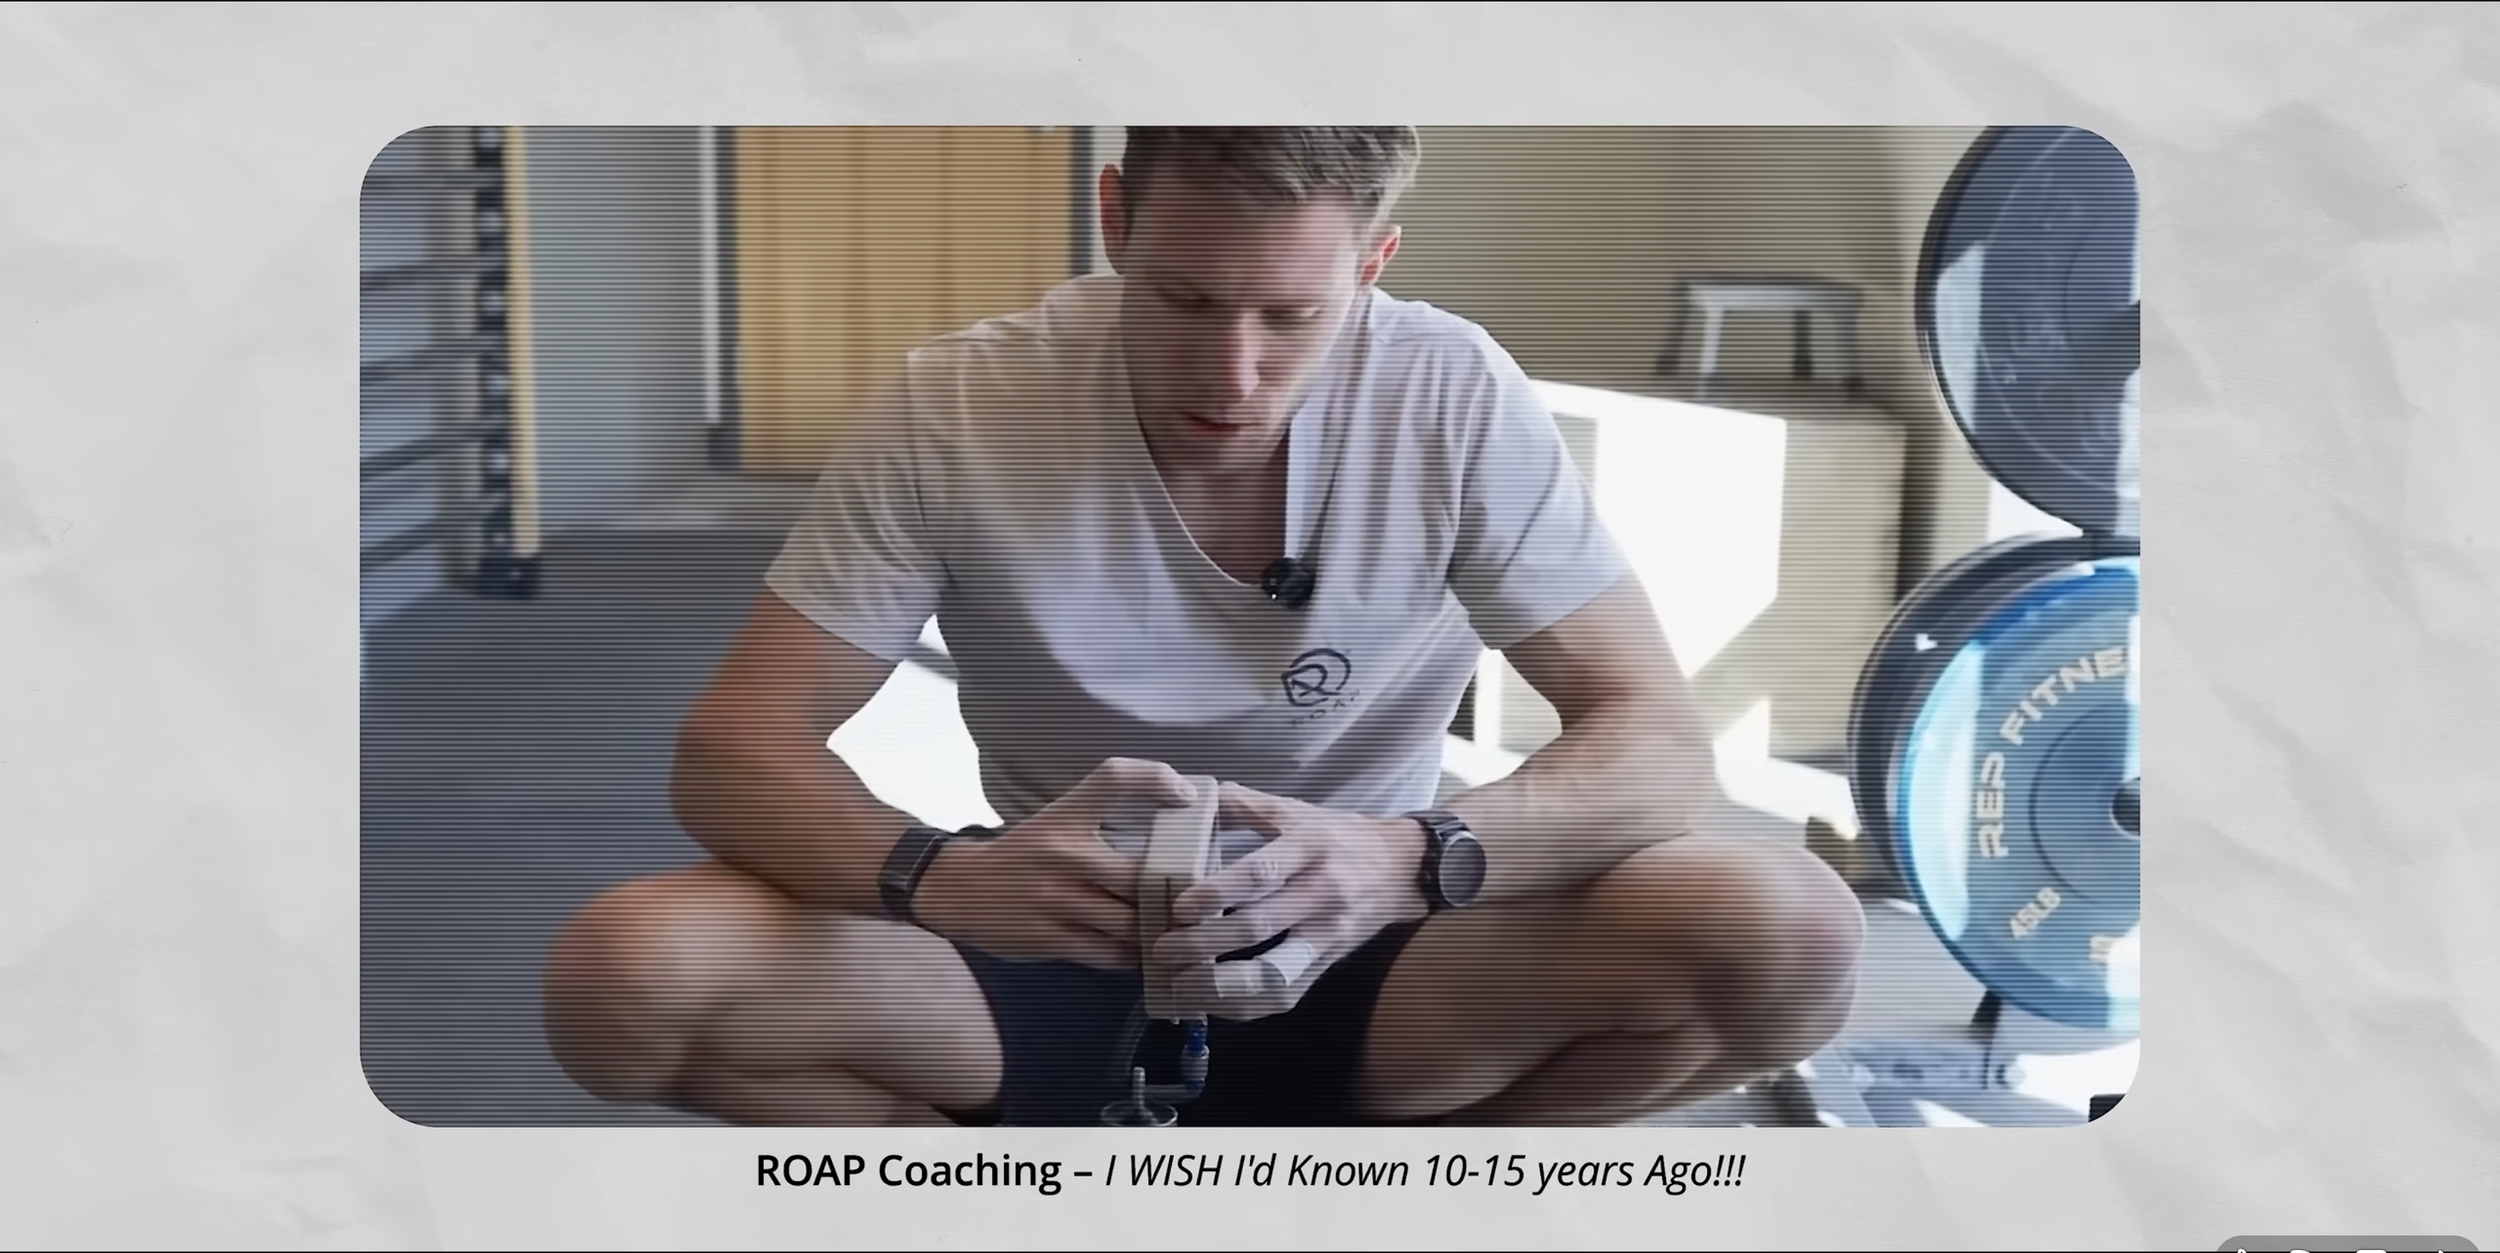
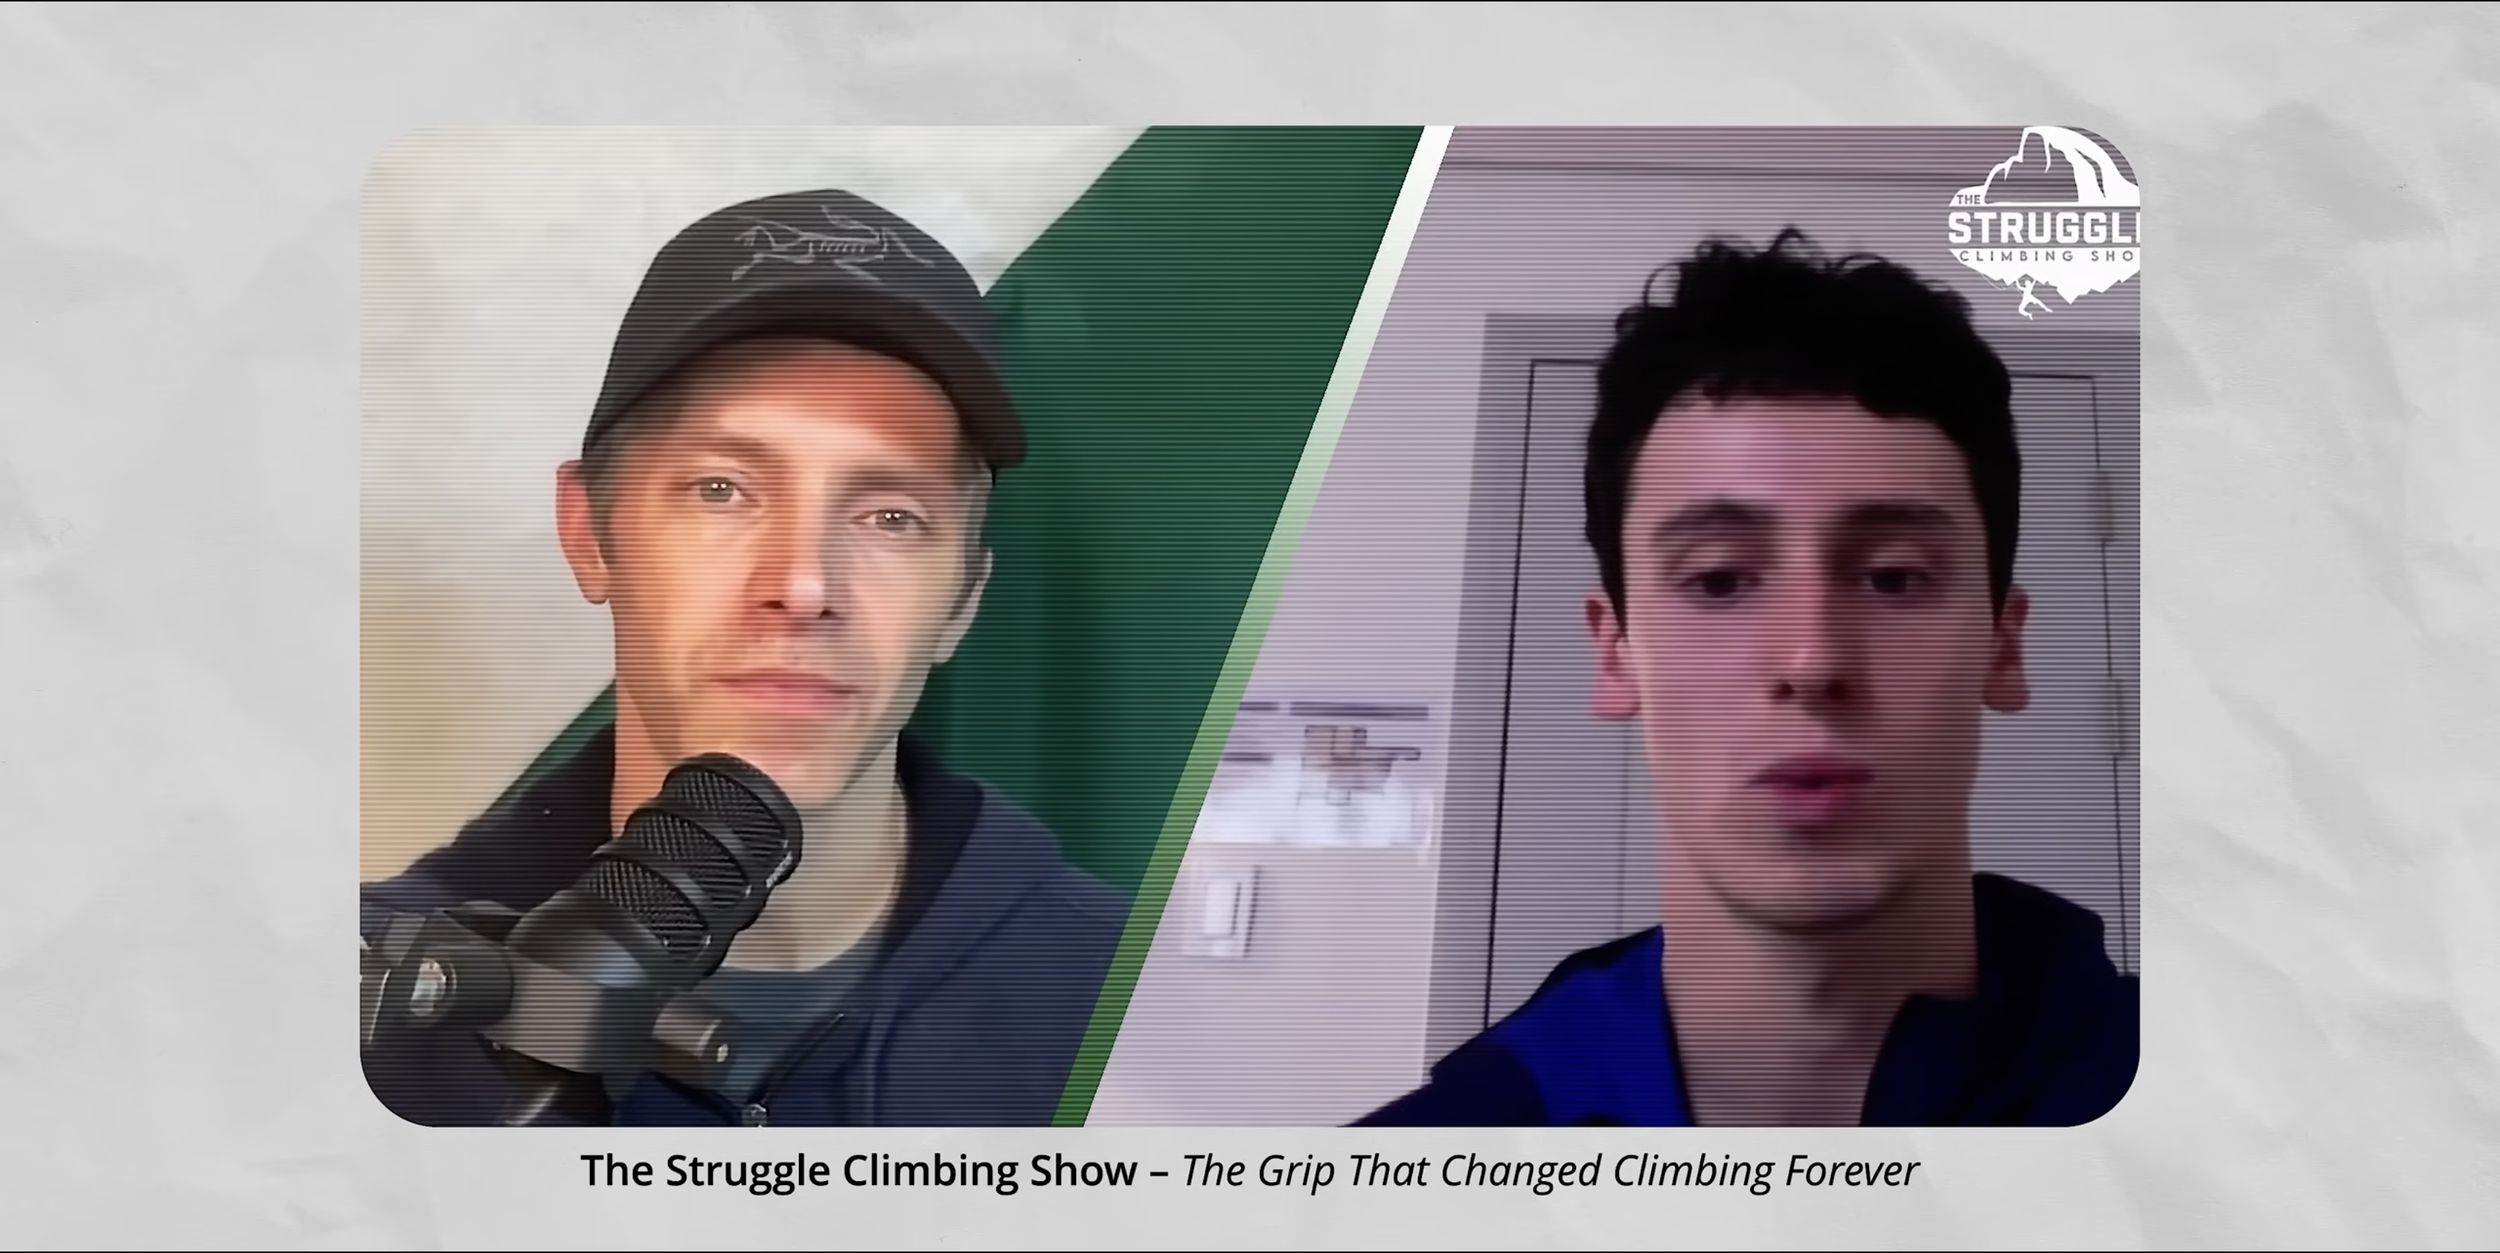
Hamish McArthur talked about training it in a recent podcast, saying he was inspired by Daniel Woods’ grip style. C4HP has long promoted it in contrast to typical “yielding isometric” finger training. ROAP has been coaching it as "digging in" versus relying on bunched up skin. There was even a whole video recently from a channel I'd never heard of (StrengthClimbing) making it a cornerstone of their finger strength protocol. And, some may recall, a channel called “Mobeta” basically built his entire training device around this idea, though he seems to have deleted most of his videos.
So that's at least five separate voices pushing some version of this concept. And since we actually made an entire video about intention and cueing in training... we figured it was time to “dig into” this topic.
Could this be the missing piece of the finger strength puzzle? Is it time to throw out your old hangboard protocol? Or is this just another useless fad?
Let's get into it.
WHAT ARE WE ACTUALLY TALKING ABOUT
First, let's clarify what we're actually discussing, because not everyone means the exact same thing.
There are really two different versions of this idea floating around.
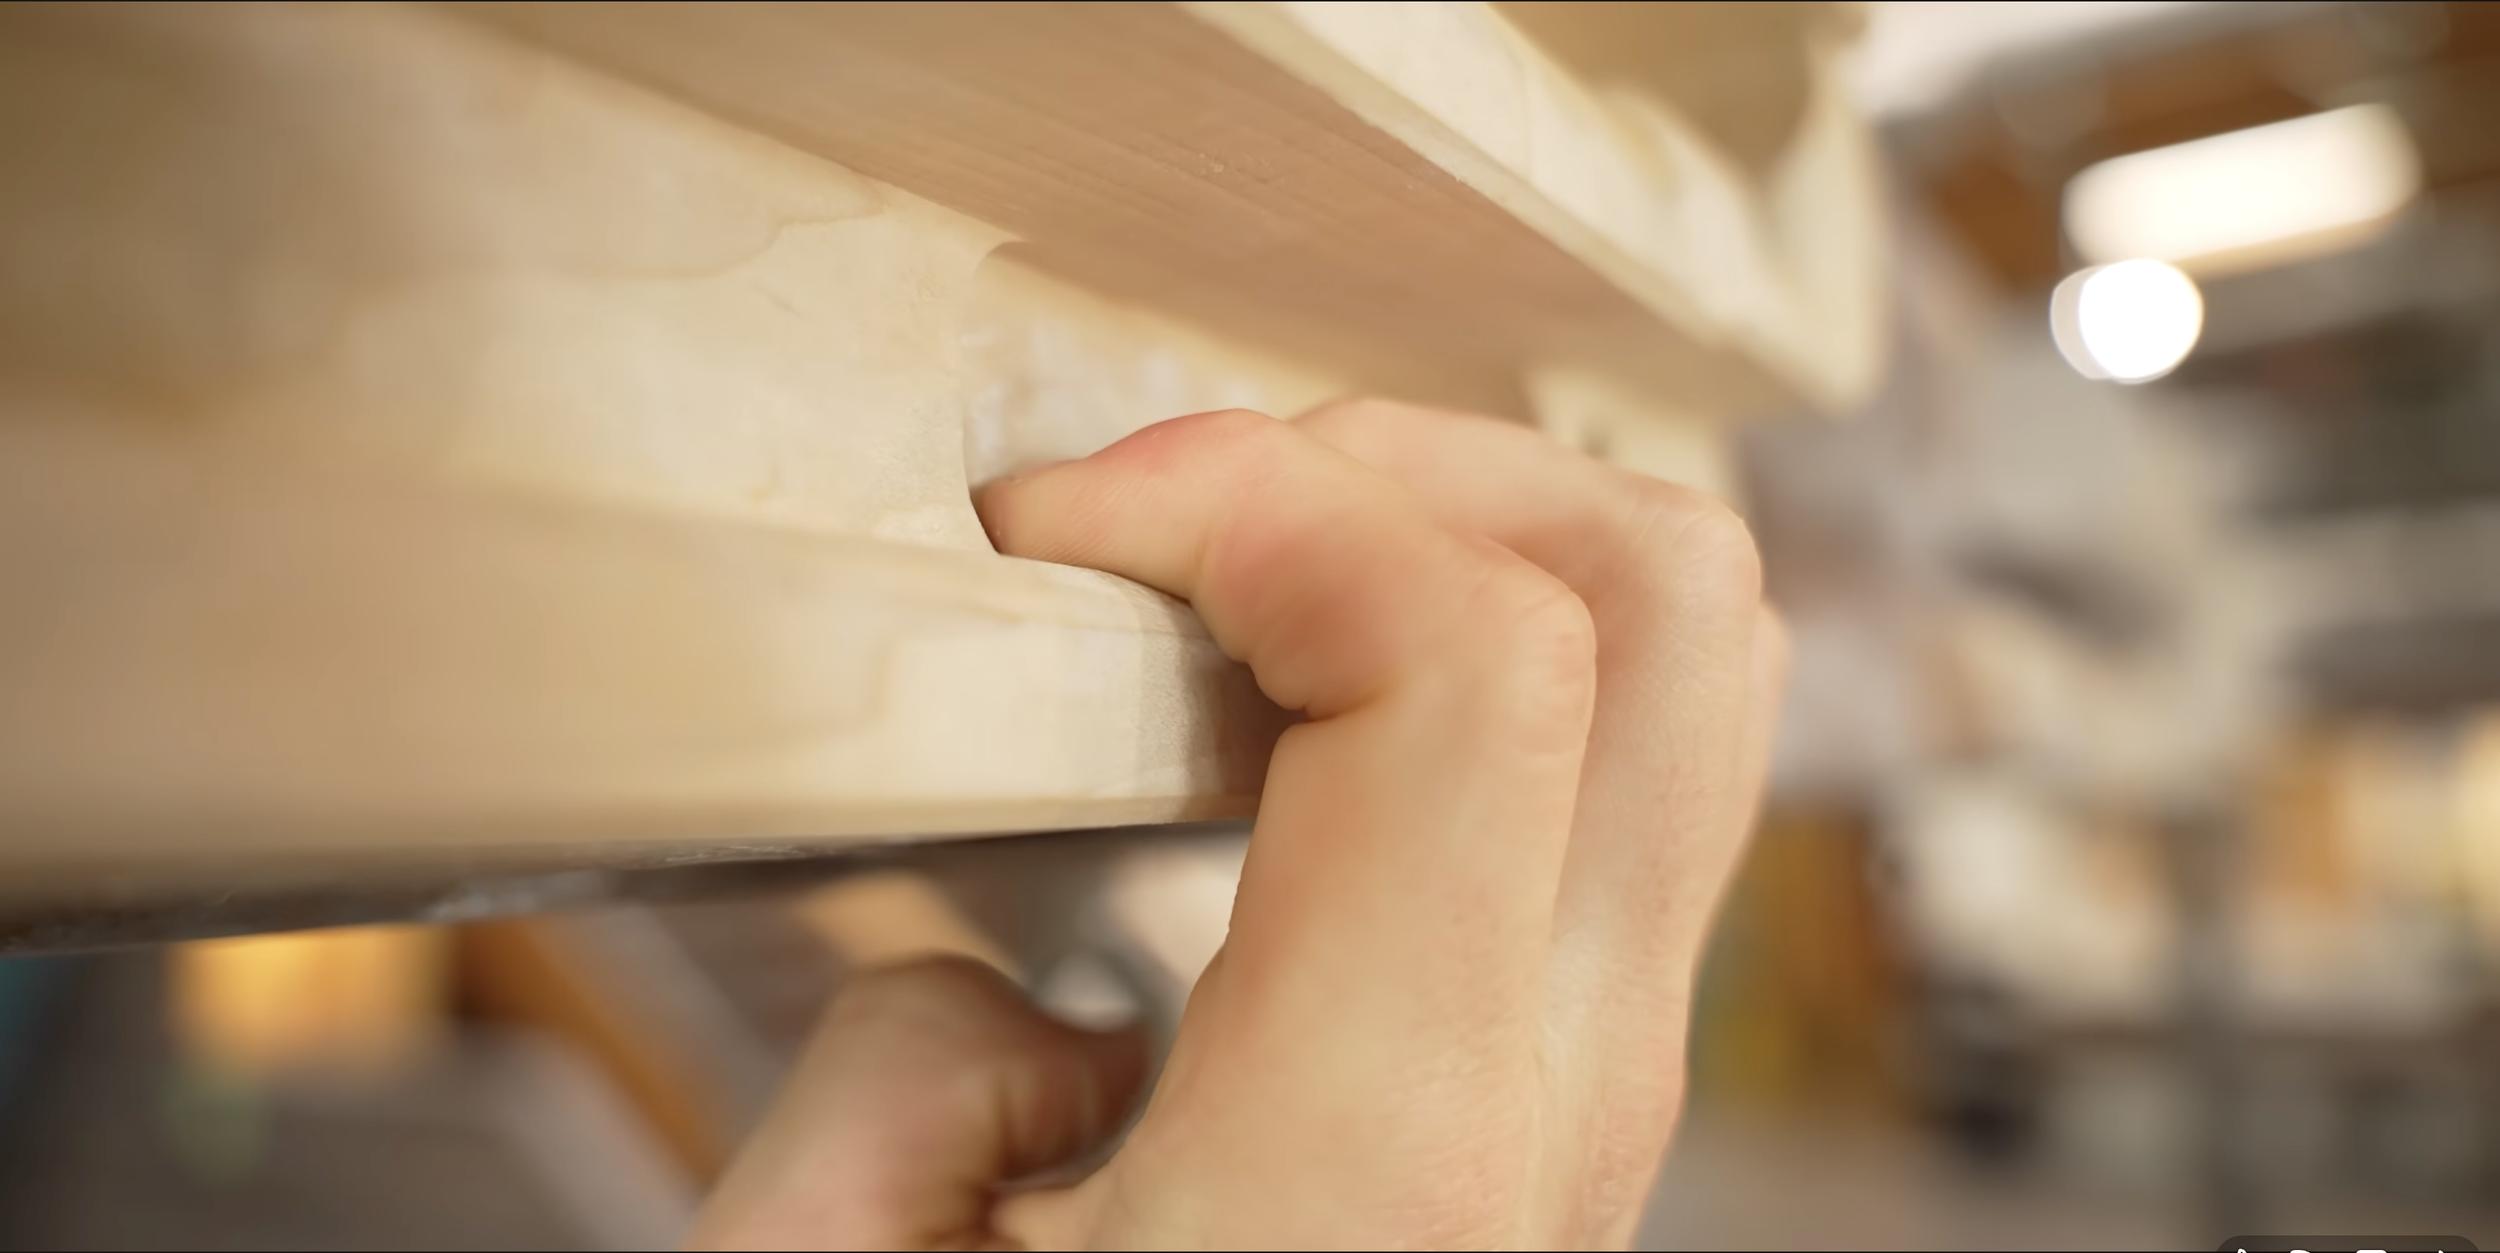
Version one, which I'm going to call the talon grip, is training with a physically flexed DIP joint. So your MCP, PIP, and DIP joints are all bent, which makes your hand look kind of like a claw or talon. This is what Hamish McArthur says he’s training, and it's what certain training devices (like Mobeta’s “Hand of God Micro”) are designed to facilitate.
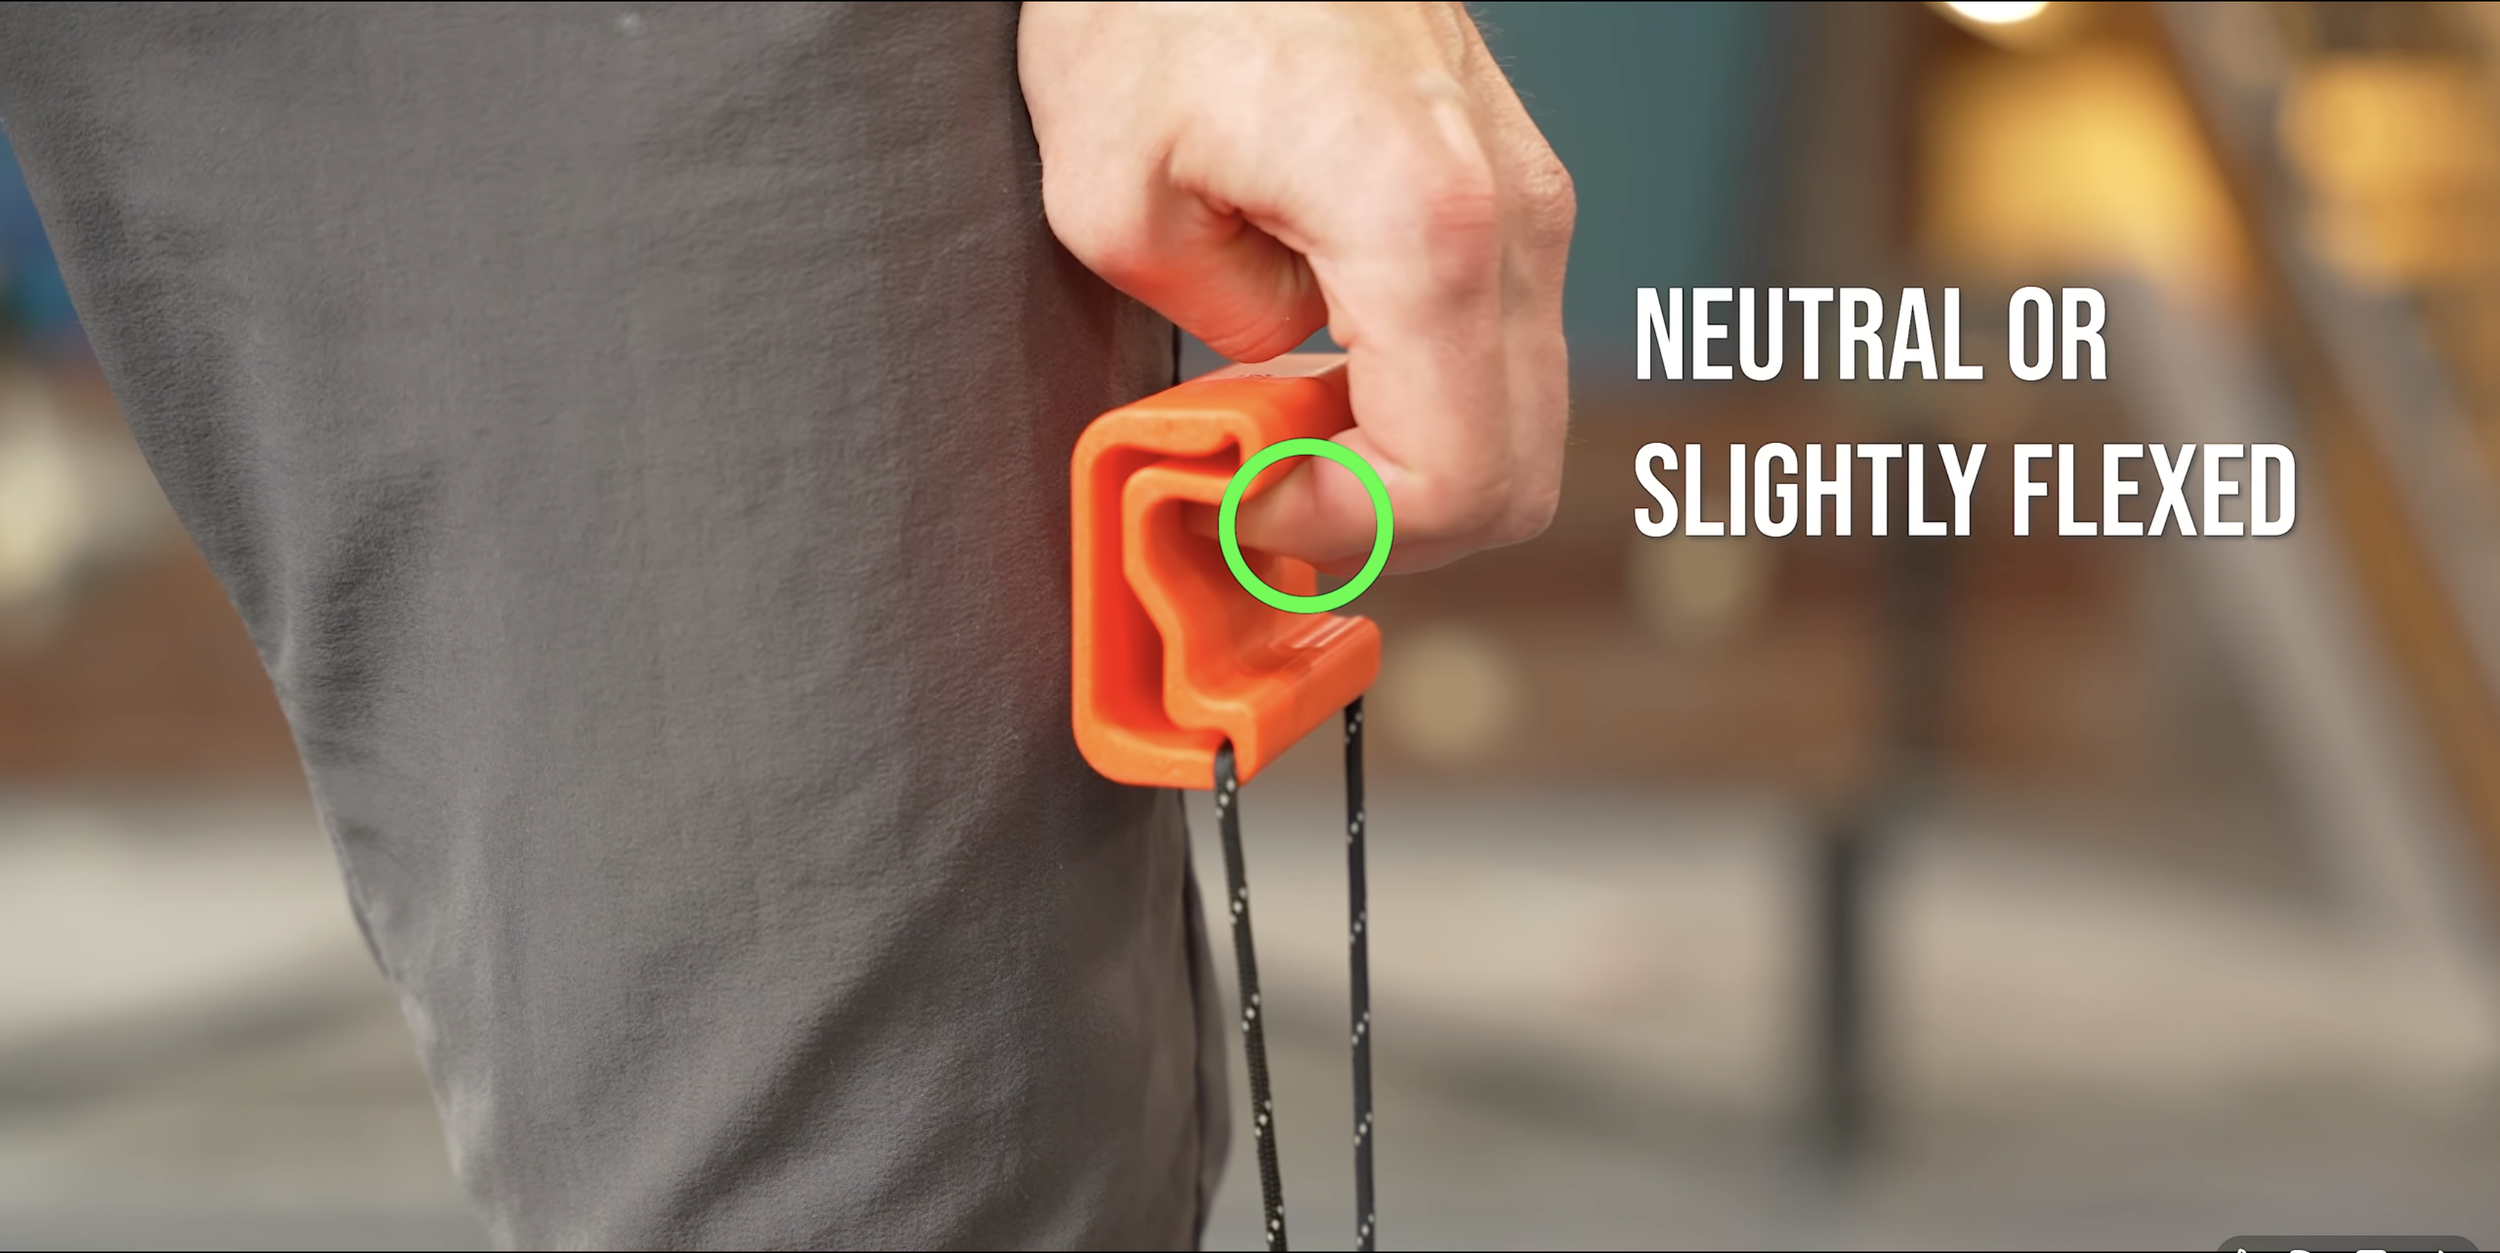
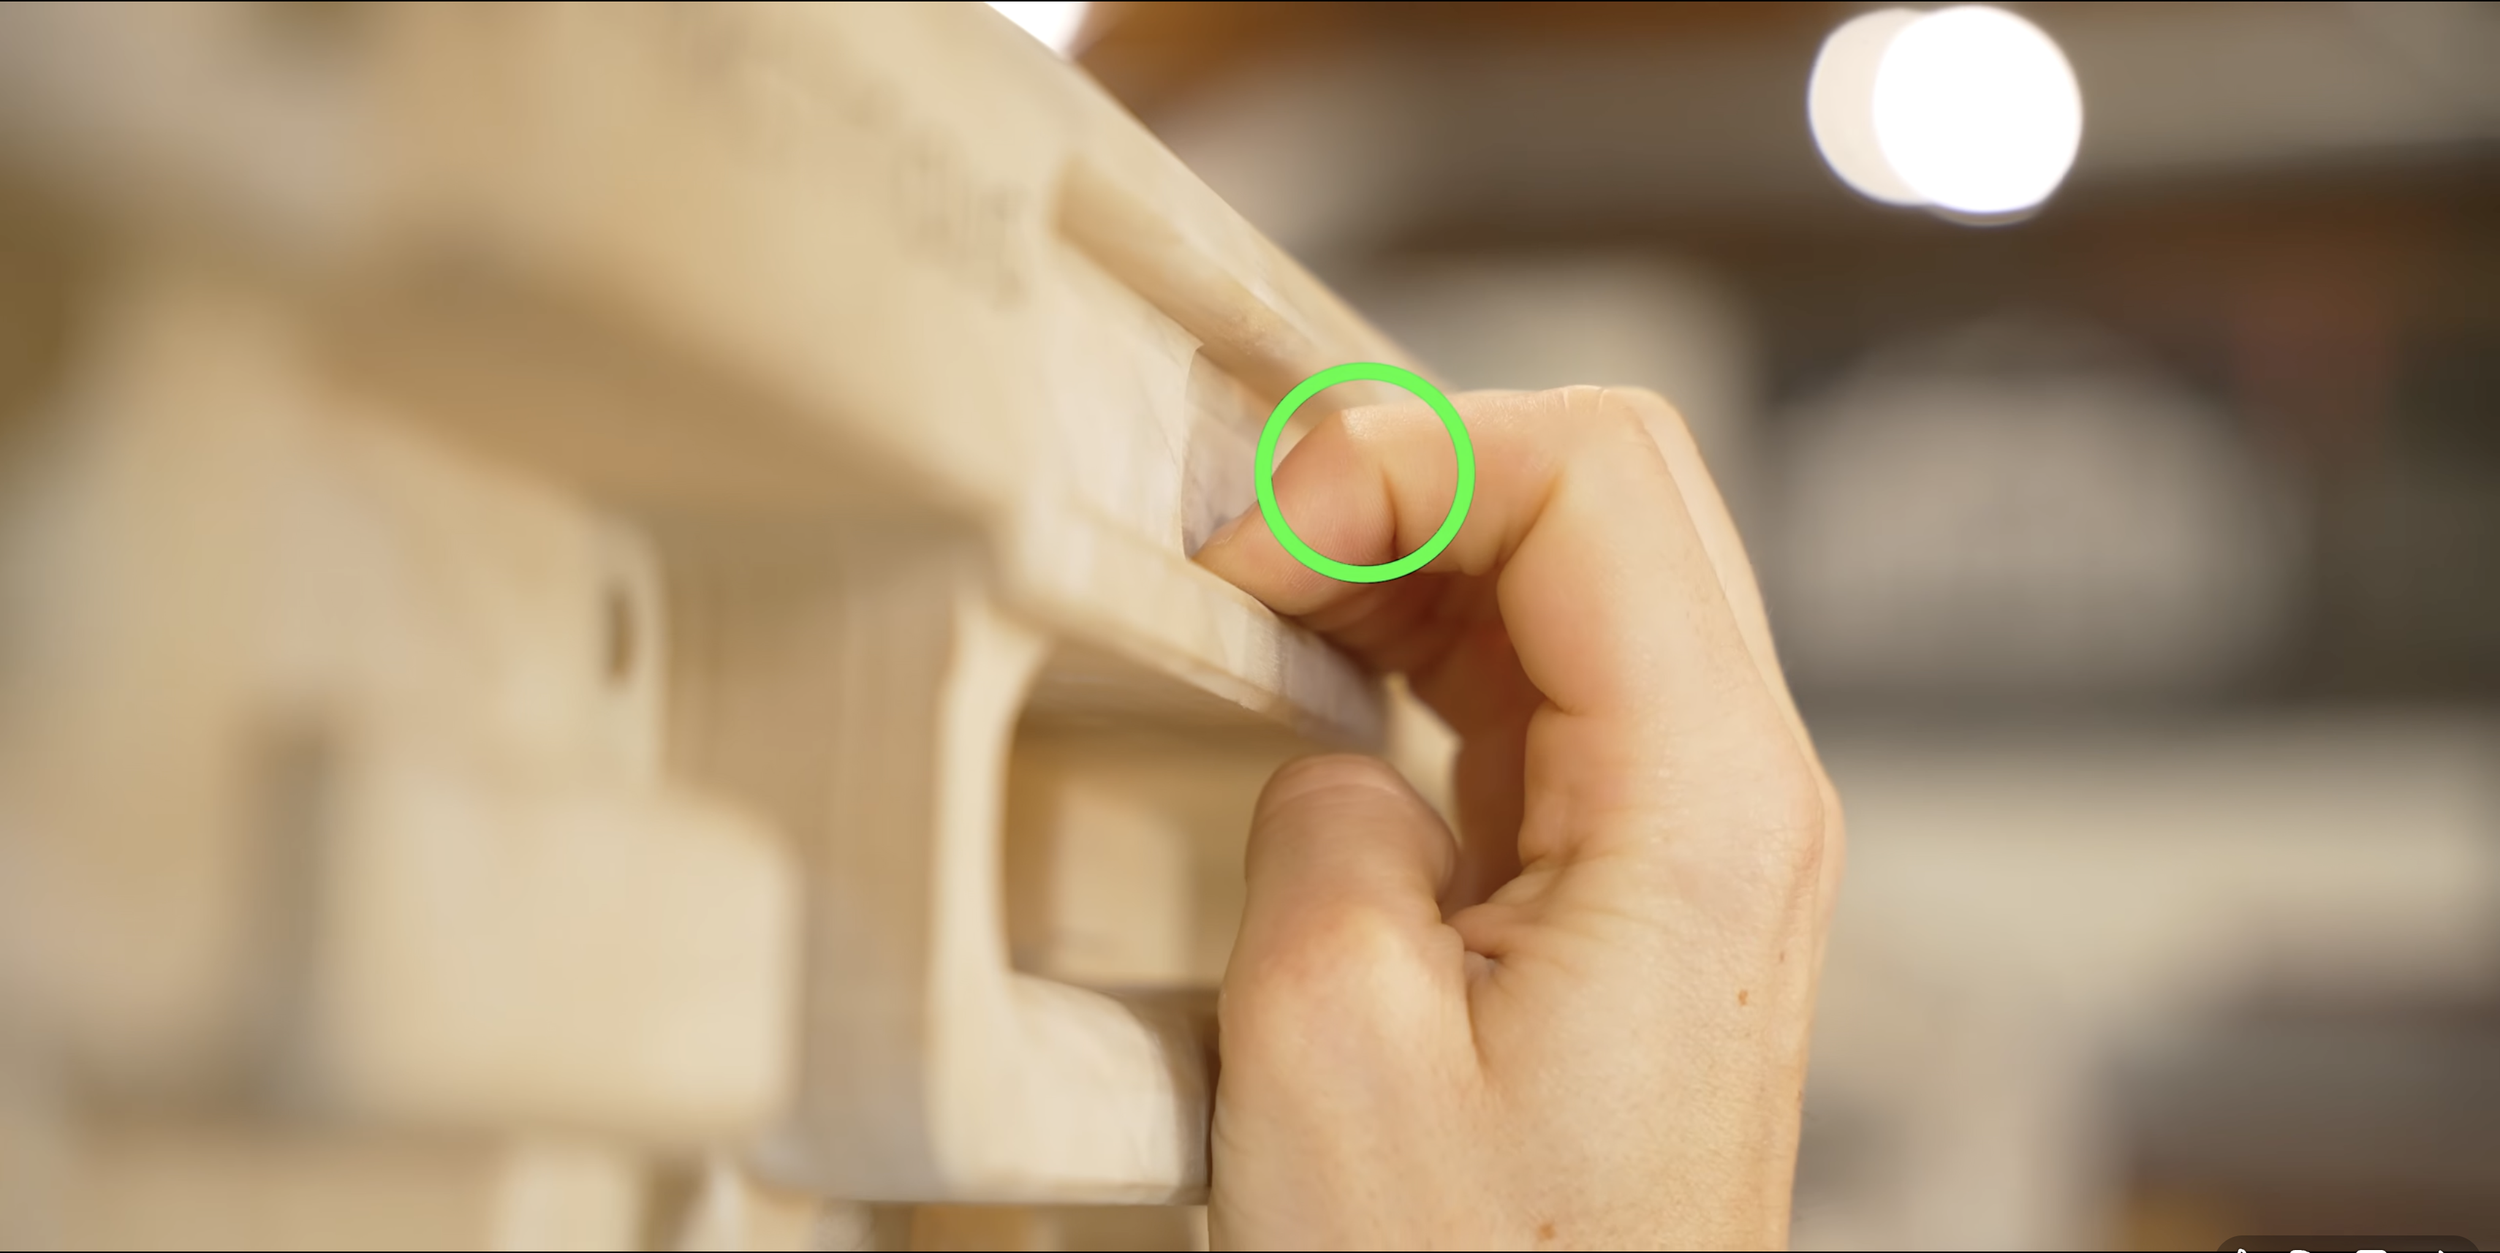
Version two typically looks more like a standard crimp. Your MCP and PIP joints are flexed, and your DIP is fairly neutral – pretty normal. The difference here isn't so much the position, it's the intention. You're actively trying to press or dig your fingertip into the edge, even if the DIP joint itself doesn't visibly flex. It’s a style of finger training often referred to as an “overcoming isometric” or “recruitment pull.”
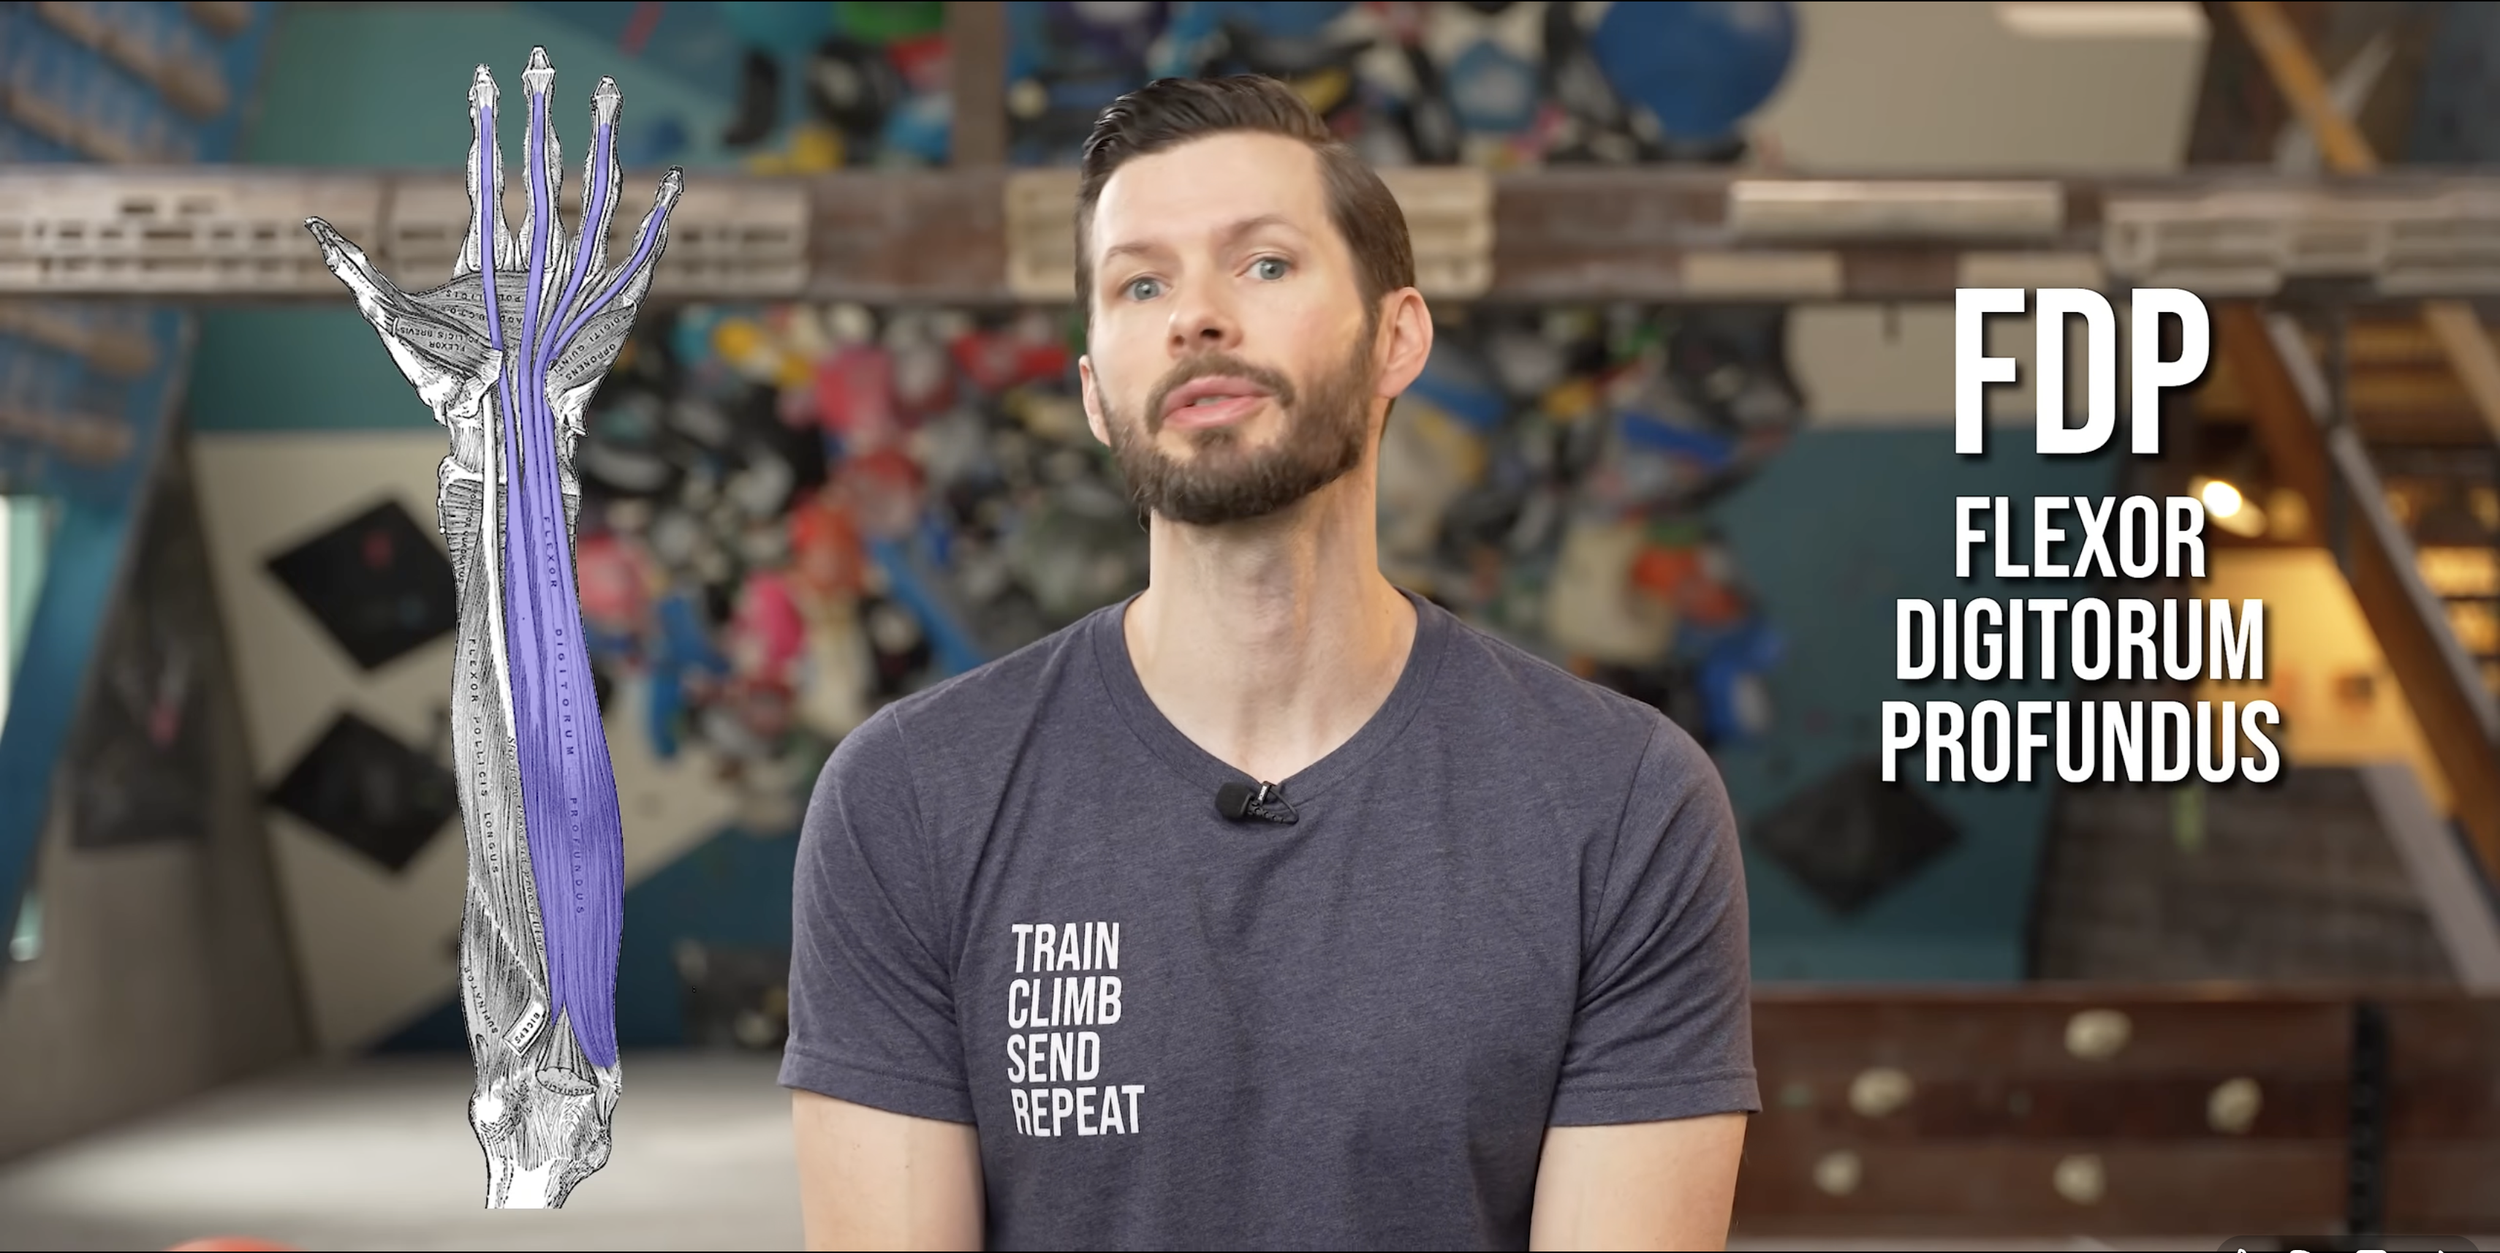
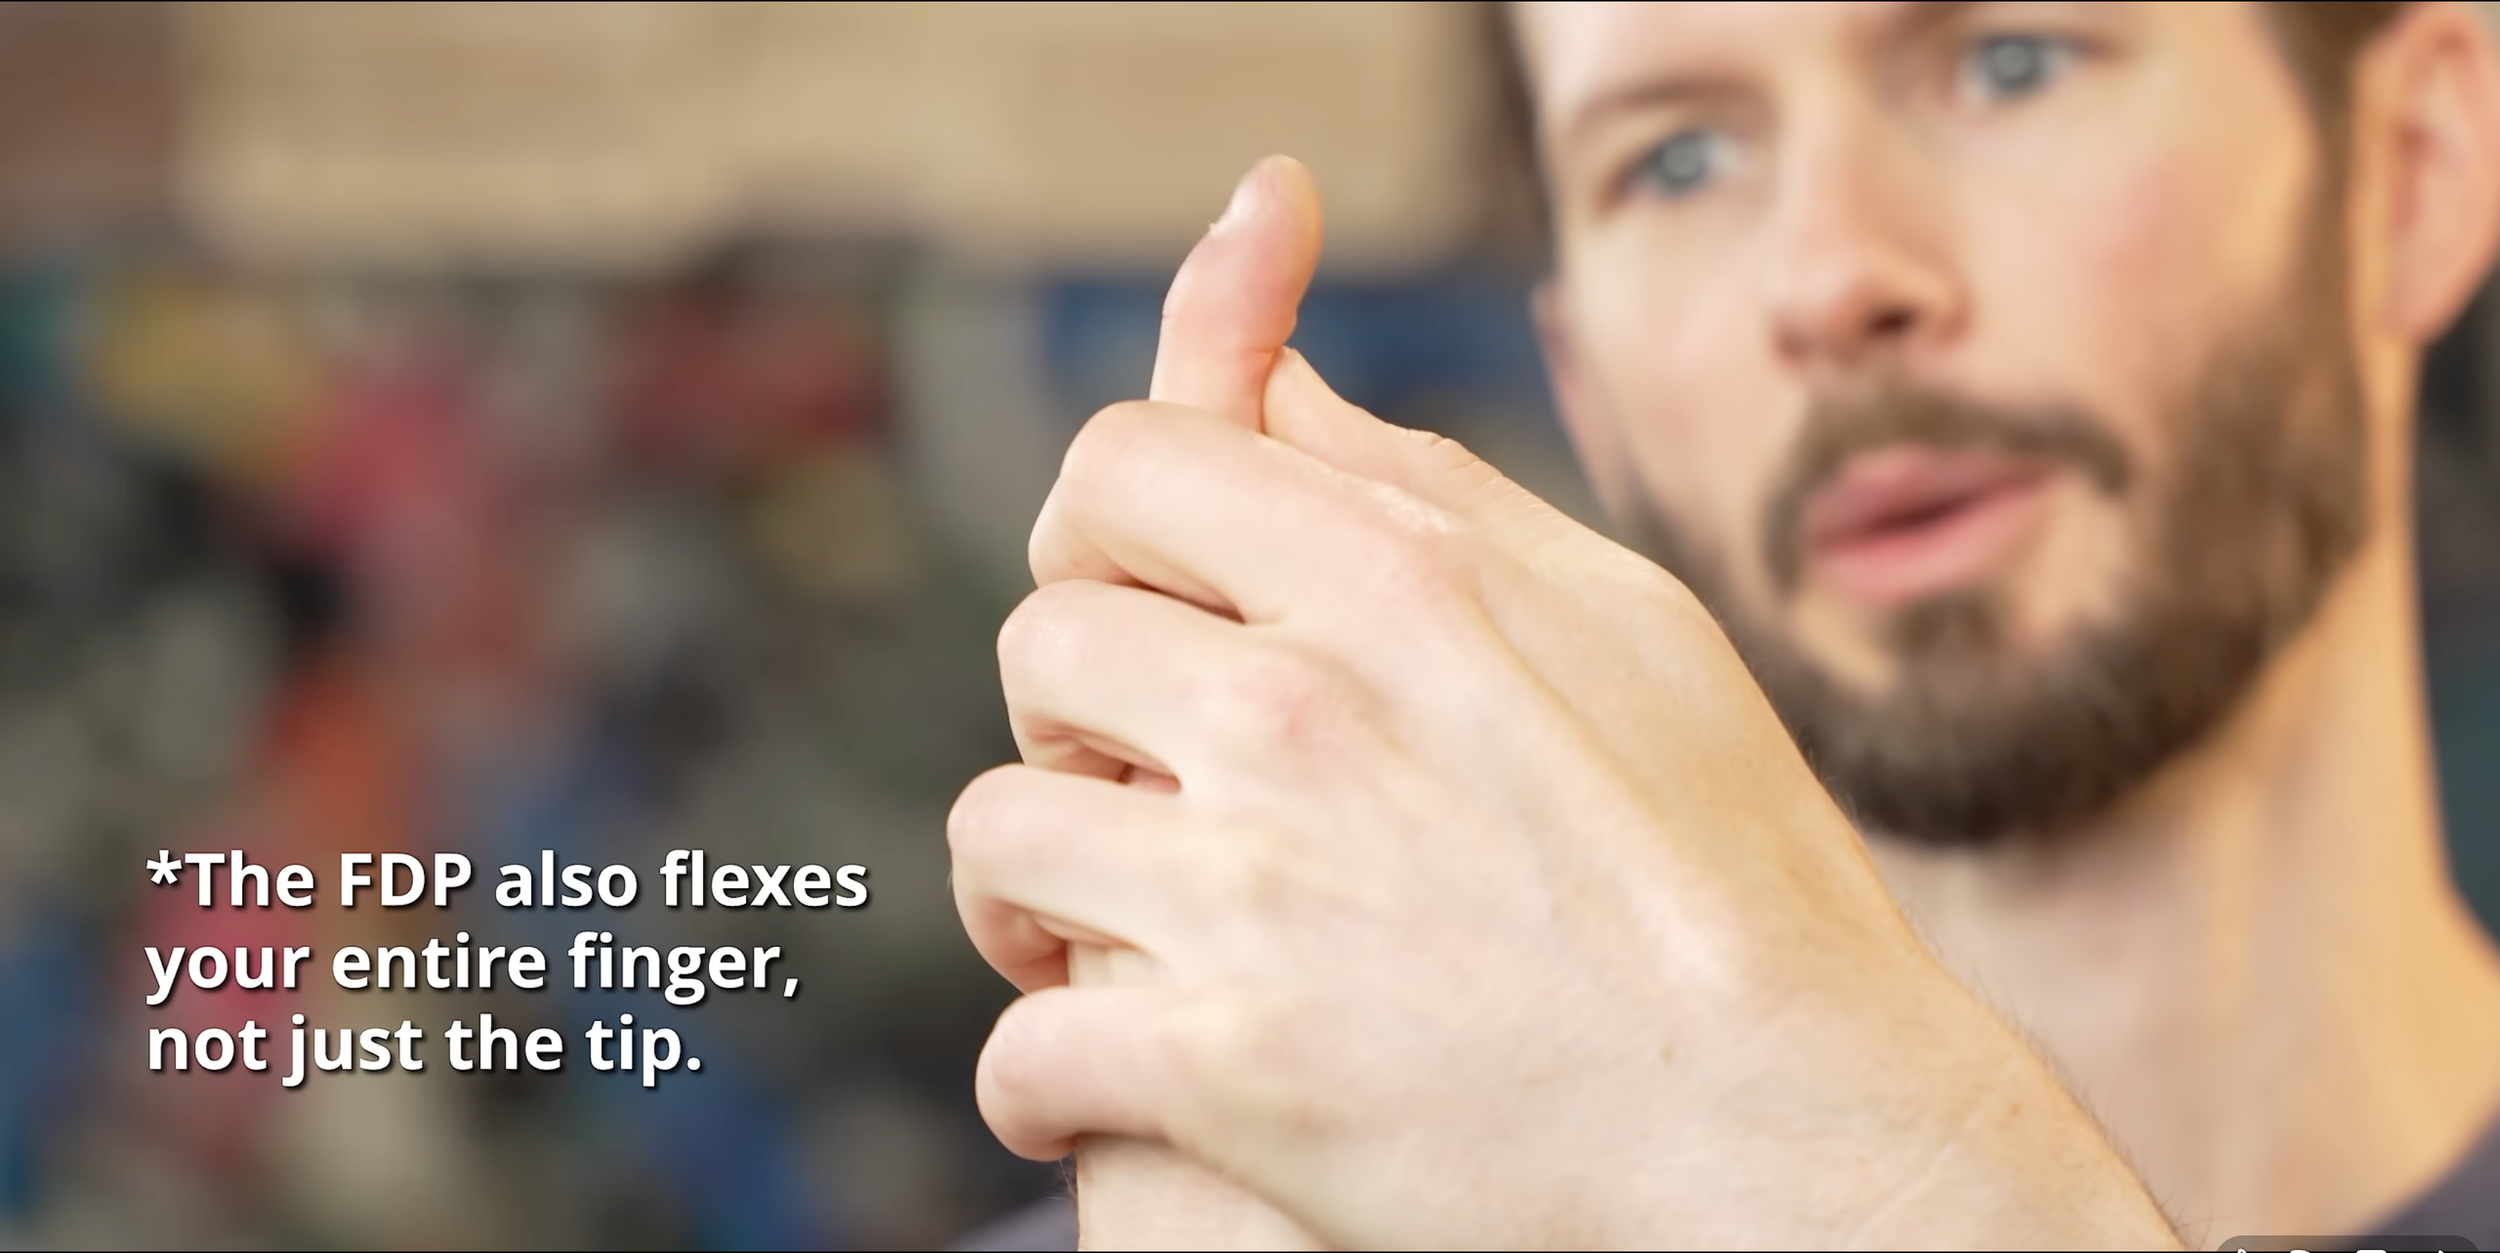
Both of these versions share something in common: they’re targeting the same muscle, which is the FDP (flexor digitorum profundus). This is the finger flexor that allows you to bend the tip of your finger, making it essential for grip strength. (The FDP also flexes the entire finger, not just the tip.) Clearly, crucial for climbers. And according to some coaches, climbers that don’t train with version one (talon grip) or version two (recruitment pull) may not actually be optimally stimulating the FDP during training. In other words, if you don’t train like this, you could be leaving a lot of grip strength gains on the table.
But, why? Why would these new methods train the FDP better than… normal hangboarding?
THE SKIN BUNCHING “PROBLEM”
Here's something a lot of climbers do without realizing it.
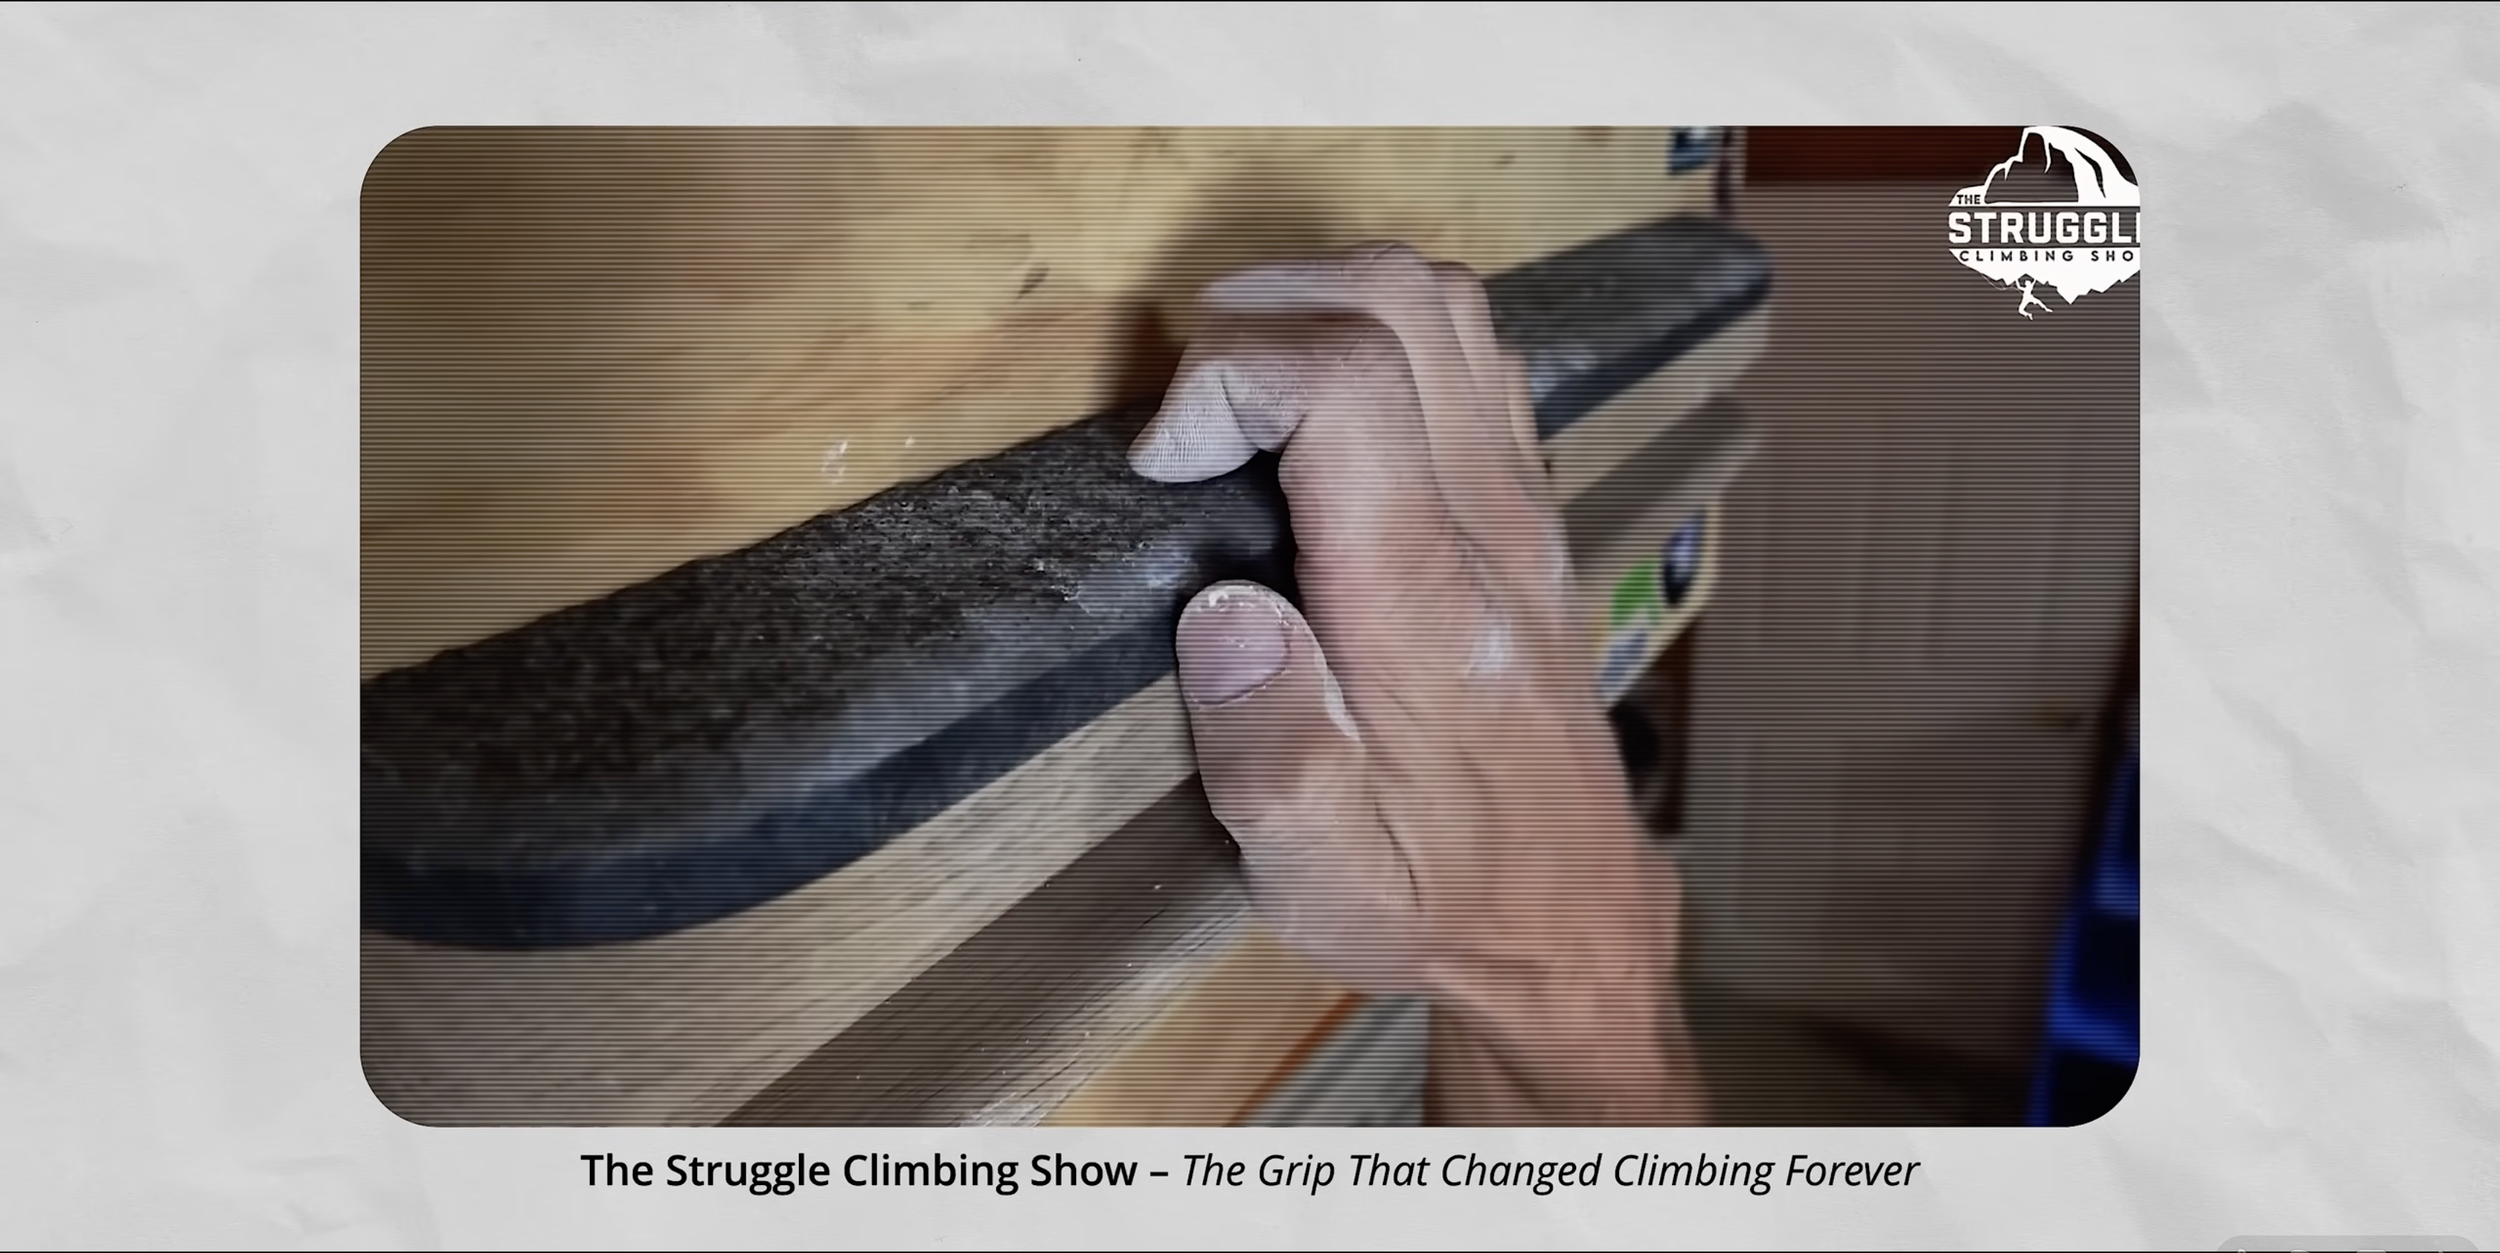
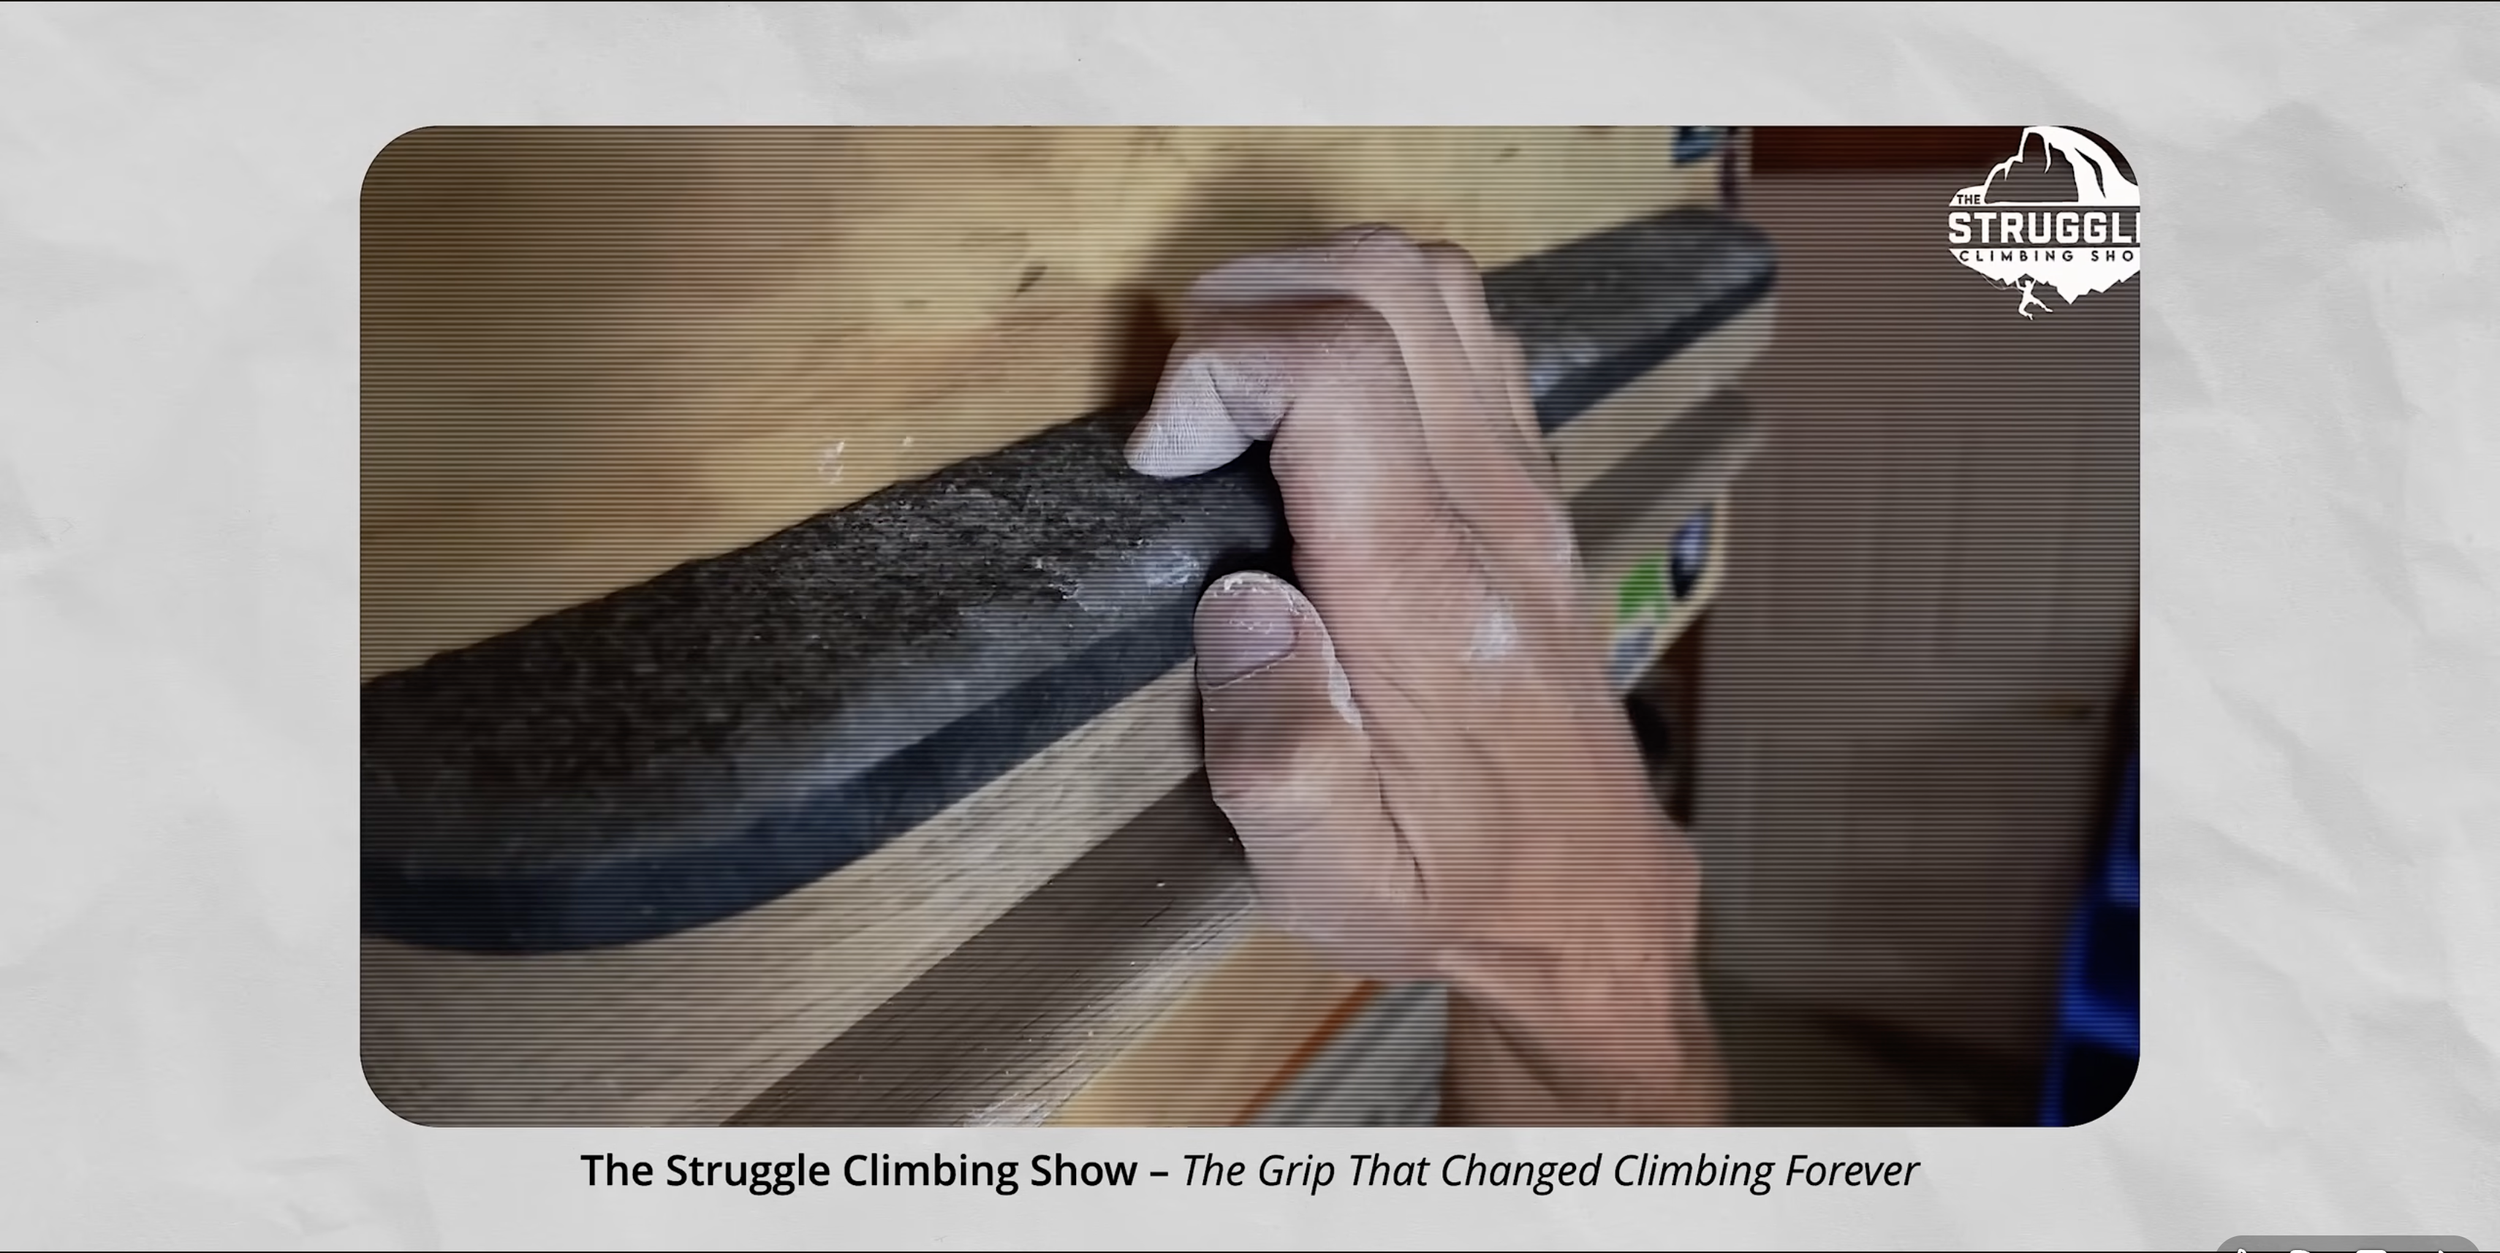
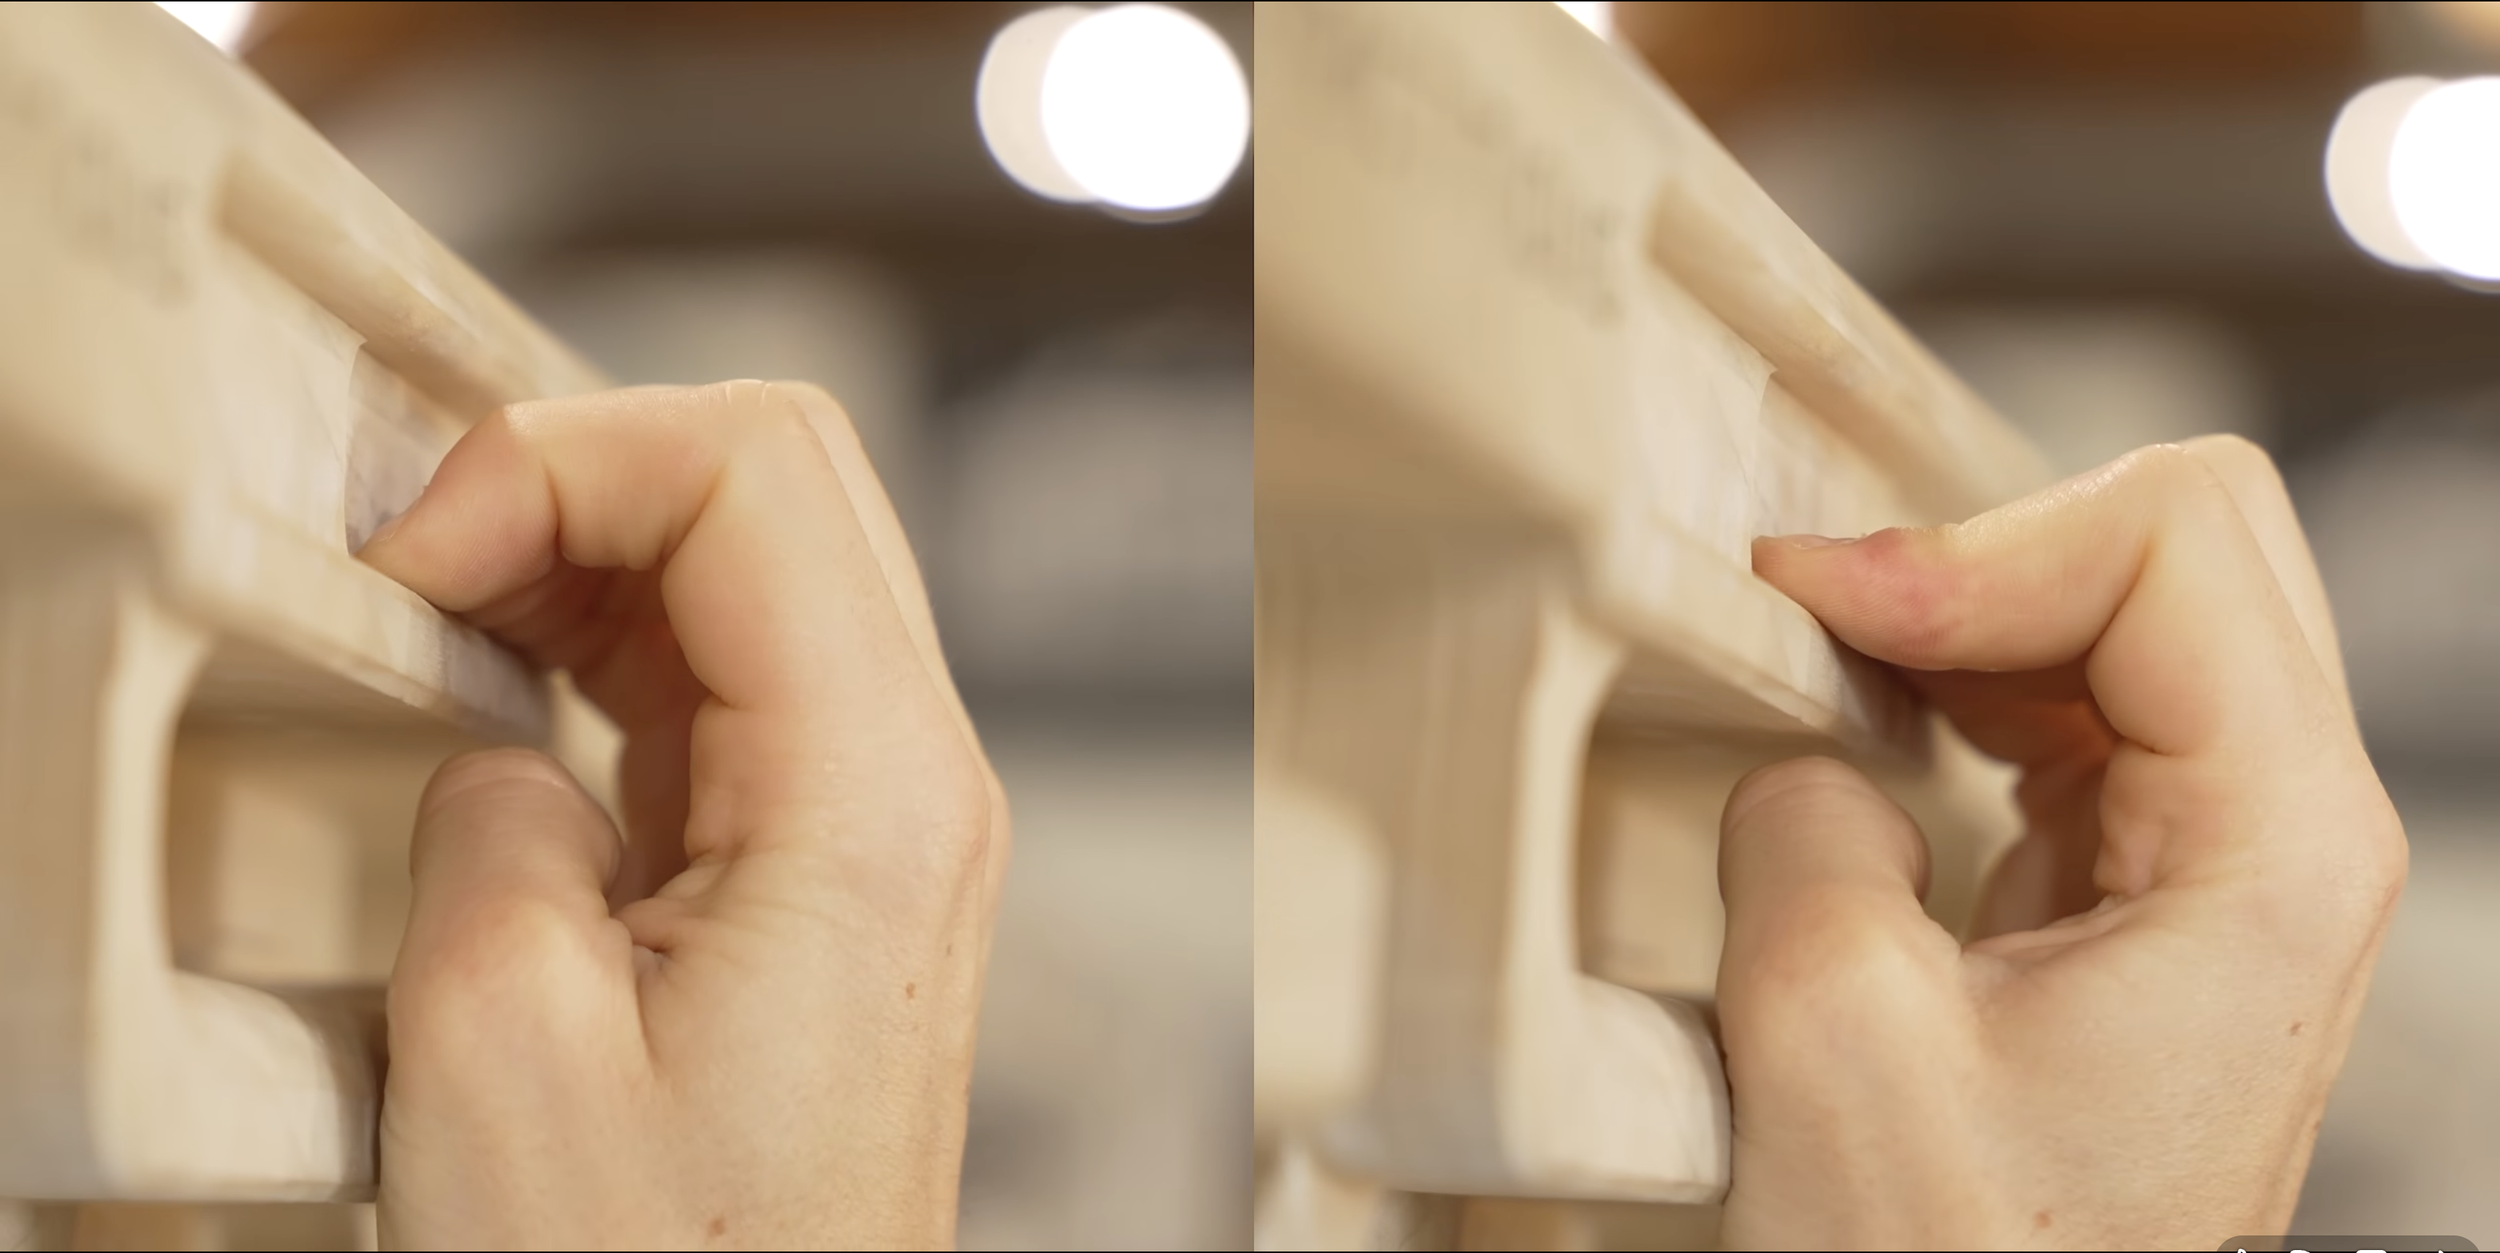
Watch someone hang on an edge. A lot of the time, they'll reach slightly past the edge and then sag into it. The skin on their finger folds up against the lip of the hold, bunching together and creating a kind of fleshy hook that increases friction.
It’s actually a very useful technique. That bunched skin can dramatically increase how much weight you can hold. It's basically free grip, generated by your skin rather than your muscles. In a training scenario, this lets you expose your connective tissues to more load. In a climbing scenario, this reduces the amount of work your finger flexor muscles have to do, making it a very efficient use of energy.
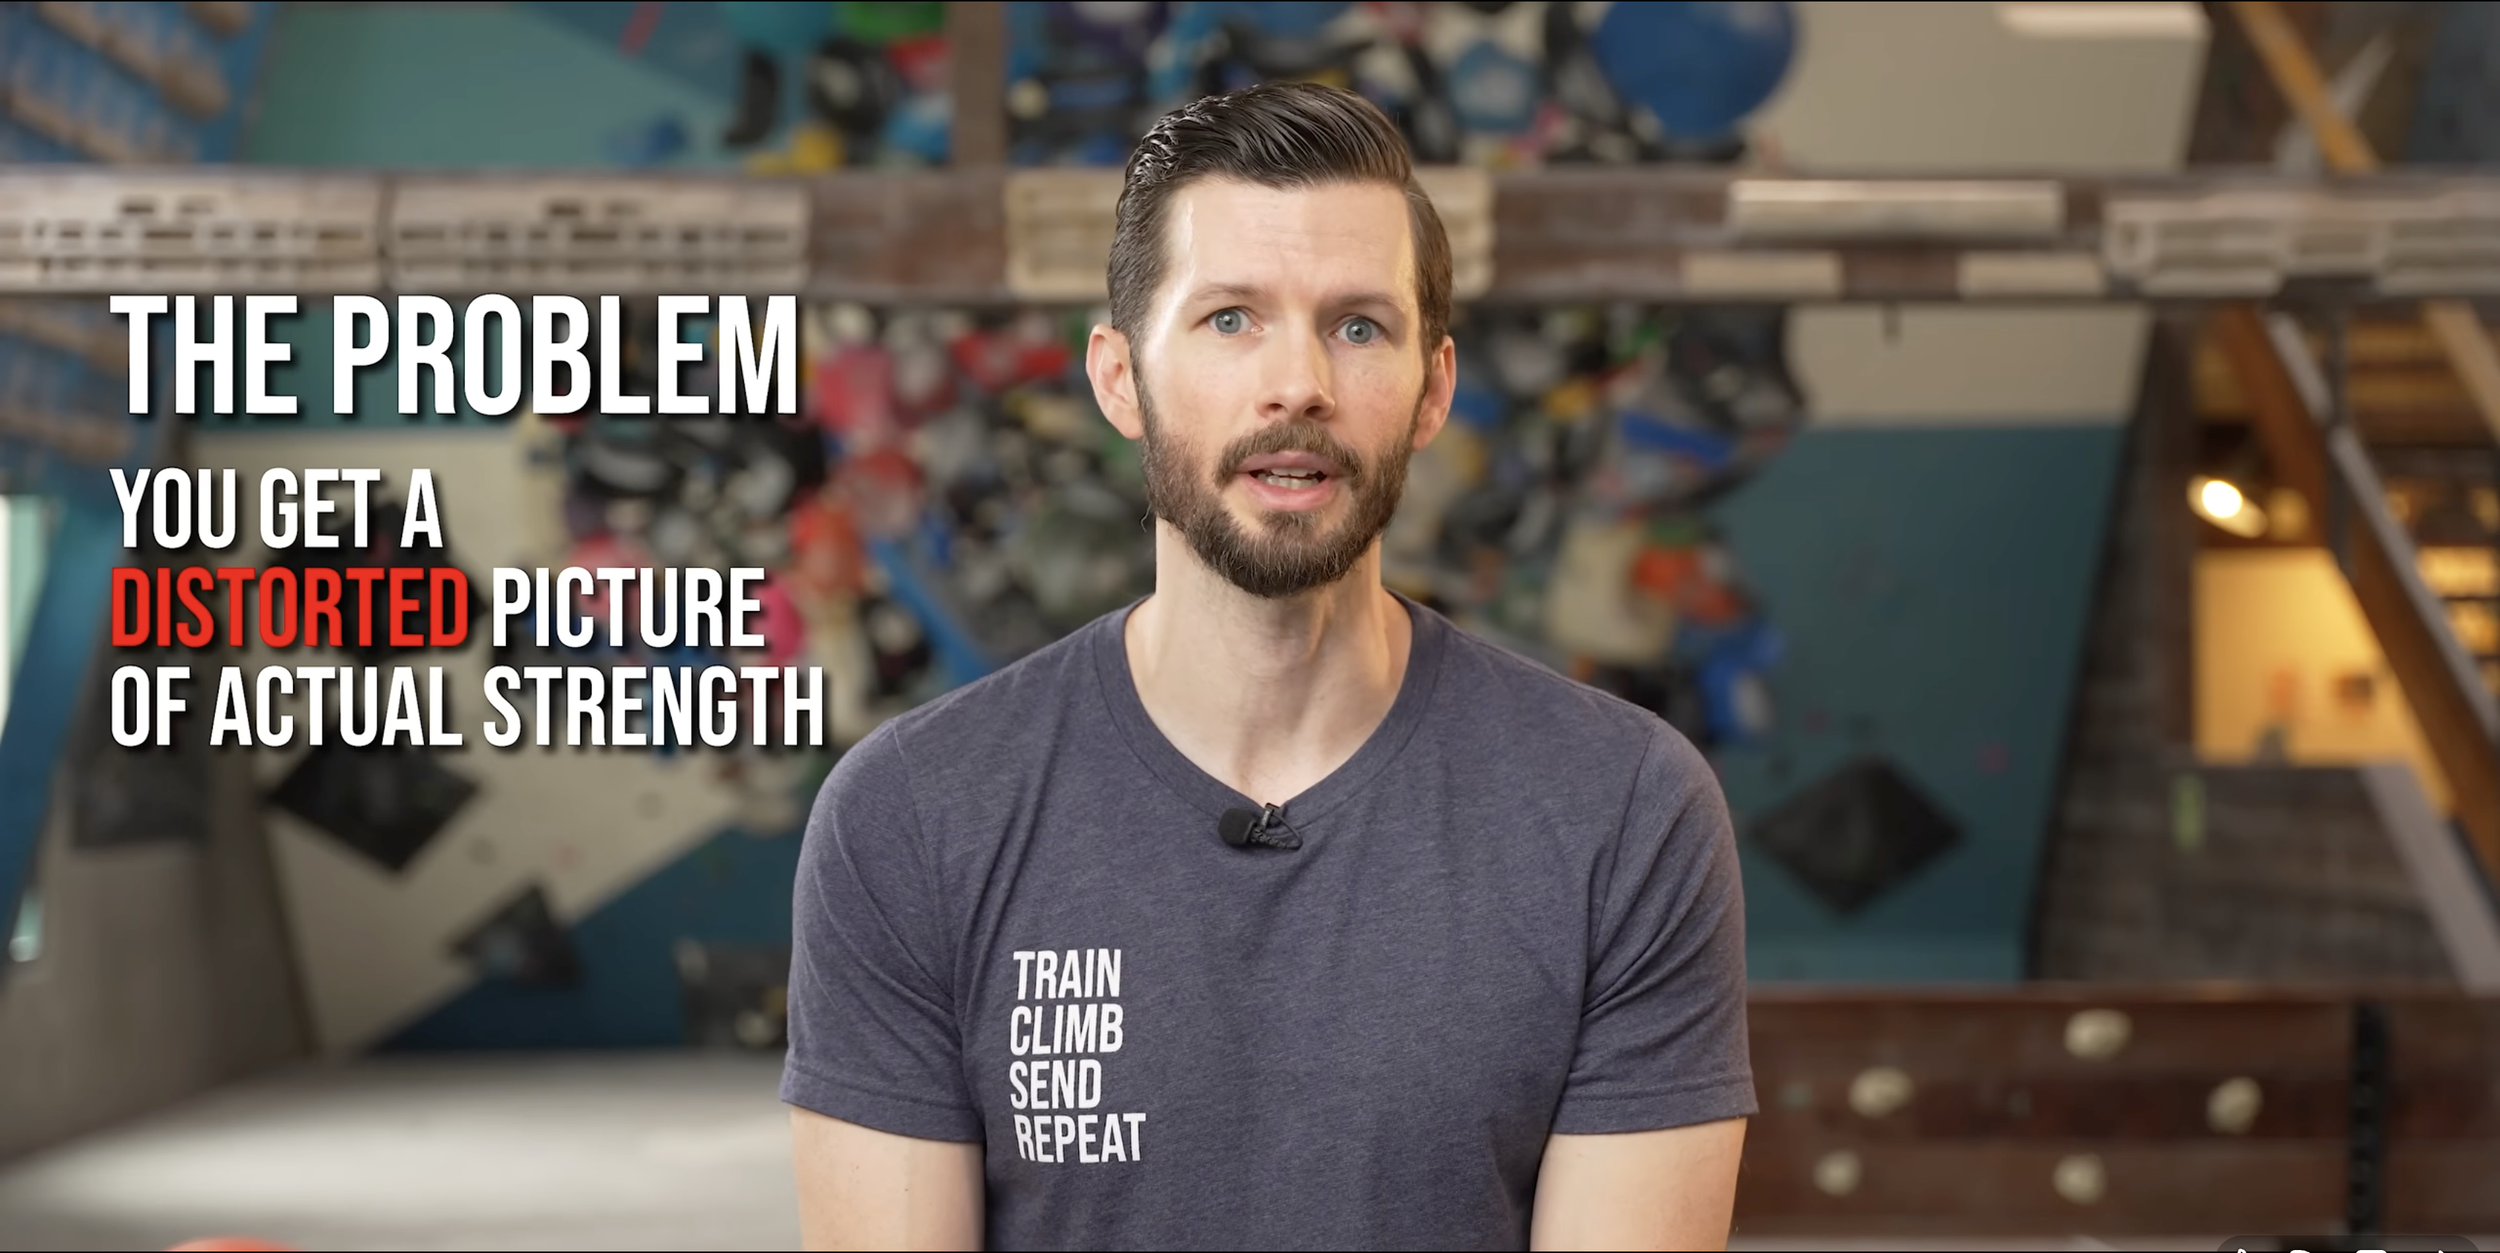
But here's the problem: it can give you a distorted picture of your actual finger strength. You might hit a weight that feels impressive, but on a smaller edge where your skin can't bunch, suddenly you're way weaker than you expected. I think this is part of the reason a lot of gym climbers struggle when they go outdoors for the first time.
So, in short: using extra skin friction for climbing and training is not inherently bad, but if you want to maximize stimulus to your FDP muscle specifically, you should be aware that the way you grab an edge matters. With the talon grip and the recruitment pull, you’re *removing* much of the passive friction aspect and relying on *active muscular contraction* to maintain contact with the edge, which can have a profound impact on your training.
The Talon Grip: Pros
So let's talk about the talon grip first (with flexed DIP) and what it might actually do for you.
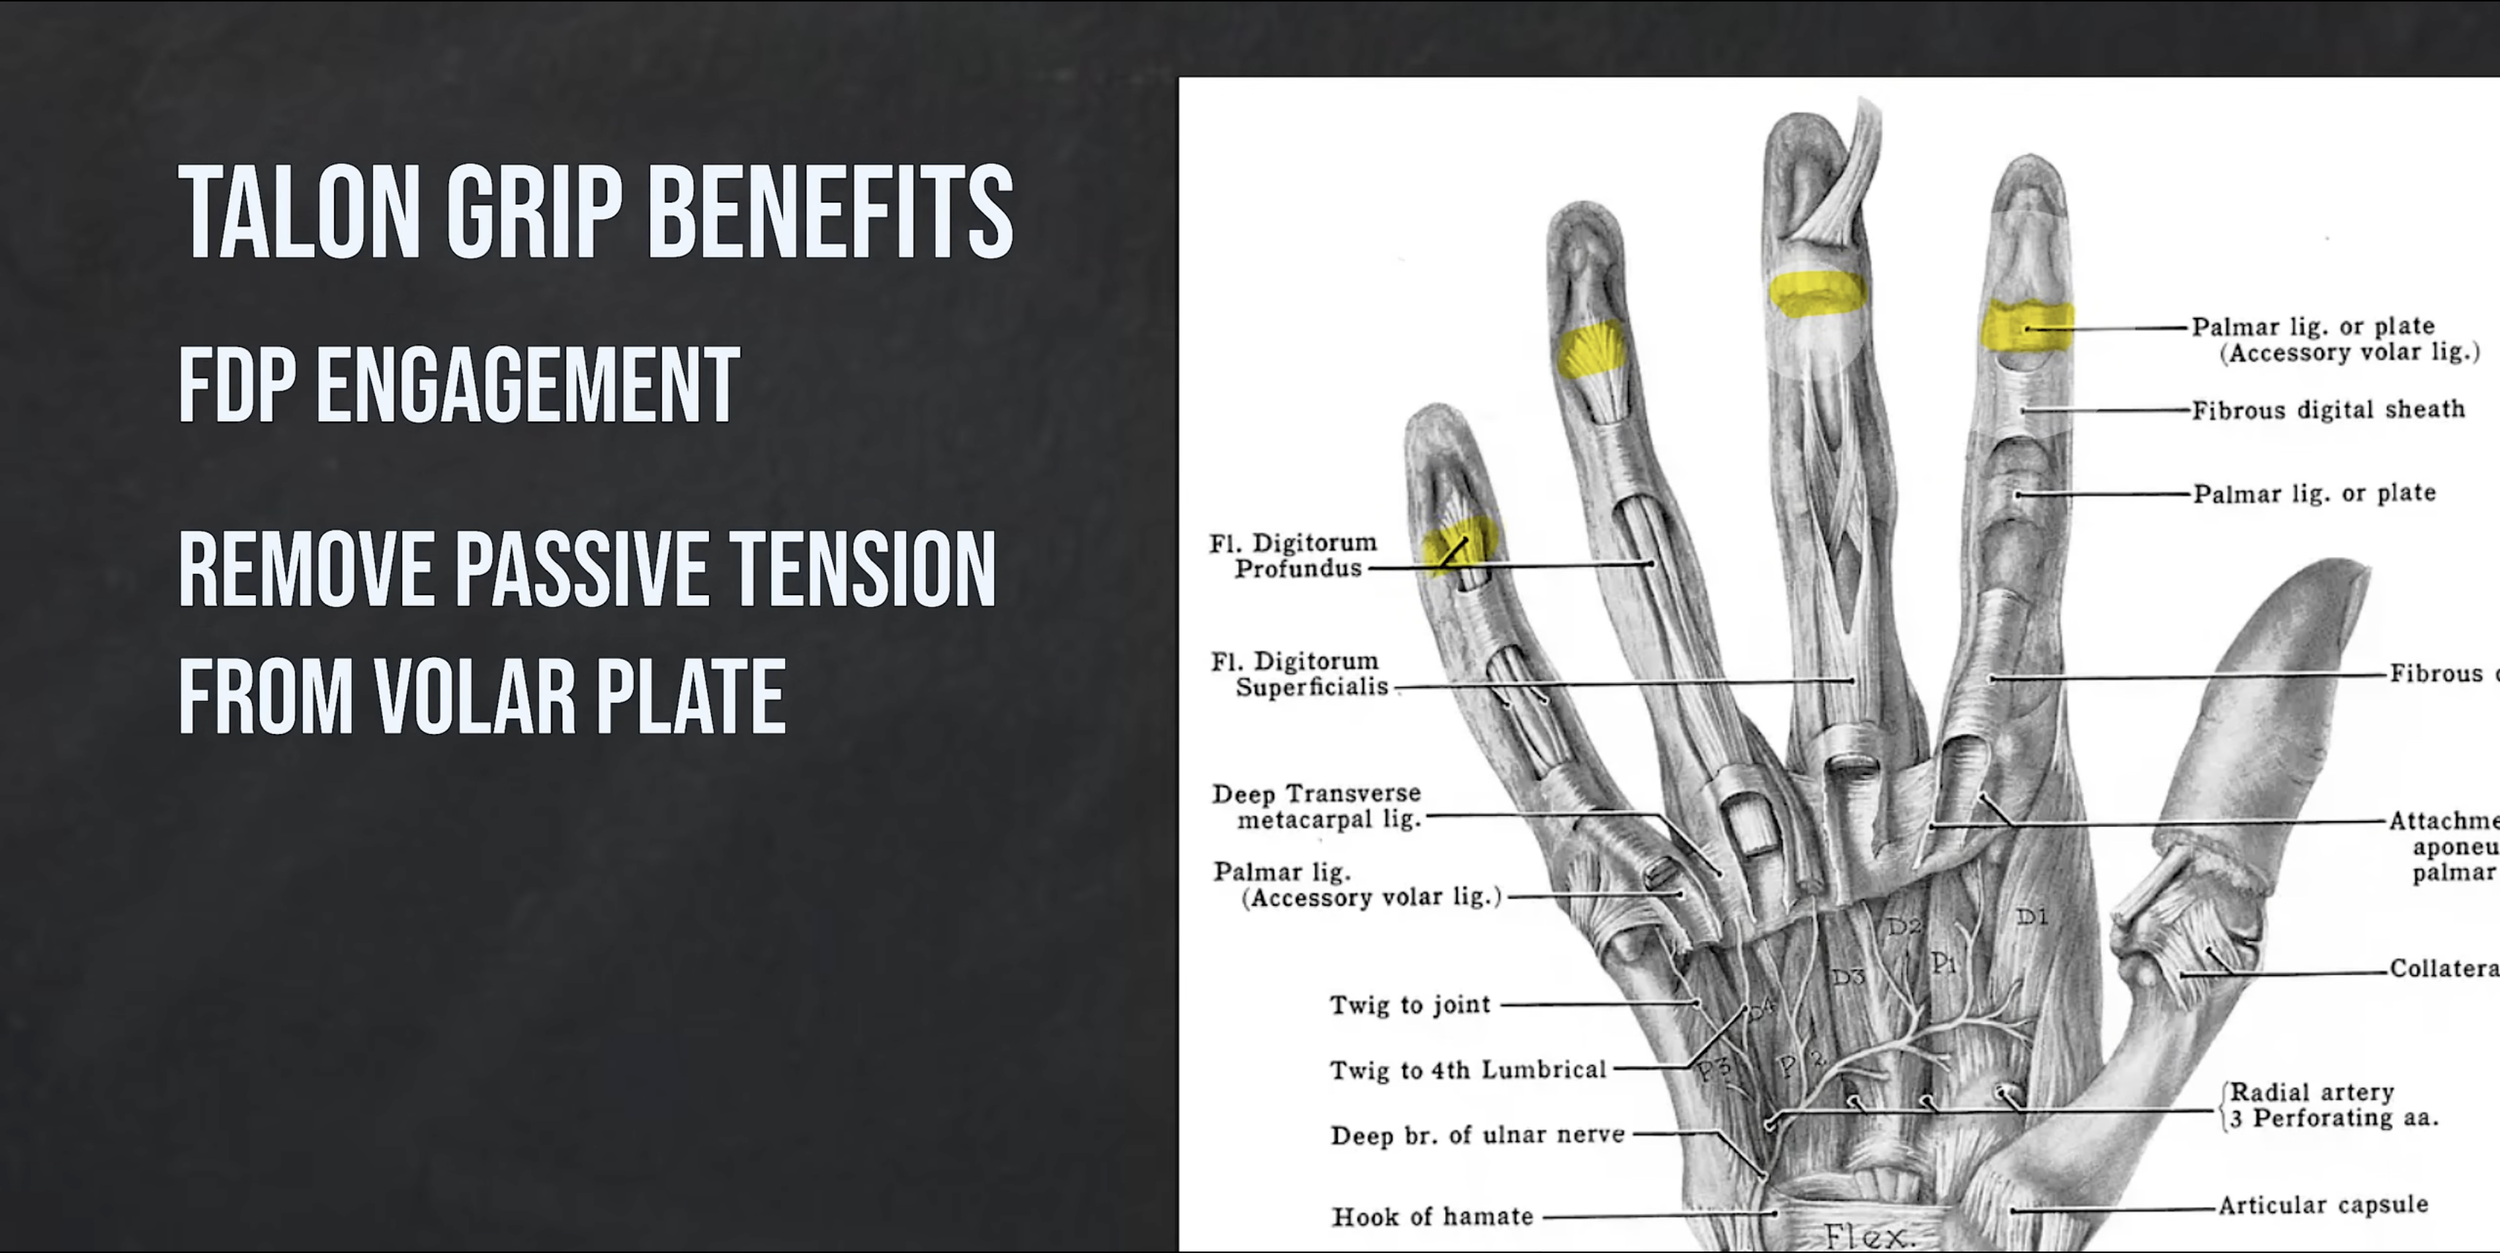
The obvious benefit: you cannot avoid using your FDP here; you have no choice! When that DIP joint is curled in, the FDP is working – it’s literally the only muscle that can do it. You're also removing passive tension from the volar plate; that’s a ligamentous structure at the joint that naturally helps resist extension in a crimp position, essentially giving you a little free strength. The talon grip takes that volar plate assistance away, which means the strength you measure is more "true" FDP strength. That's actually a useful thing to know.
And there are real climbing applications. Being able to curl behind a hold rather than just bear-pawing on top of it can be a gamechanger for optimizing engagement and friction, especially on granite, where the good part of the hold could be a blocked crimp or a single crystal. Hamish talks about this specifically.
There's also a skin benefit worth mentioning: if you're on a sharp edge, curling away from the sharpest part of the edge and onto the backside reduces discomfort and skin damage.
The Talon Grip: Cons

Now for the cons.
First, it can be quite uncomfortable, depending on how you try to train. With Hamish’s description, rather than distributing force across the flat pad of your finger, it sounds like he’s describing driving straight down into the tip. (The video doesn’t actually show any footage of him doing this, so it’s a bit hard to tell what his actual method was.) However, on a traditional flat edge, this will likely cause a significant pain response, so it’s possible his actual training position wasn’t quite so exaggerated. Either way, a better idea is to use a more ergonomic device for the grip position we’re trying to achieve, such as a comfortable incut edge or a ball-shaped grip device. These allow you to load the FDP while still distributing the force comfortably across your pads.
Second, because this grip removes much of the passive friction from your grip strength, you won't be able to pull nearly as much weight. Hamish initially couldn't even hang his bodyweight in this position. Because the overall force is lower, you are placing less stress on the pulleys. If you only trained this grip, your A2 pulley may not receive the stimulus it needs to build resilience for higher-load crimping. I treat a lot of clients for A2 pulley tears, and one of the biggest correlations I see is that they haven’t properly conditioned their A2.
The third con is that you are removing load from the volar plate, which could lead to a similar scenario as the one we just discussed – lack of stimulus to build resilience. For example, if you are pulling hard in this flexed position and suddenly slip into an extended position, you risk a volar plate injury.
Finally, flexing the DIP places significant stress on both the distal and proximal edges of the A4 pulley. While this could build beneficial A4 resilience over time, it must be approached carefully if it’s a new stimulus to you.
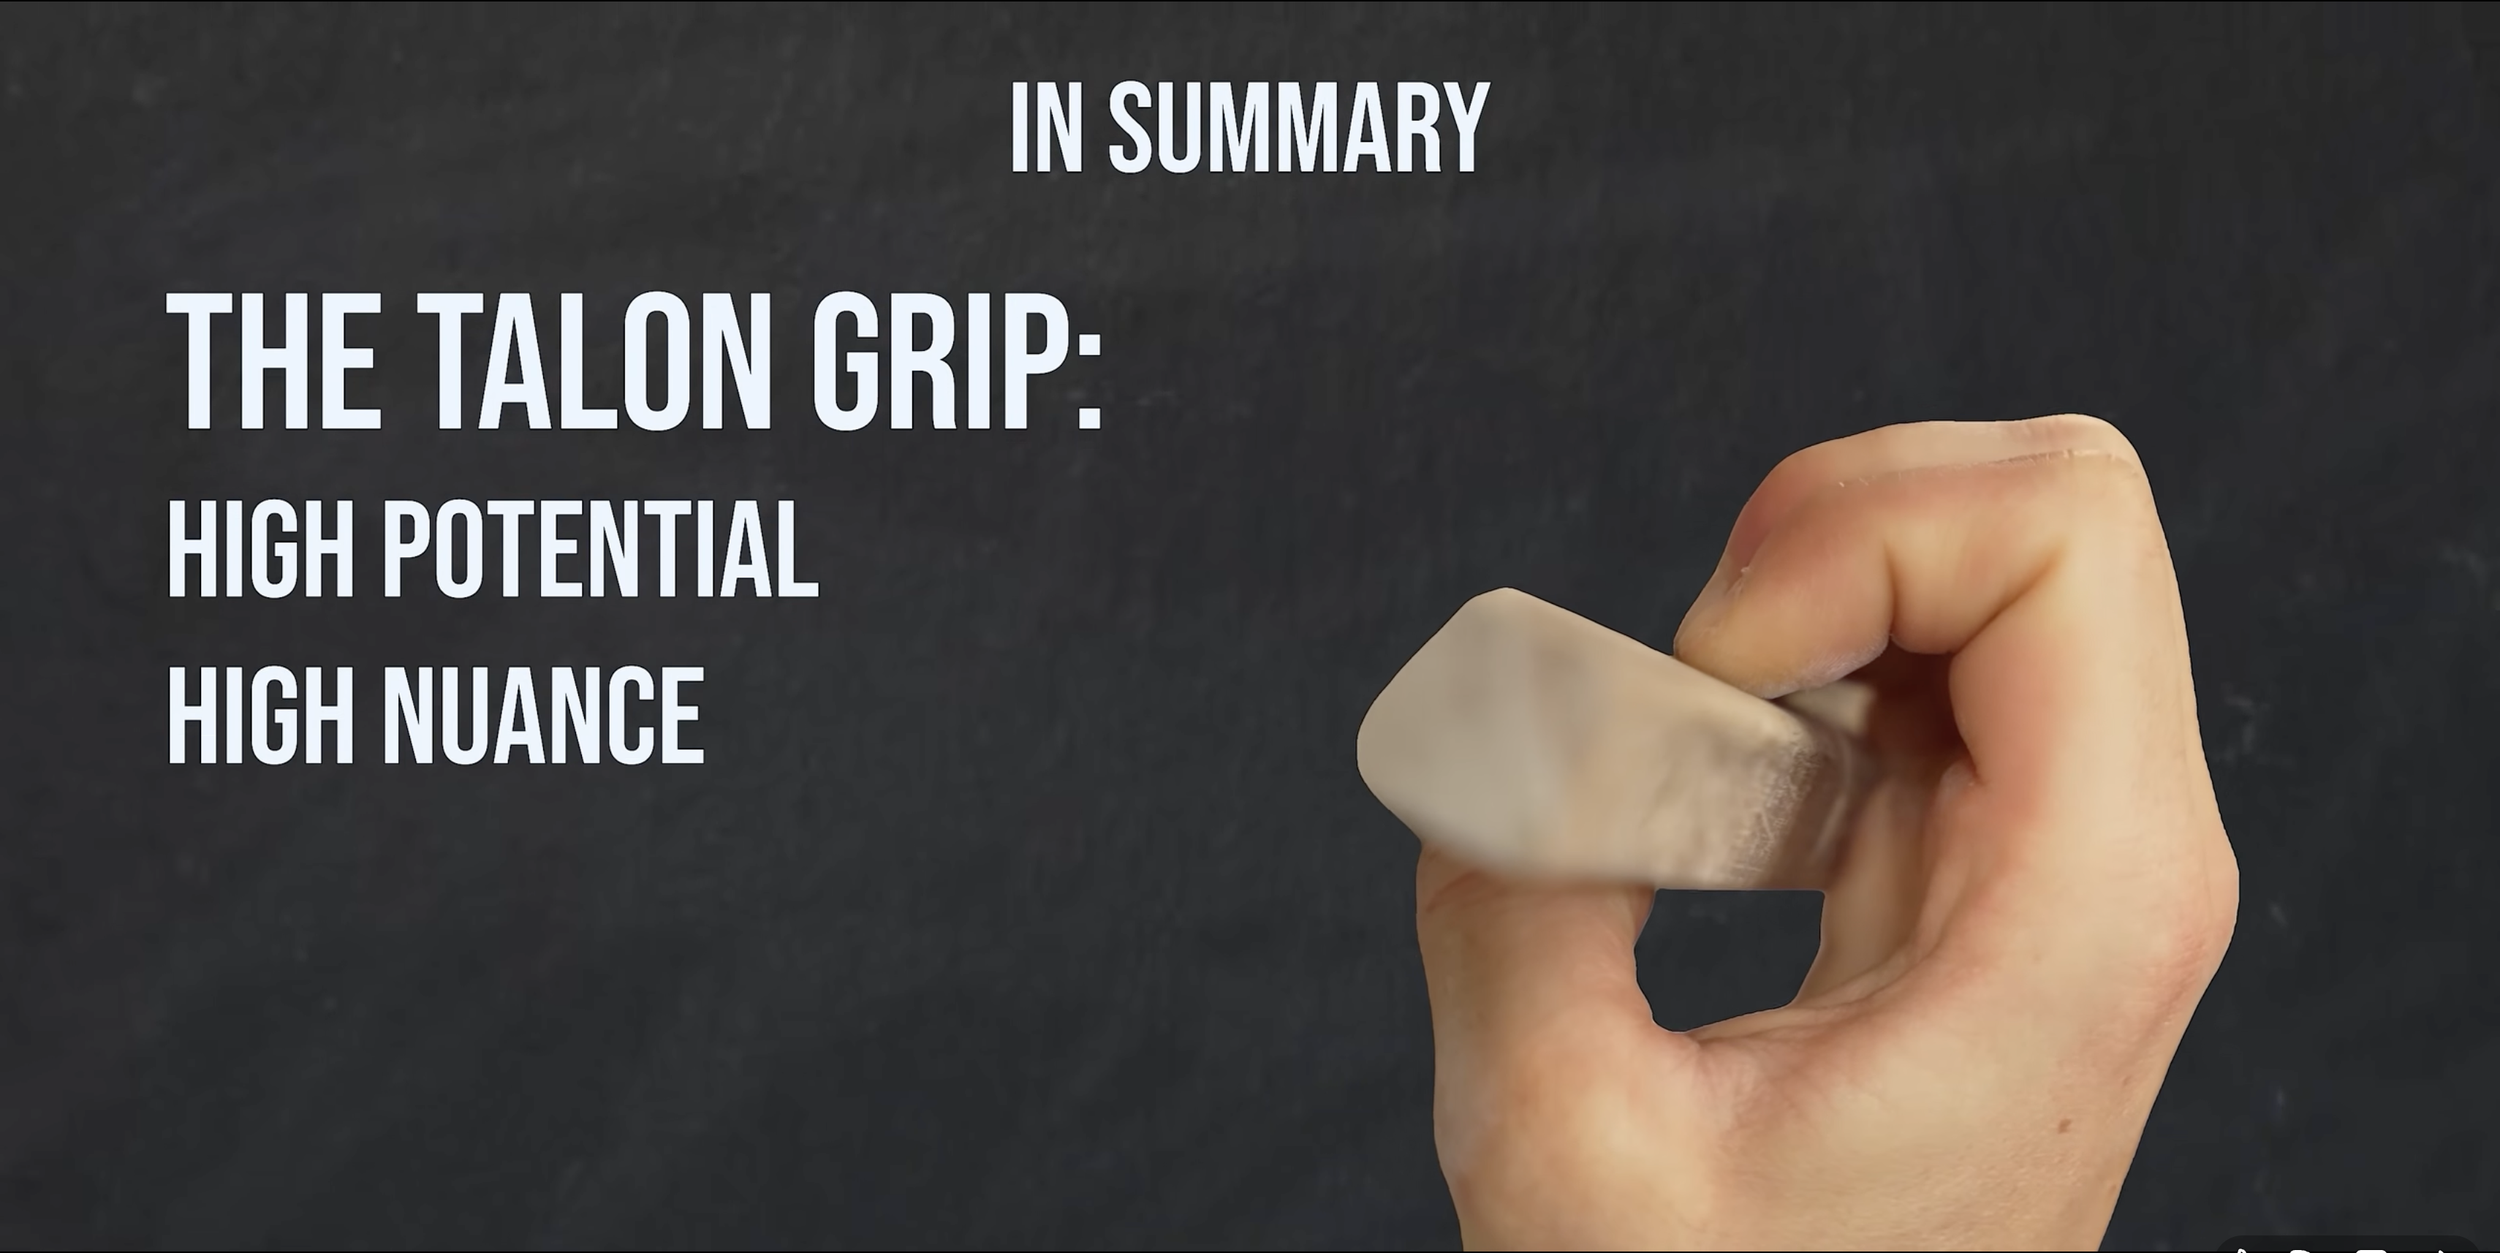
In summary, the talon grip has high potential, but also high nuance. This is a tool for the toolbox, not a magic bullet.
The “Overcoming” Version: Pros
The second version – the intention-based crimp – is actually something we and many others have been promoting for years under different names. You might know it as a recruitment pull or an overcoming isometric.
The idea is simple: you get into a normal crimp, take any slack out of the system to create some tension, then you try to actively flex your fingers into the hold. For this video, since we are focusing on maximal FDP engagement, you should be trying to specifically flex the DIP joint. You won't actually move, but the intention matters.
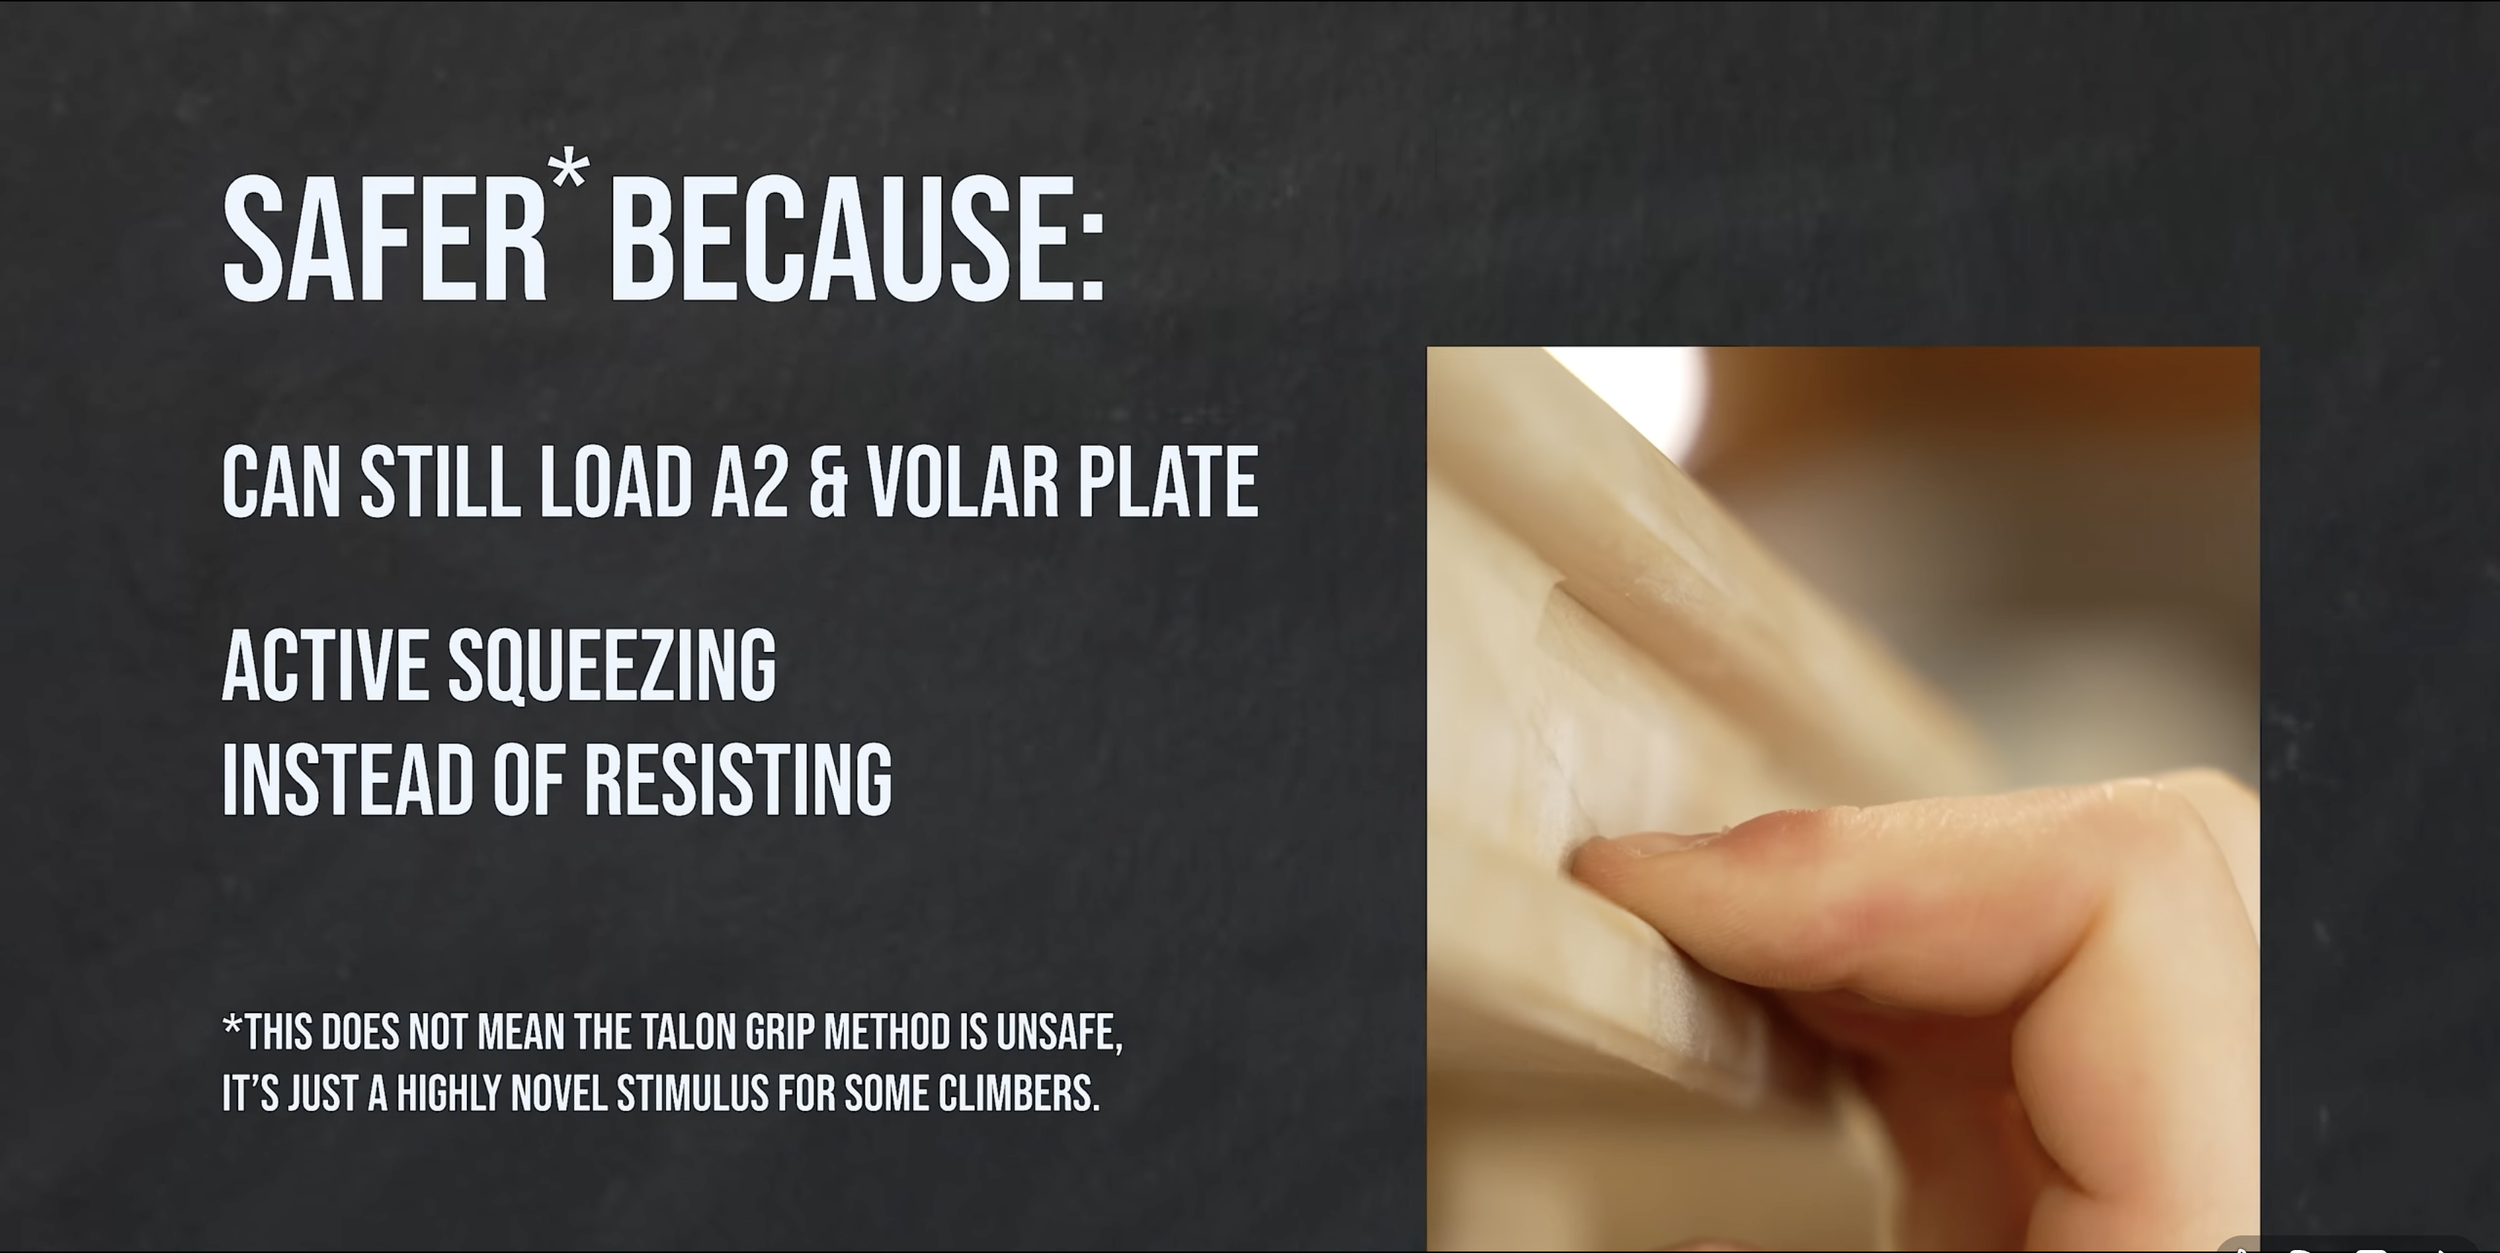
This approach has some solid benefits. You can still load your A2 and volar plate. You're not doubling down on the A4. And because all the force comes from actively squeezing rather than resisting, it tends to be a safer, more auto-regulated exercise – great for rehab, getting used to new edge sizes, and even monos.
The “Overcoming” Version: Cons
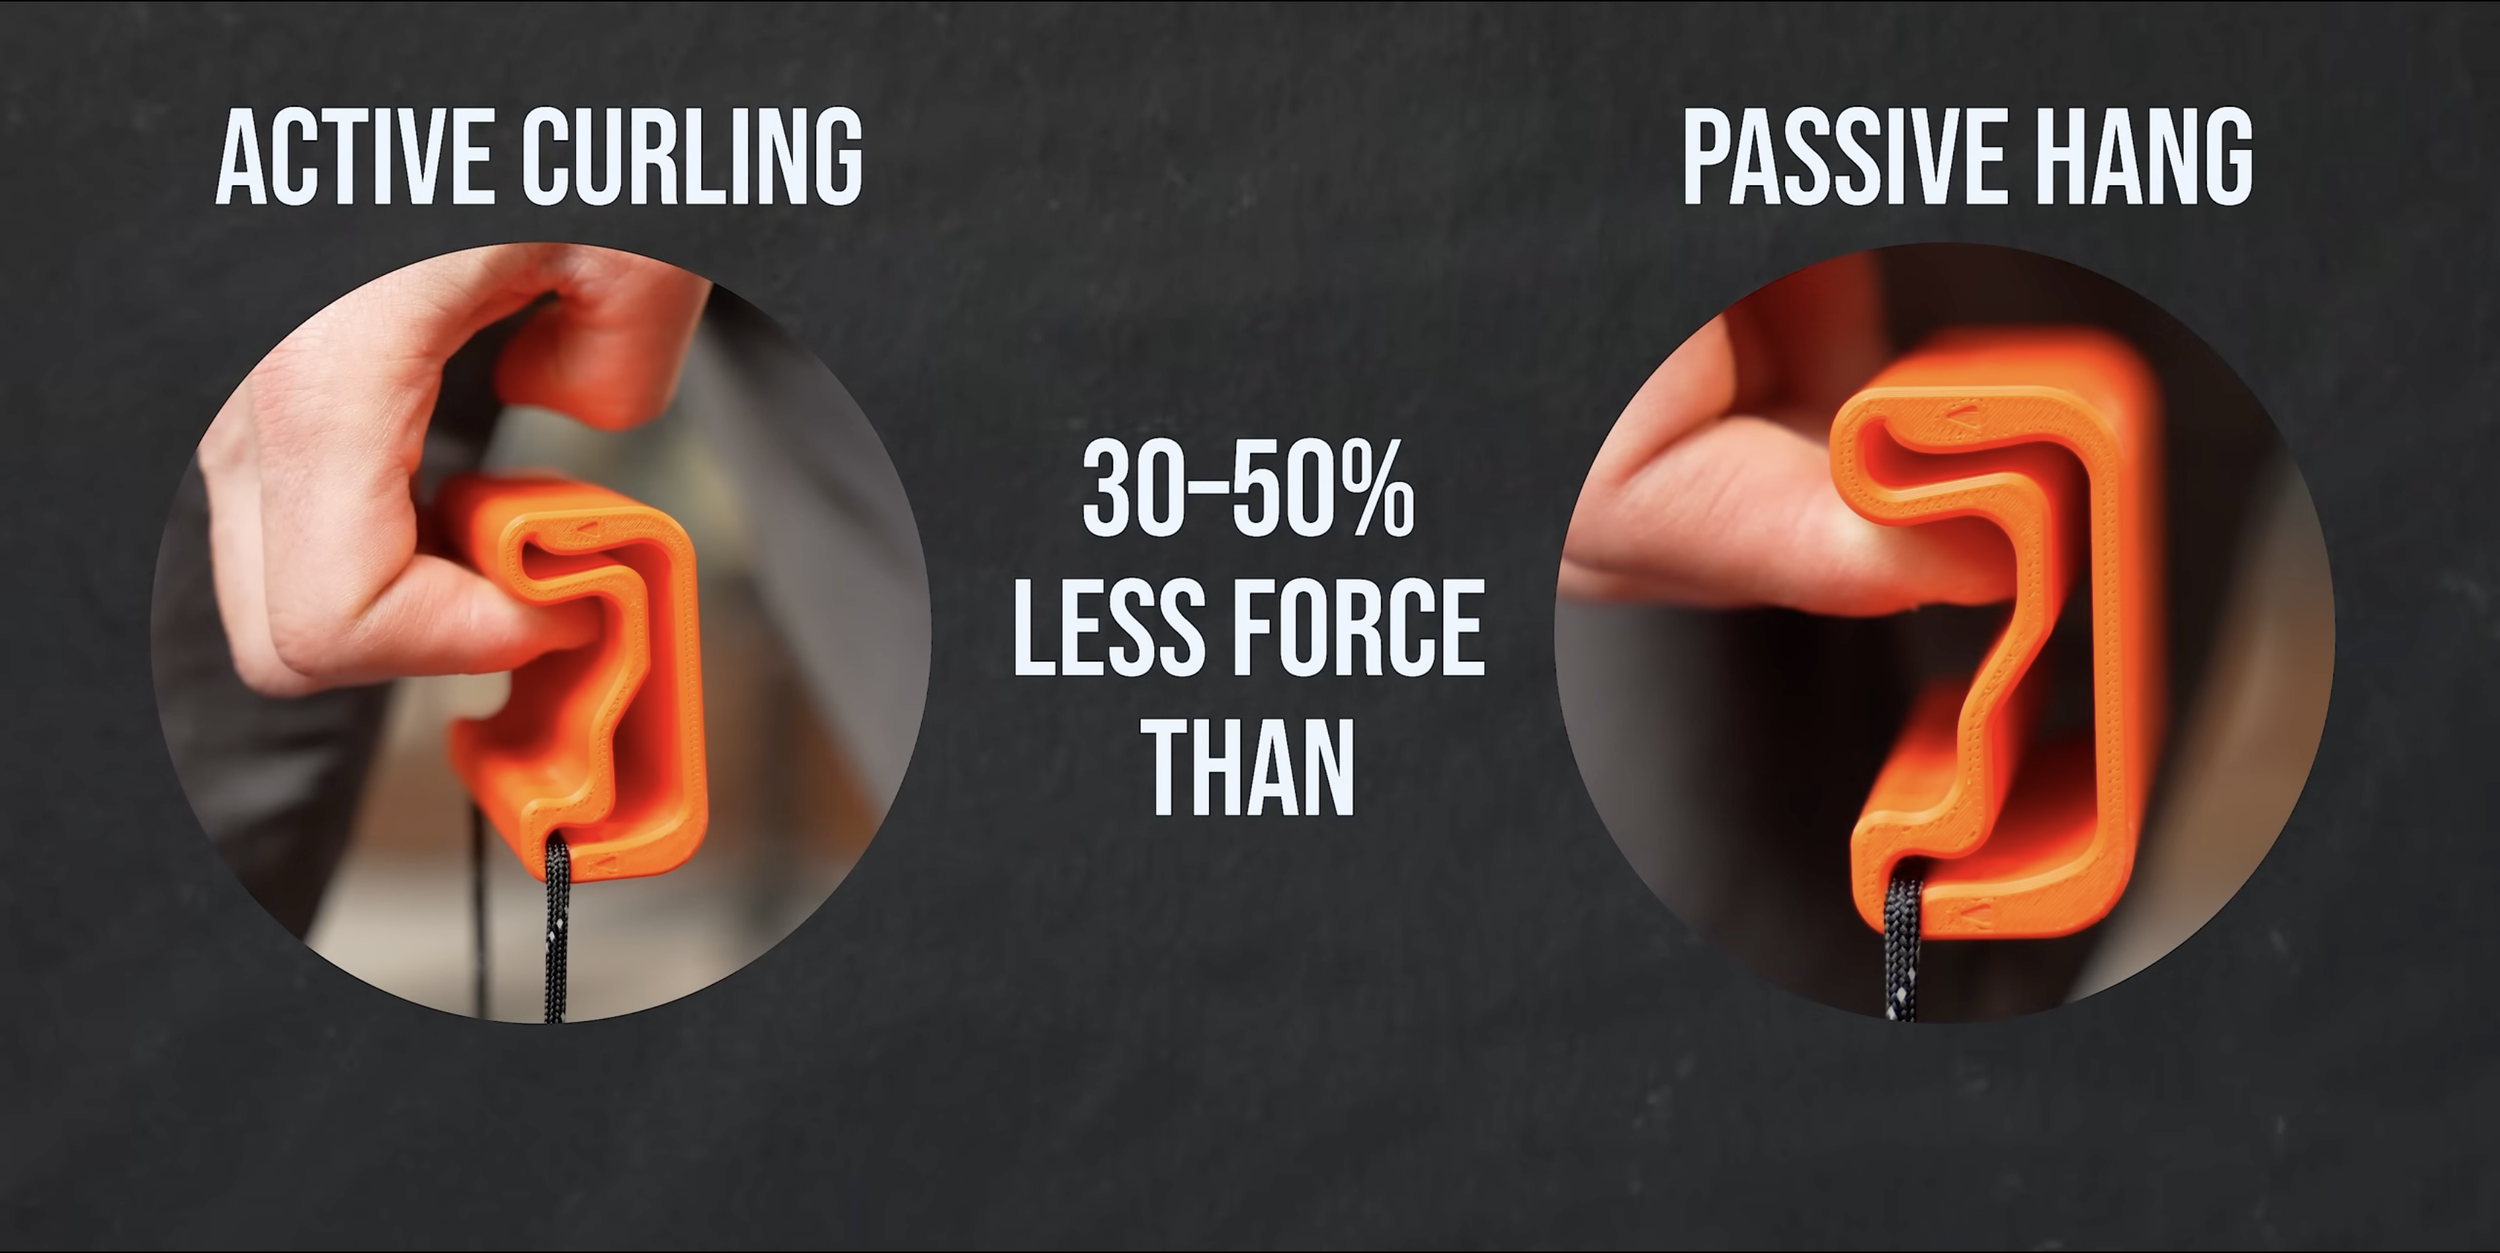
The tradeoff with this method is that it requires a lot of mental effort. You have to consciously think about pulling through the fingertips to avoid falling back into a passive skin-friction drag, which can distract you from simply trying hard. Also, active curling naturally produces about 30-50% less force than a passive yielding hang. Because you generate less absolute force, you won't condition your connective tissues as heavily as you would with heavy block pulls. Finally, recruitment pulls don't teach your body the protective response of avoiding your hand "opening up" under max load, which is a movement that’s strongly correlated with pulley injuries.
WHO IS THIS FOR?
So who should actually be experimenting with this?
If you have hypermobile DIP joints (your fingertip hyperextends excessively when you crimp) this type of training is worth exploring seriously. Actively cueing your FDP to flex may help you develop the muscular control to stabilize that joint instead of relying on passive structures to do it.
If you're a chronic open-hander who avoids crimping because it feels weak or uncomfortable, adding some intentional crimp training will go a long way to building strength and confidence in that position.
If you struggle to feel engaged on smaller edges, perhaps wondering why your skin gets excessive damage on sharp edges or why you can’t pull against them well, either of these techniques could help you feel stronger and more comfortable in “active” positions.
If you're rehabbing a finger injury, the overcoming isometric version specifically is something we use clinically. It's autoregulated, it's low risk, and it keeps the neural pathways firing while you recover.
If you're an advanced climber looking to squeeze out gains on specific hold types, especially outdoors, the talon grip in particular could offer a new tool and potentially open up some moves that felt impossible before.
If you're a beginner, worrying about this level of nuance in grip training should not be your priority, but if you want to try one of these methods out, go with the recruitment pulls.
Overall, I personally wouldn’t recommend either of these techniques as your only type of finger training due to the cons we already discussed. However, I think it’s important for everyone to be more aware of how they’re actually gripping when climbing and training. Bringing deliberate attention to your FDP, whether through the talon grip or the intentional curl, is almost certainly a positive addition to how most people train. Thus, I think either method can be a fantastic supplemental tool.
HOW TO ACTUALLY TRY THIS
Here are two simple protocols you can actually try.
Protocol 1: The Intention Crimp (Start here)
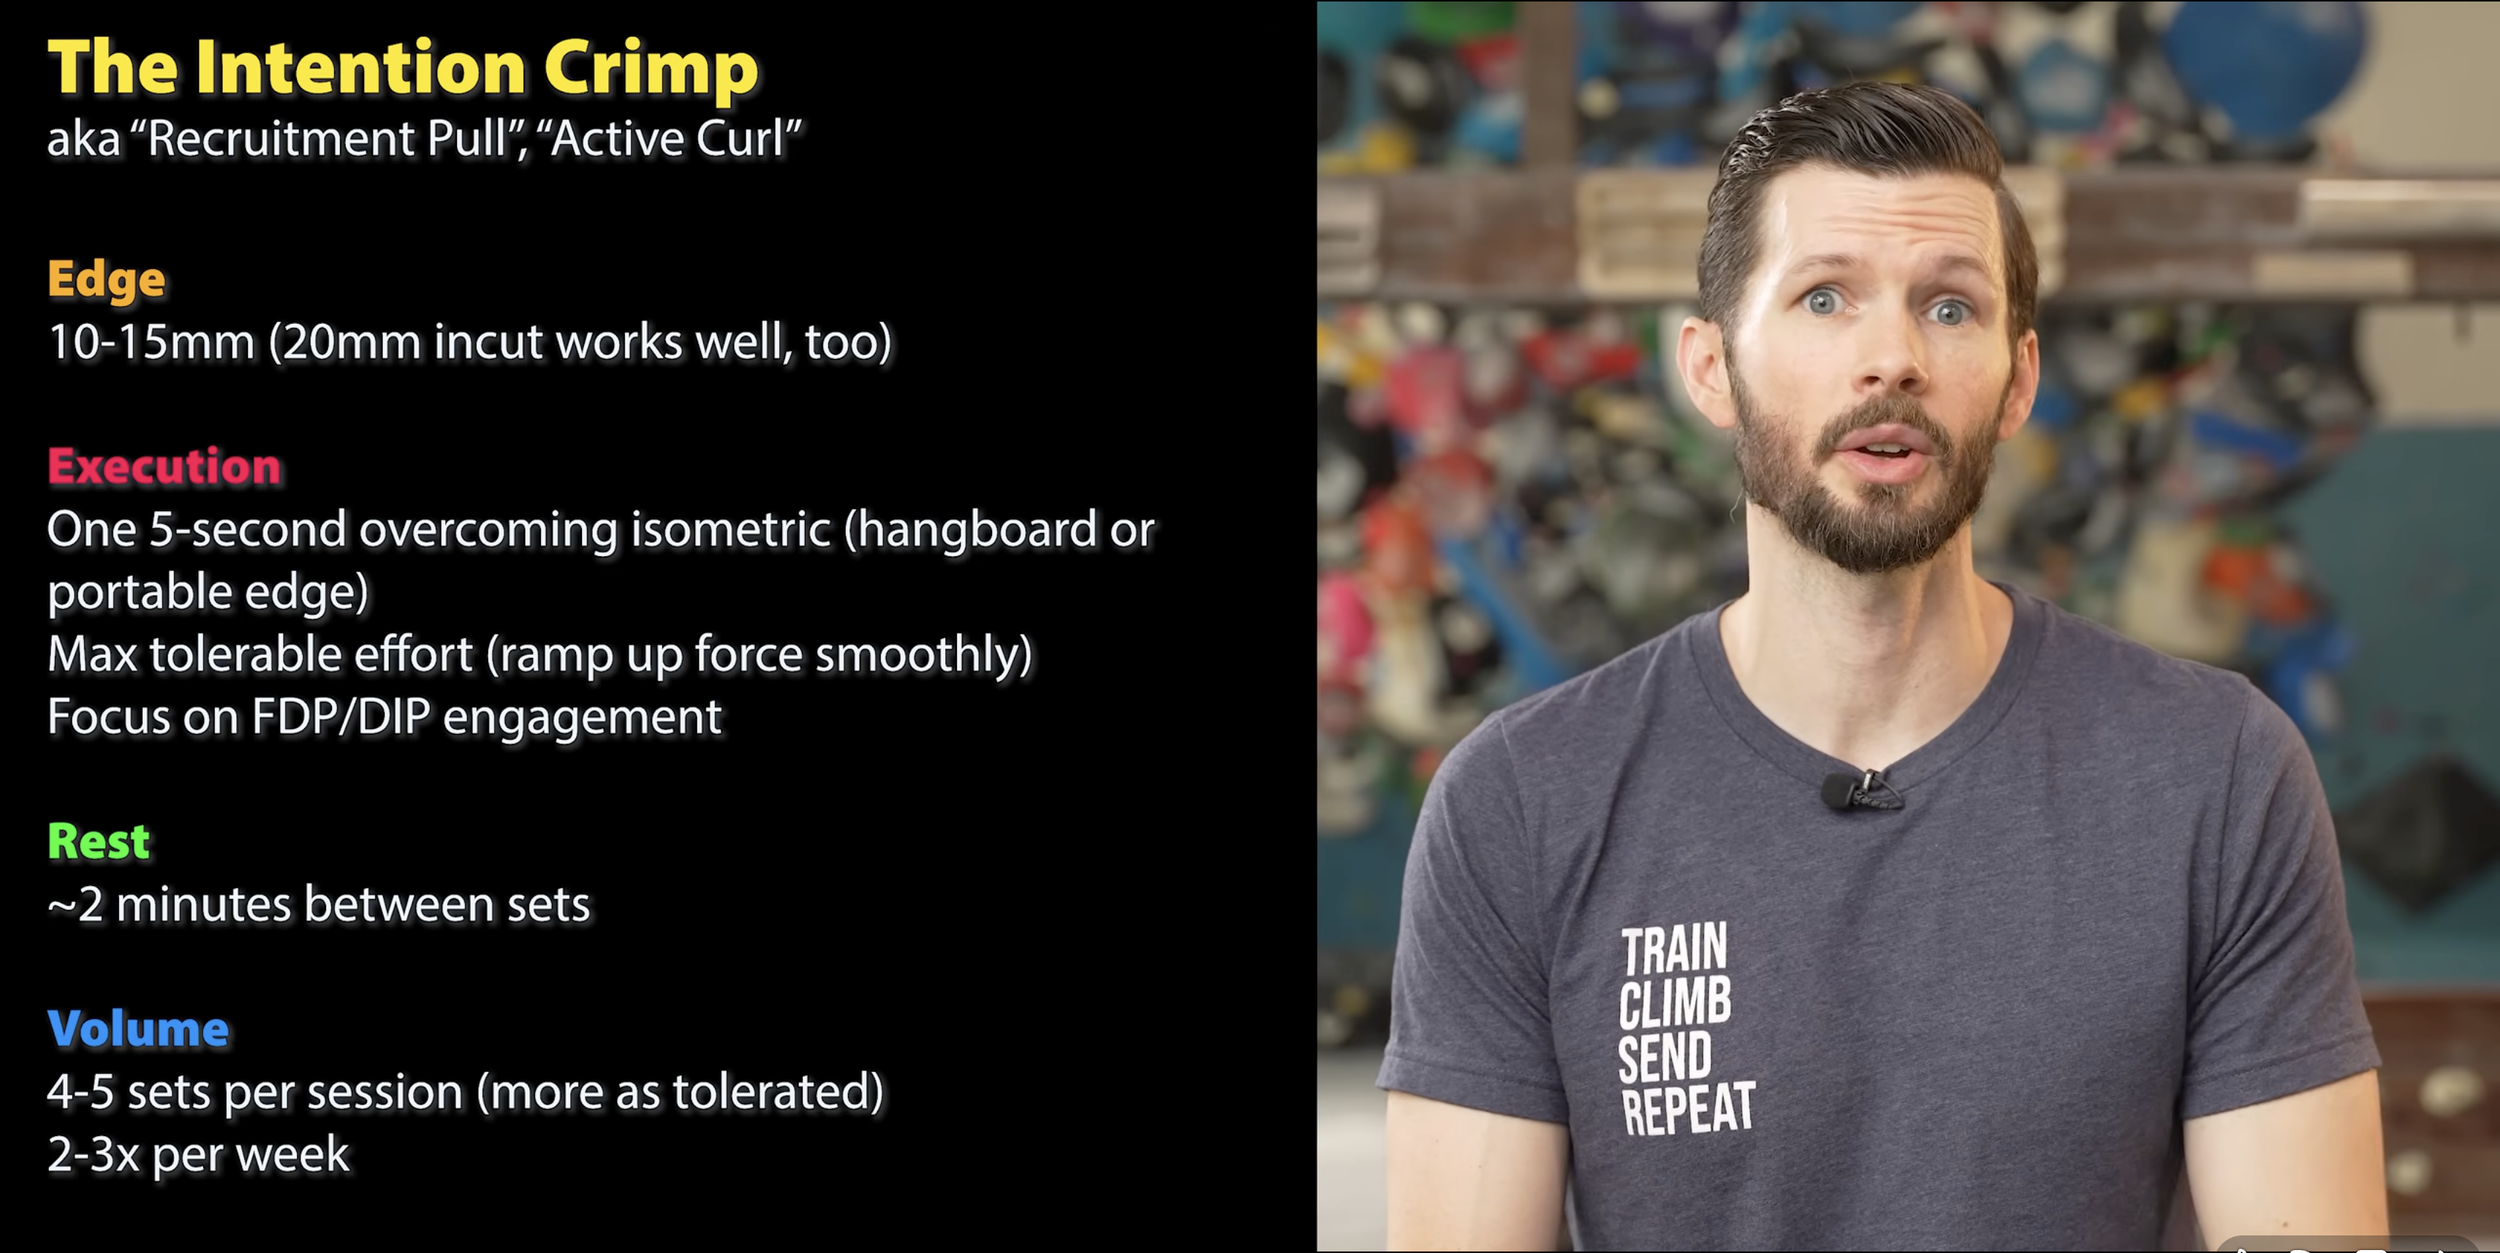
Grab an appropriate edge size; something in the 10-15mm realm typically works better here as it naturally forces load to the FDP, but an incut 20mm edge will also work well. Now, do a 5-second max-effort overcoming isometric, meaning you're curling as hard as you can against the hold with no expectation of movement. Rather than immediately going from 0-100% effort, ramp up the force gradually over the first couple seconds. Crucially, you should be focused on the DIP joint here. Many people make the mistake of simply flexing the PIP joint. Rest 2 minutes between sets. Do 4-5 sets per session, 2-3 times per week. It fits naturally into a warm-up or as a standalone FDP activation block before your main training.
Protocol 2: The Talon Grip (Only once you're comfortable with Protocol 1)
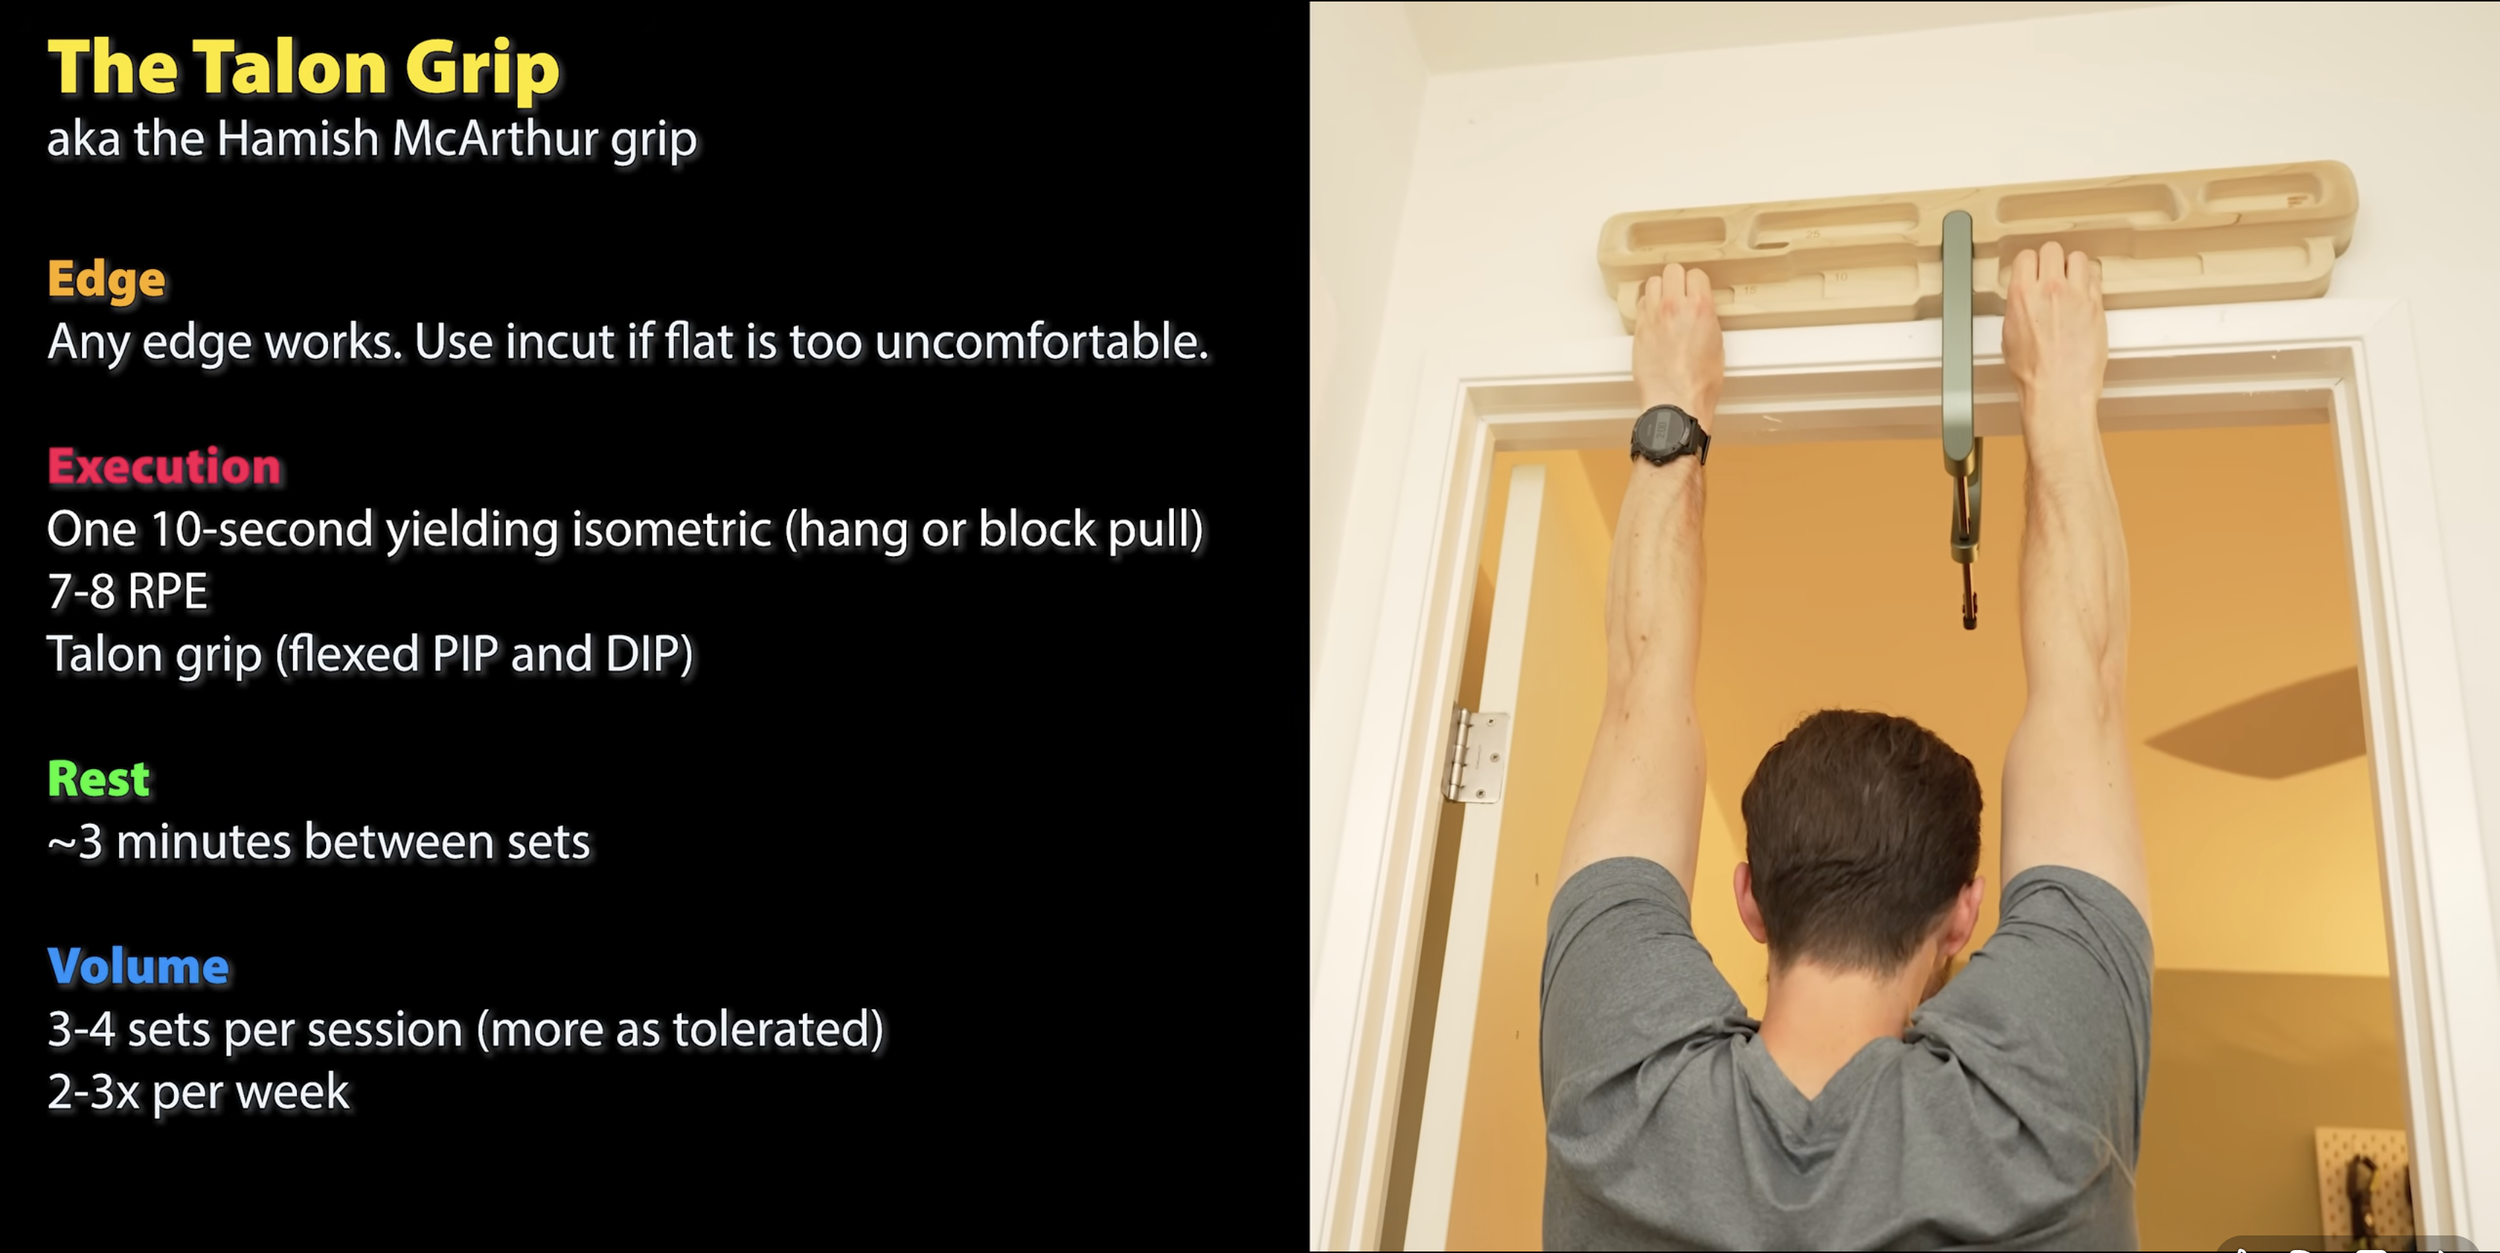
For this one, you really want an incut hold – something that lets your fingertip curl in comfortably without pressing into a sharp edge. (Our Comfy Crimp is designed for exactly this!) Start with less weight than you'd use for normal block pulls since this is a new exercise.
Do 10-second pulls at about 7-8 RPE, resting for 3 minutes between sets, and start with just 3-4 sets, 2-3 times per week. Focus on quality of position over load (again, make sure you’re focusing on that DIP, not just flexing your PIP joint). Over several weeks, you can gradually increase duration, weight, or number of sets as you progress. If you feel any new discomfort in your DIP joint, back off.
As a unique alternative to doing this on an edge, you could instead use one of these claw grips. This type of hold is something myself and other climbing specialists have used for ages to increase FDP engagement and strength (while also being great for the intrinsic hand muscles). It also has the benefit of strengthening the thumb and wrist extensors, making it a well rounded tool. If you happen to also be terrible at pinches, you should strongly consider this.
OUTRO
So, are these methods “the missing piece of the finger strength puzzle?” For climbers with specific FDP/DIP engagement issues, they can make a big difference.
Is it time to throw out your old hangboard protocol? Definitely not. Passive tension has a useful function in training and is not something to shy away from. While these novel approaches are useful (and currently quite popular), they are by no means mandatory for effective grip training.
Let us know down in the comments what you think of this new type of training and, until next time: train, climb, send, and repeat.
DISCLAIMER
The Beta Agency is providing content on its website that aims to inform rock climbing enthusiasts and/or individuals interested in the field of physical therapy of the various physical conditions that may befall those engaged in the sport of rock climbing, for informational purposes only. None of the information provided by The Beta Agency should be regarded as medical advice or construed to be a medical diagnosis of any form. By using our products, services, and/or the information on our website, you acknowledge that you understand this information is not meant to be a substitute for medical advice from an appropriate licensed healthcare professional, and that you will not rely on any of the information you acquire from us as the sole basis, personally or as a suggestion to others, to make any healthcare-related decision(s). If you suspect that you may have a medical condition that you are trying to diagnose, we strongly urge you to seek the advice of an appropriate medical practitioner. If you have a medical emergency, you should contact emergency services immediately.
Click for full Terms and Conditions and Privacy Policy